Fluent Designer Ribbon UI Reference
info
The Fluent Designer interface consists of a tab in the Word, Excel or PowerPoint ribbon: the Fluent tab. This article describes the various buttons, icons, menus and links on that tab.
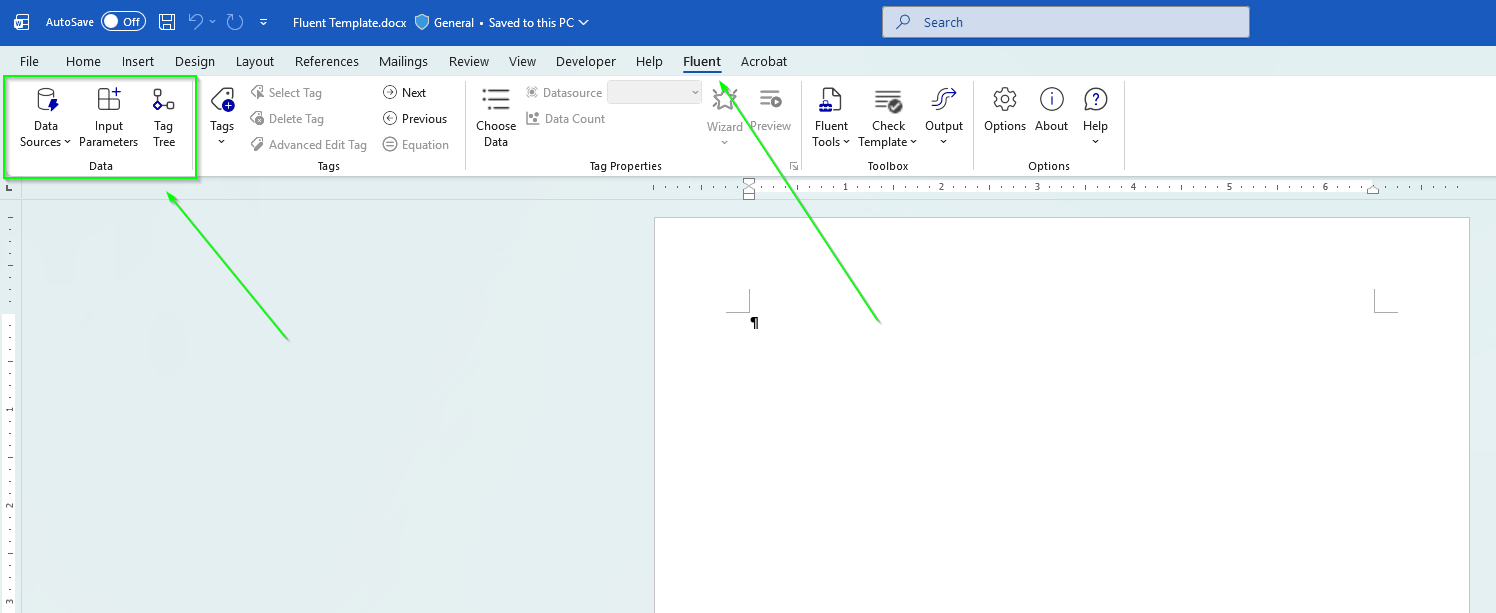
Fluent Tab Selections
Data
| Interface Item | Description |
|---|---|
| Datasource | This drop-down menu allows you to assign a data source to the selected Tag. There will be a menu item for each data source defined in the template. |
| Input Parameters | Create a variable inside of Fluent and build a dropdown box or select field with a list of values. When users run the report, they will either enter a value in the select box or choose one from a dropdown list. |
| Tag Tree | The Tag Tree provides a graphical view of the structure of your template. |
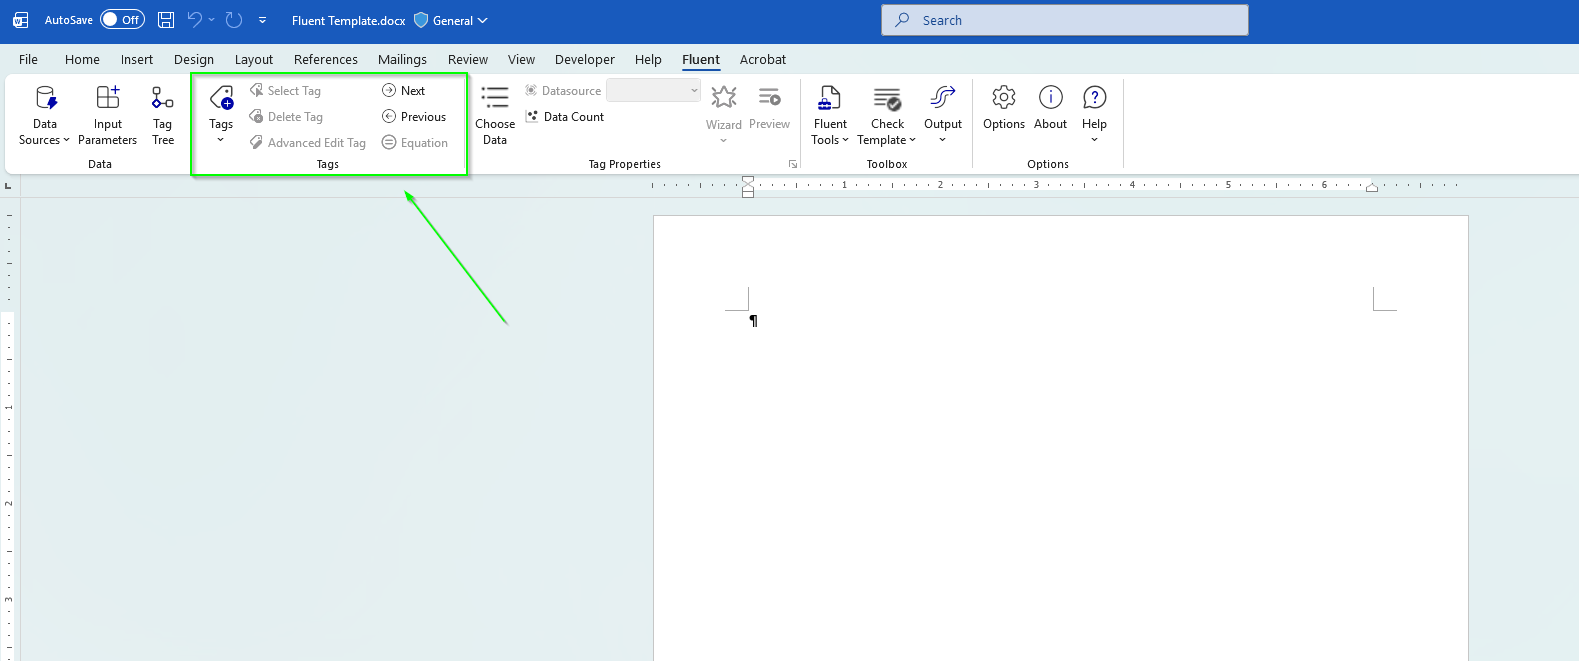
Tags
| Interface Item | Description |
|---|---|
| Tags | Click this button to insert one of Fluent Designer's 16 tags. |
| Select Tag | This selects the Tag on which you have your cursor. It is especially useful when working with Text Tags. It's best practice to delete a Tag by using this button to select the Tag, then use the Delete Tag button to delete it. |
| Delete Tag | Use this button to delete a selected Tag. |
| Edit Tag | Clicking this button brings up the Tag Editor. |
| Next, Previous | Use these buttons to quickly jump from Tag to Tag in a template. |
| Equation | This button opens the Equation Editor, which allows you to create complex equations for use in your template. See Equation Editor Reference and Built-in Functions Reference. |
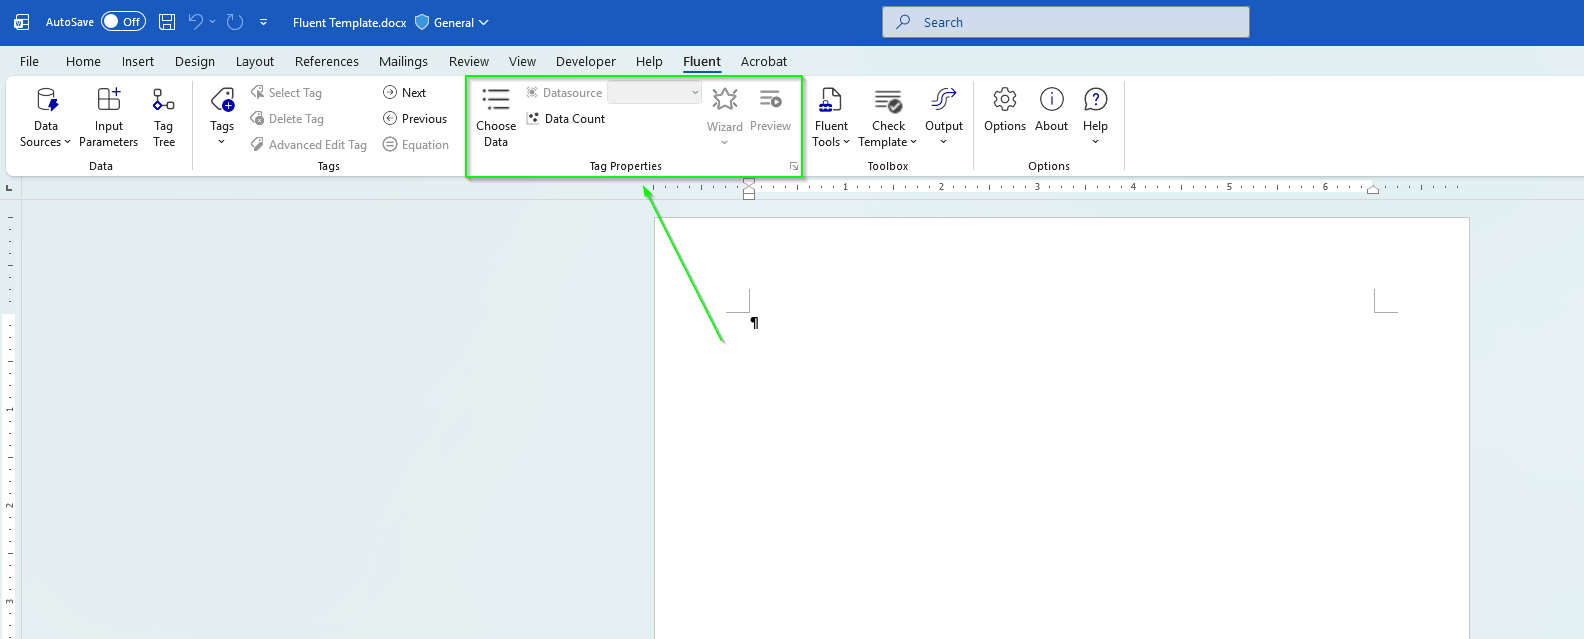
Tag Properties
| Interface Item | Description |
|---|---|
| Choose Data | The Choose Data pane contains all the data that is accessible from a data source. You can create Tags by dragging and dropping items from the Data Bin onto your template. In addition, it exposes the Basic Tag Editor for quick tag edits. |
| Datasource | This drop-down menu allows you to assign a data source to the selected Tag. There will be a menu item for each data source defined in the template. |
| Data Tree | This button presents a graphical view of the data in your data source. It's a short cut to the Tag Editor Data Tree Pane. Use it to assign data to the selected Tag. |
| Data Count | Evaluate all ForEach tag selects and count the number of rows of data that will be processed when the report is run. |
| Wizard | This button brings up the SQL, XPath or JsonPath Wizard for the selected Tag, depending on the type of data source connected to the Tag. Beginning in 16.1, it also brings up the Condition Wizard for the selected Tag. |
| Preview | Selecting a Tag and clicking this button will produce a popup window displaying the data the Tag will retrieve when output is generated from the template. |
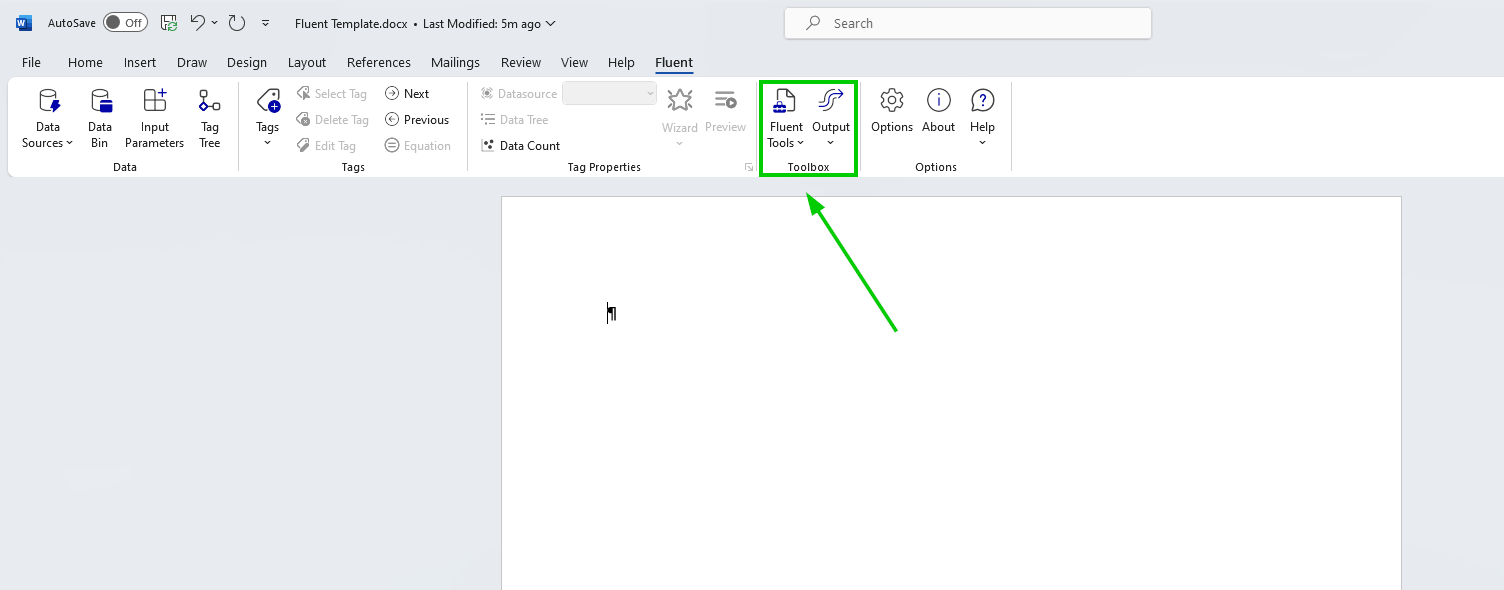
Toolbox
| Interface Item | Description |
|---|---|
| Fluent Tools | The following Fluent Tools can be found under this dropdown: POD Bin, Find/Replace, Clean Template, Generate Code, List Imports, Validate, and Fluent Manager. |
| Check Template | This allows you to check your template for errors and potential problems for a specific output format without generating output. |
| Output | When your report is Tagged and ready to generate output against your live data, click Output and select the type of document you wish to create. |
Fluent Tools

| Interface Item | Description |
|---|---|
| POD Bin | PODs contain predefined groups of tags that you can drag and drop into report templates. (These groups are defined, saved, and added to the Bin by you or your organization.) |
| Find/Replace | This tool allows you find and replace text in Tags throughout a template. |
| Clean Template | This tool "scrubs" the template: it closes your existing template; opens the new scrubbed template; deletes the old template; and renames the new template with the name of the original template. |
| Generate Code | Generate sample source code reflecting the template's configuration for use with the Report Engine APIs. |
| List Imports | Lists all subtemplates imported into a master template's output via Import Tags, including subtemplates imported inside imported subtemplates. |
| Validate | The Validation tool scans the template and identifies syntax errors as well as ensuring all the Tag attributes are included and limited to their legal values. |
| Build SQL Schema | This will appear as an option if you enable the Sql Schema Builder. This will allow you to build a Sql Schema File from your SQL database. |
| Fluent Manager | Clicking this button opens a dialog for you to login to the Fluent Manager as well as upload new templates and new template versions to your Fluent Manager instance. |
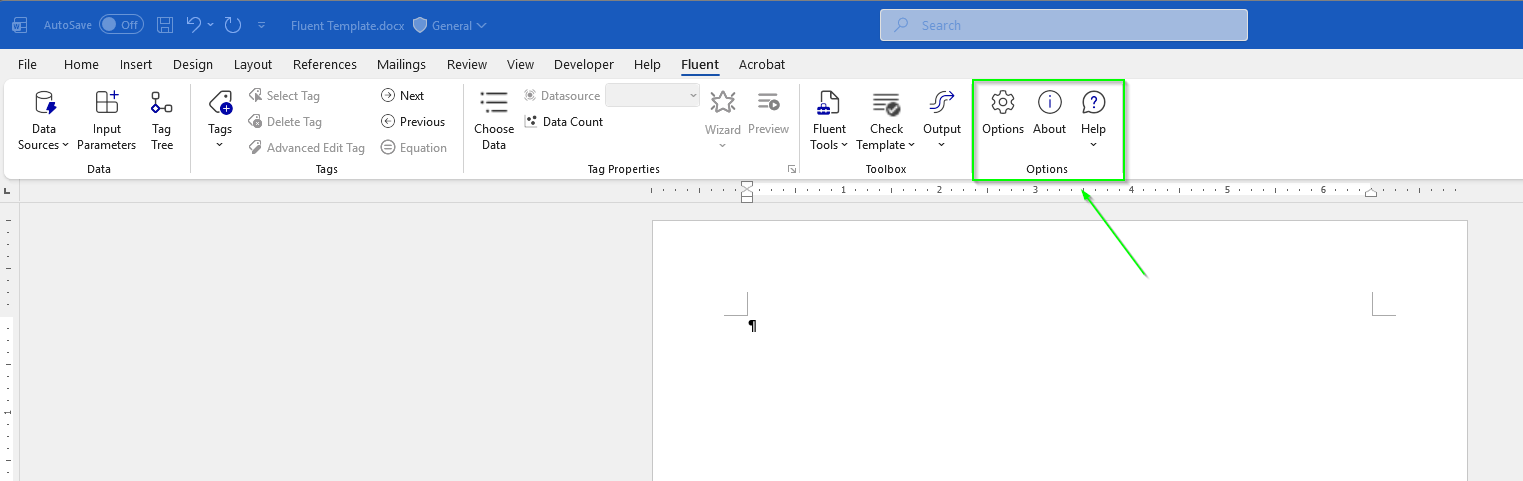
Options
| Interface Item | Description |
|---|---|
| Options | This button opens the Report Designer Options window, where options global to a template can be set such as logging, the template's locale, whether Tags are inserted as Text Tags or Field Tags, etc. |
| About | Click on this button to see general information about your Fluent Designer installation, such as the version number and when your license key expires. |
| Help | The following menuoptions are found under the Help Dropdown: Start Here, Documentation, Samples, License, and Support. |
Help

| Interface Item | Description |
|---|---|
| Start Here | Clicking on this button opens a browser tab to a Start Here guide for using the Designer. |
| Documentation | Clicking on this button opens a browser tab with articles in our online Knowledge Base. |
| Samples | Clicking on this button opens a browser tab with some sample templates. |
| License | Clicking on this button allows you to view or update your license key. |
| Support | Clicking on this button opens a browser tab where you can contact Apryse Support. |
| Subscribe to Updates | Clicking on this buttons opens a browser tab where you can subscribe to the Apryse newsletter that provides quarterly updates. |