Hosting Fluent Manager on AWS EC2 Virtual Machine
It is assumed that you already have an AWS account and have the correct credentials and permissions to launch EC2 instances in your Virtual Private Cloud (VPC). Although almost everything can be done from the AWS CLI, the context of these instructions will be the AWS Management Console.
Setting It Up
To successfully host Fluent Manager on an AWS EC2 instance, you need to do some preparation and following that, setup the required software parts.
Create and configure AWS EC2 instance according to the official AWS documentation
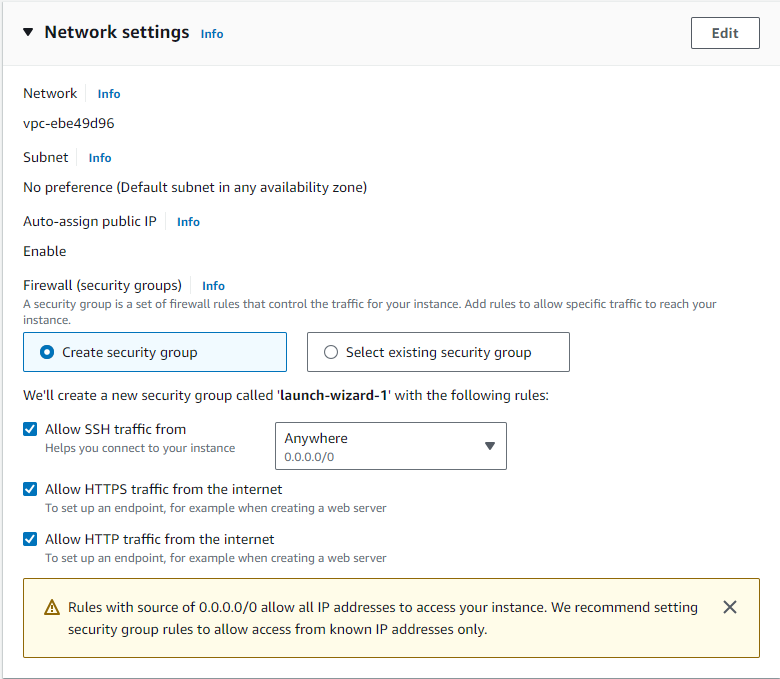
- When creating your EC2 instance, configure the associated Security Group to allow inbound HTTP/HTTPS traffic from the Internet. You can set this during the EC2 creation process by navigating to "Network settings". Using an HTTPS Security Group is best practice because HTTPS provides encryption over HTTP, making it more secure than plain HTTP.
Use this documentation to deploy and install all Fluent Manager parts on your EC2 instance.
Expose your Fluent Manager instance to the web, for example, using Nginx:
You can install Nginx using the following commands:
sudo apt updatesudo apt install nginx
Configure Nginx as a Reverse Proxy:
Navigate to the
/etc/nginx/sites-enabled/Create a symbolic link to your configuration file in the sites-enabled directory by running the following command:
ln -s /etc/nginx/sites-available/<config_file_name>Navigate to the Nginx configuration directory
/etc/nginx/sites-available/Edit the default configuration file using some text editor (e.g. nano):
nano defaultEnsure that the following ports are open:
22for SSH,80, 443for Nginx
Make the following changes to the default configuration:
  - Add your EC2 instance’s public IPv4 address as the server_name.
  - Update the `server` block with:
listen 443 ssl http2;
server_name <dns>;
ssl_certificate <path_to_your_certifite>;
ssl_certificate_key <path_to_your_key>;
Modify the
serverblock to listen on port 80 for the virtual host configuration.Update the
location /block with:location / {
proxy_pass http://127.0.0.1:<your_port>;
proxy_set_header X-Forwarded-For $proxy_add_x_forwarded_for;
proxy_set_header X-Forwarded-Host $host;
proxy_set_header X-Forwarded-Server $host;
proxy_set_header Host $host;
proxy_set_header X-Forwarded-Proto https;
client_max_body_size 20m;
}In this configuration
<your_port>refers to the port of the running Front-end container. The Database port can be left unexposed for security purposes. Similarly, the Backend can also be left unexposed because the Backend service is accessible through the Front-end via the /api/ subpath. Theclient_max_body_sizeproperty has a default size of 1m, and by changing it, we allow for the upload of larger files. Keep in mind that these are sample configurations, and you can customize them according to your specific needs.Restart Nginx:
sudo systemctl restart nginxTest Nginx configuration with:
sudo nginx -t
This configuration example is for a Linux system, but the Windows setup can be configured similarly.