Fluent Manager Templates
This documentation contains information about basic operations for working with templates. If your templates contain import tags, then we also recommend reading the "Template Dependencies" documentation.
Fluent Manager templates serve as the basis for generating future output documents. There are 3 types of templates:
- Word documents (.docx)
- PowerPoint presentations (.pptx)
- Excel spreadsheets (.xlsx)
Importing templates
A user should have the Import template data permission to import template files. To update templates and edit metadata, the user must have the Update templates and Edit the metadata of templates permissions.
There are several ways to add templates to your workspace. One of them is to create a template using the "Add template" button. You can immediately start editing your new template in Designer to create a new document, presentation, or spreadsheet.
Another way is to import a template that you have locally. To import templates into the application, follow these steps:
- Click on the “Import template” button located at the top of the “Template management” tab.
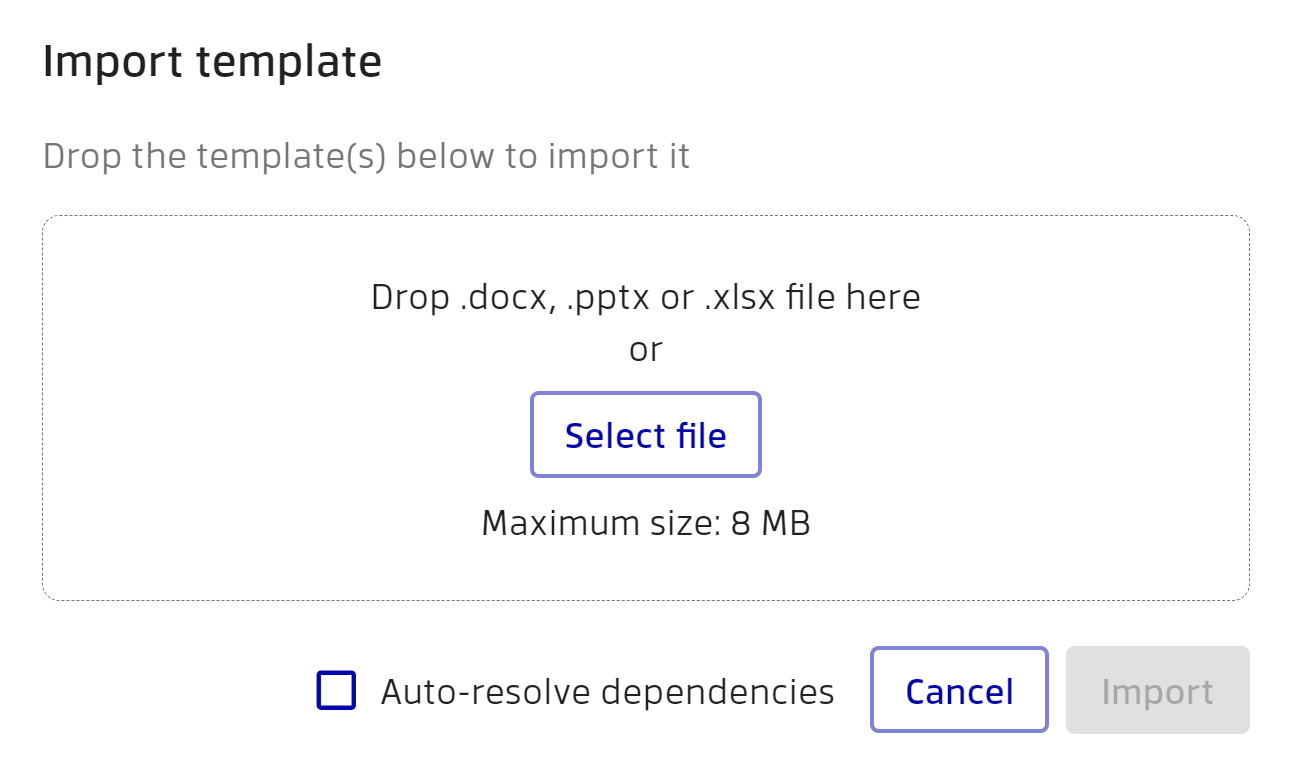
- Upload one or several templates by dragging them to the drop zone or by clicking "Select file" button.
- Click the import button.
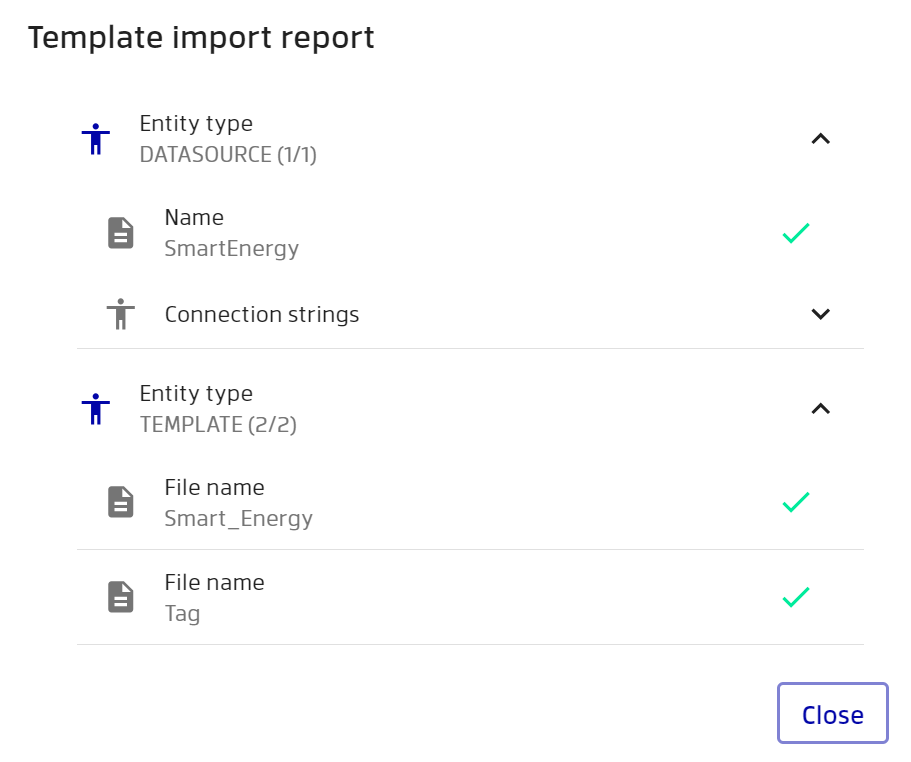
After uploading a template into the application, the Manager parses the template structure to find embedded data sources and imports all of them as separate assets. All information including errors, warnings, and a list of created entities will be accessible in the report window after the template import is completed.
Uploaded templates are stored in the database. Additionally, the Manager deploys them to the RESTful Engines of the appropriate stages. There they are cached for further use and can be utilized by making API requests to RESTful Engines for generating reports. For a more detailed understanding of how these components interact, please refer to the Component Diagram documentation.
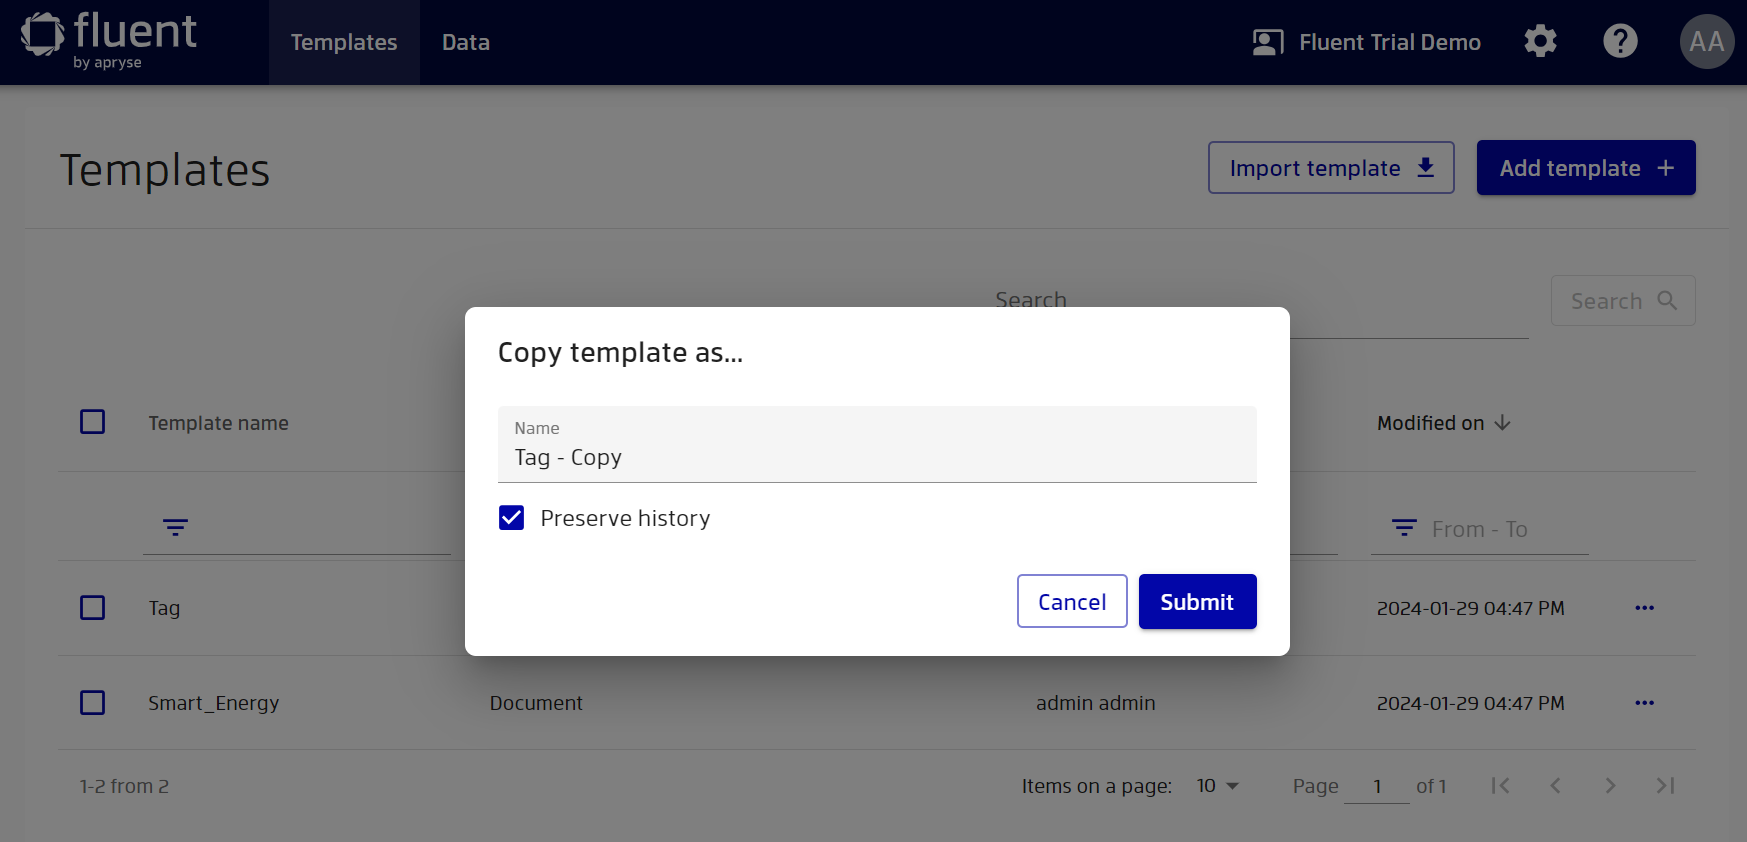
New templates can be found in the templates table by going to “Template management”. Once you’re there, you’ll see a list of all the templates that are available to you. From here you can duplicate any template and make changes to it without affecting the original.
![]()
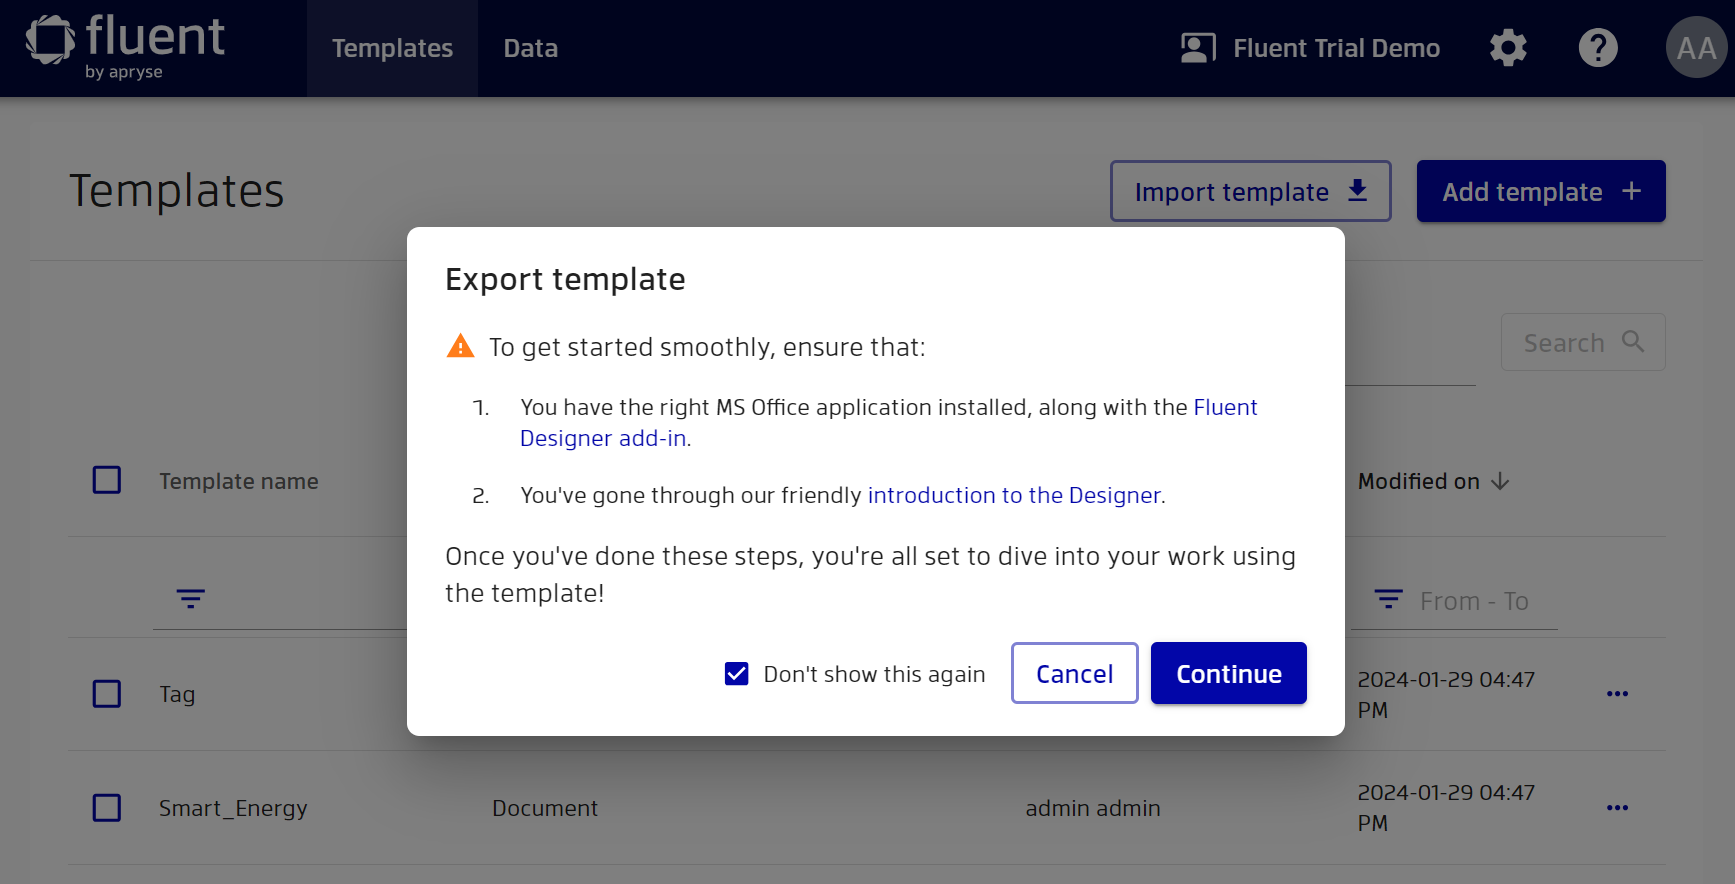
You can also export any template that you’ve created. When exporting, you will receive a reminder on how to start working with the Designer. Leave the "Don't show this again" option checked if you want to avoid showing this hint again.
In addition, if you no longer need a particular template, you can delete it.

To check the details of a template, simply click on it in the table.
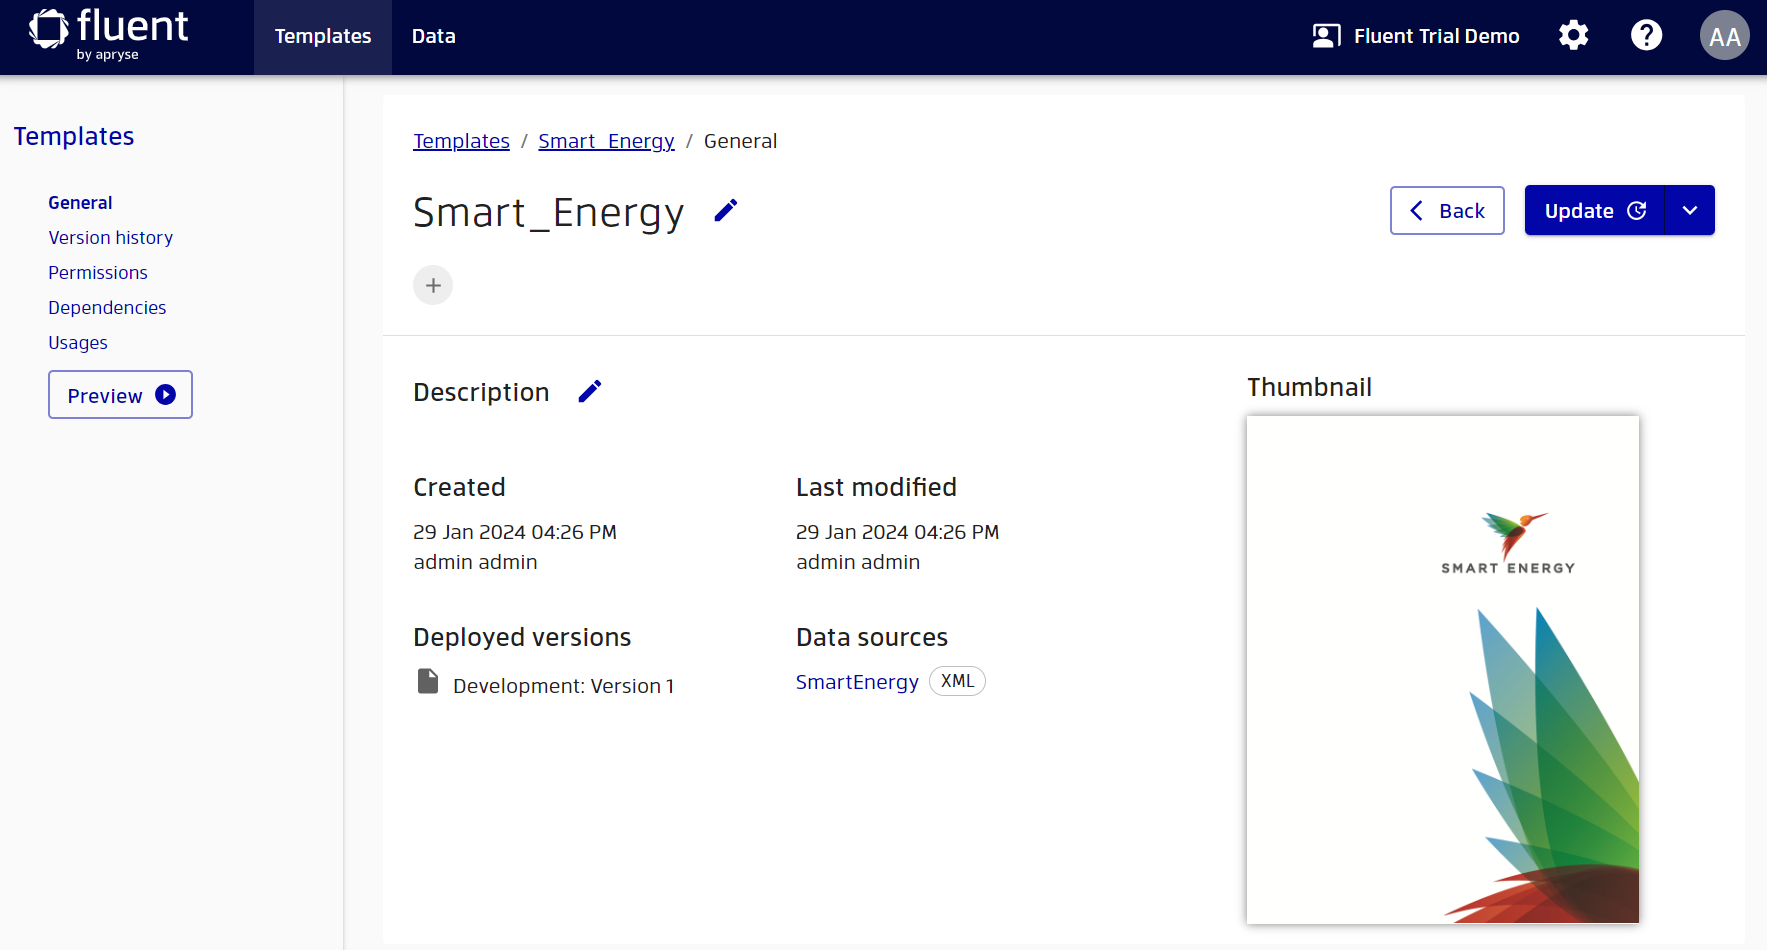
If you’d like to update your template, you can do so at any time by clicking the appropriate button at the top of the page to start updating. Once you click the button, you will be prompted with a message that the correct MS Office application must be installed in order to develop or modify a template file.
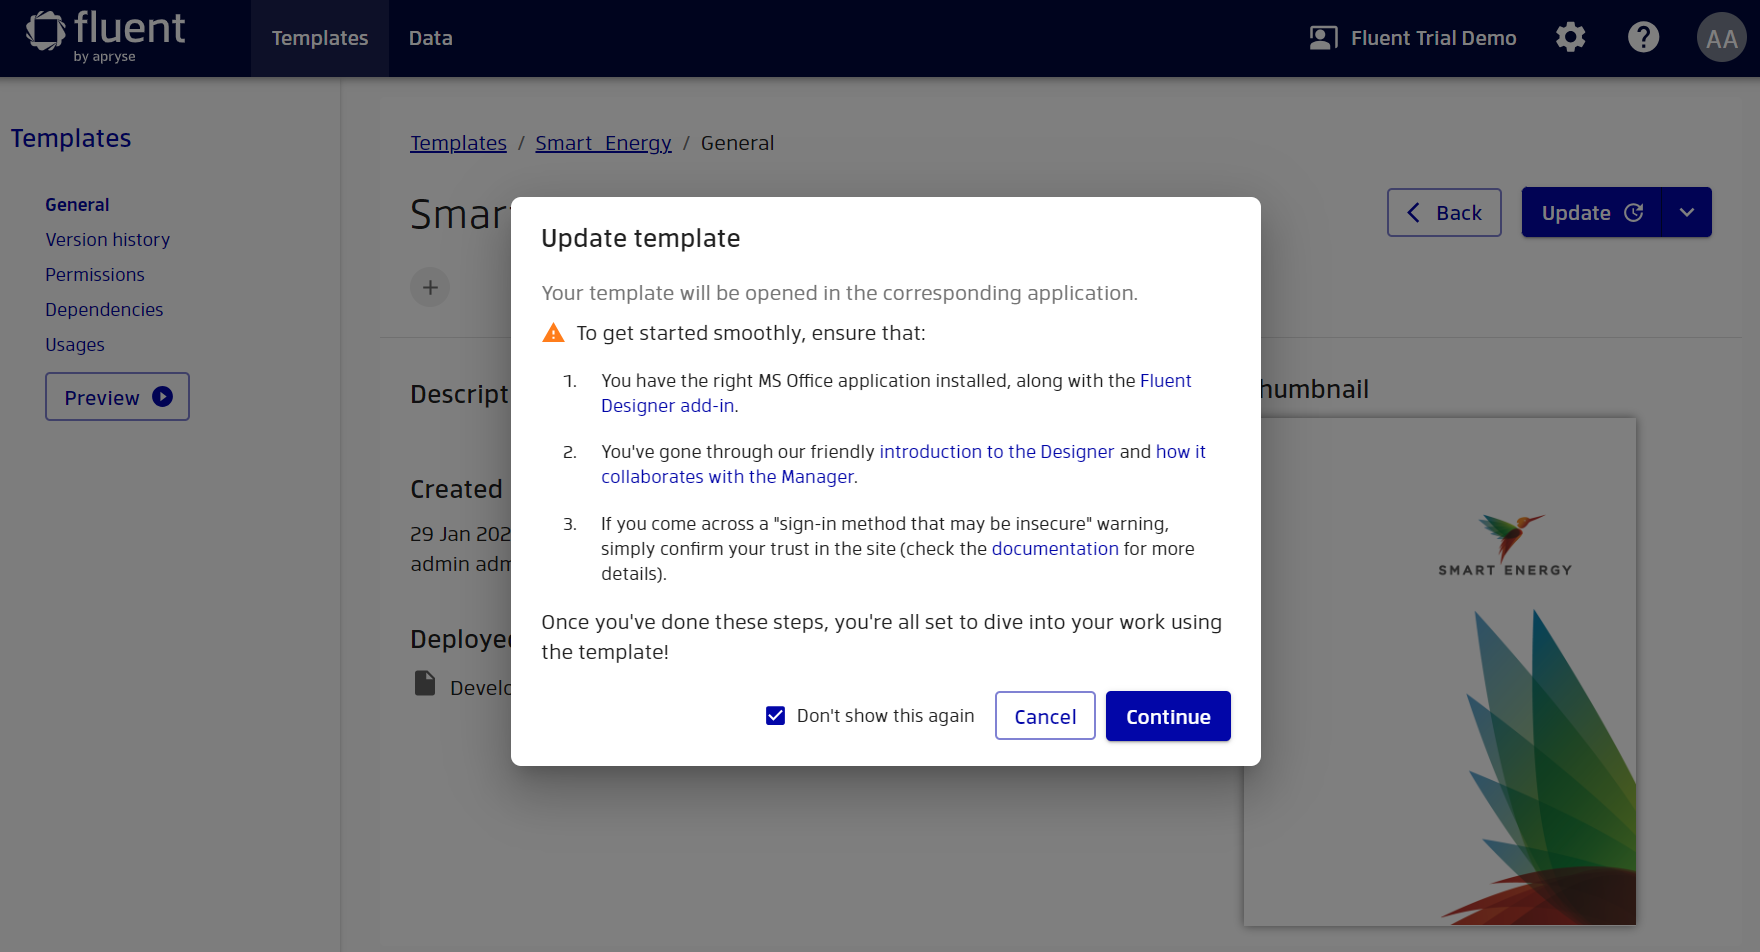
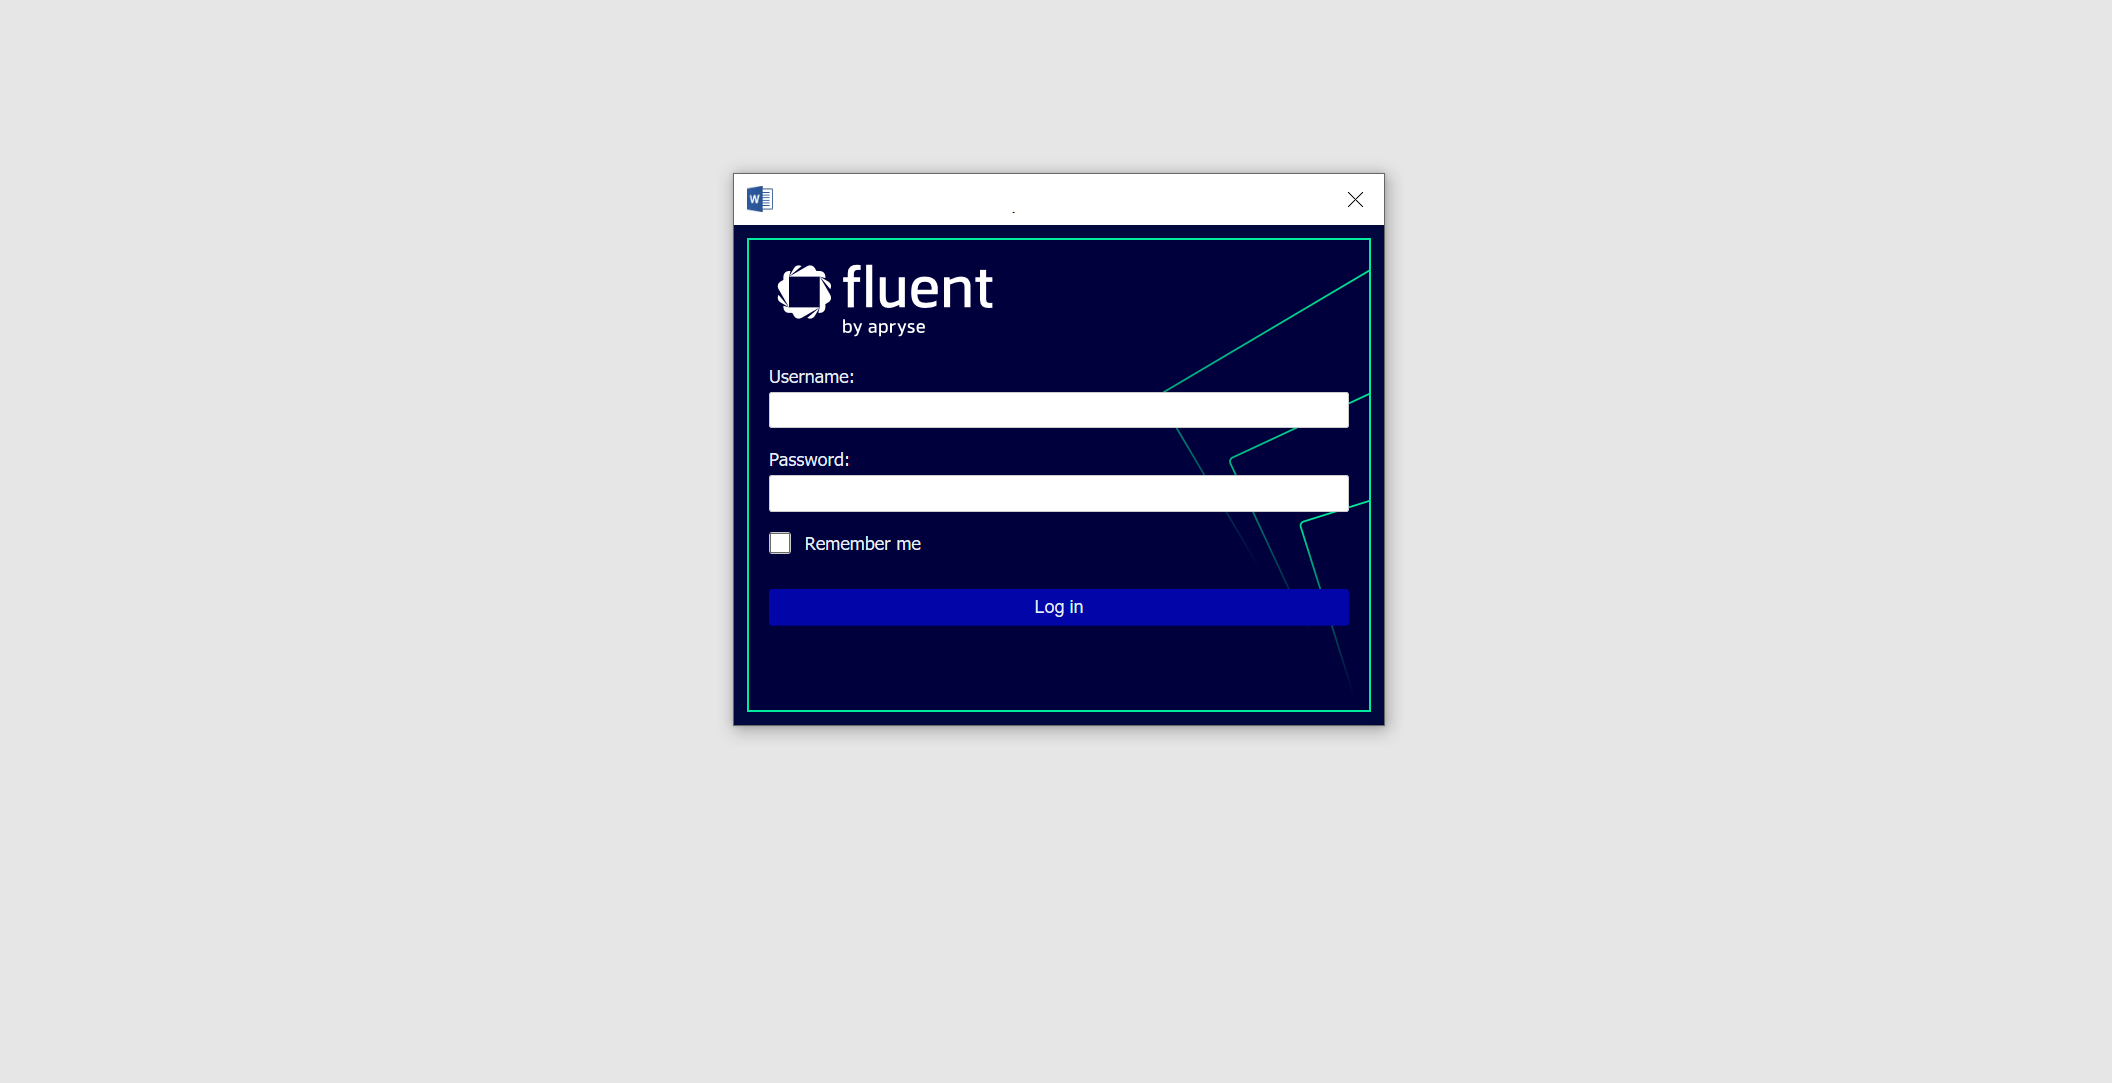
Click “Сontinue” to start changing your template. Depending on the type of your template, an application of the corresponding type will be opened. To allow Designer to open the template, you must provide your Manager credentials once again. To skip recurring authorization, you may select "Remember me" option. In this case, authorization token will be stored in cookies for 30 days by default. After successful login, you can start work with the template.
More details about editing a document can be found in the documentation for the Designer.
Once you have completed all the editing steps, you can save your template and close the MS Office application. The new version of the template will be automatically uploaded to the Manager.
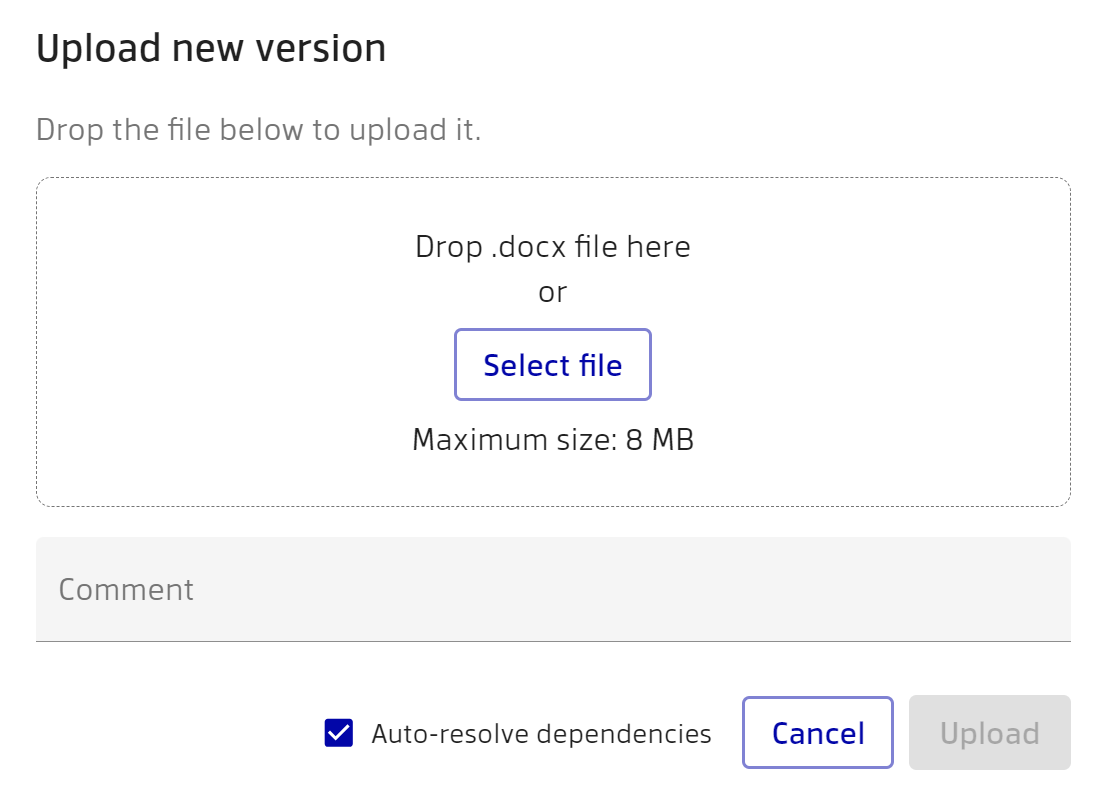
Another option to update the template is to click on “Upload new version” in the dropdown under update. By choosing this method, you can immediately upload a pre-prepared new version of the template and also specify a comment.
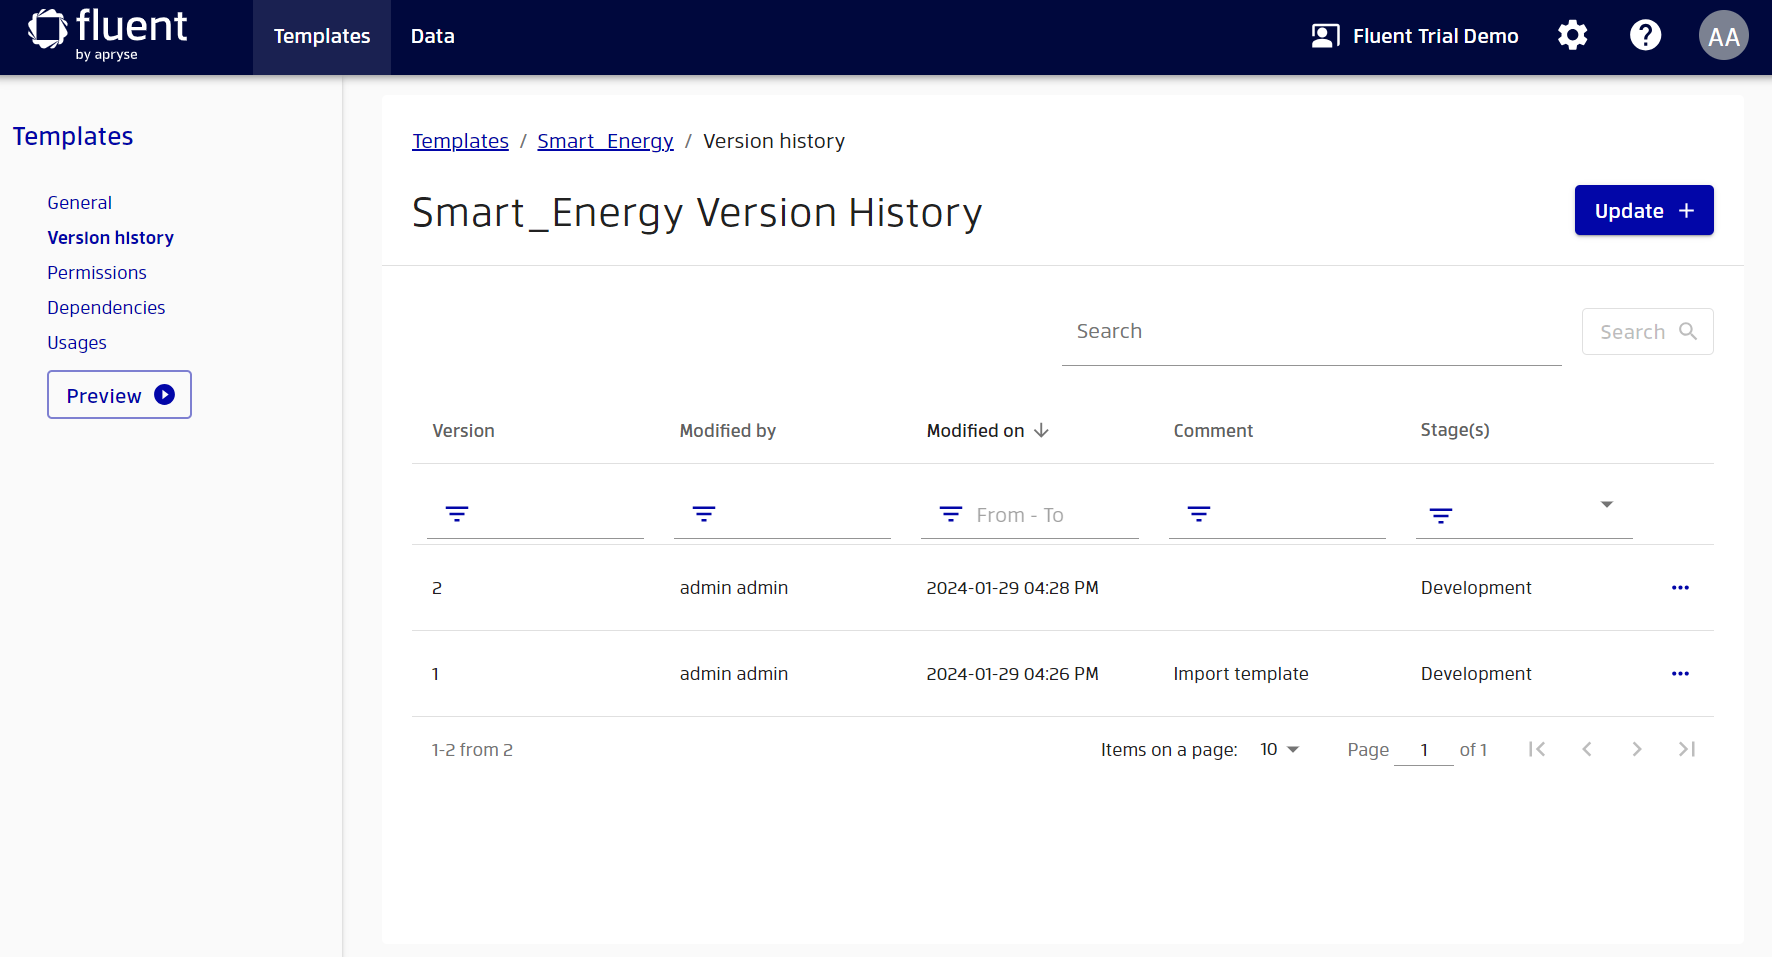
If you want to see all versions of the template, you can go to the “Version history” tab.
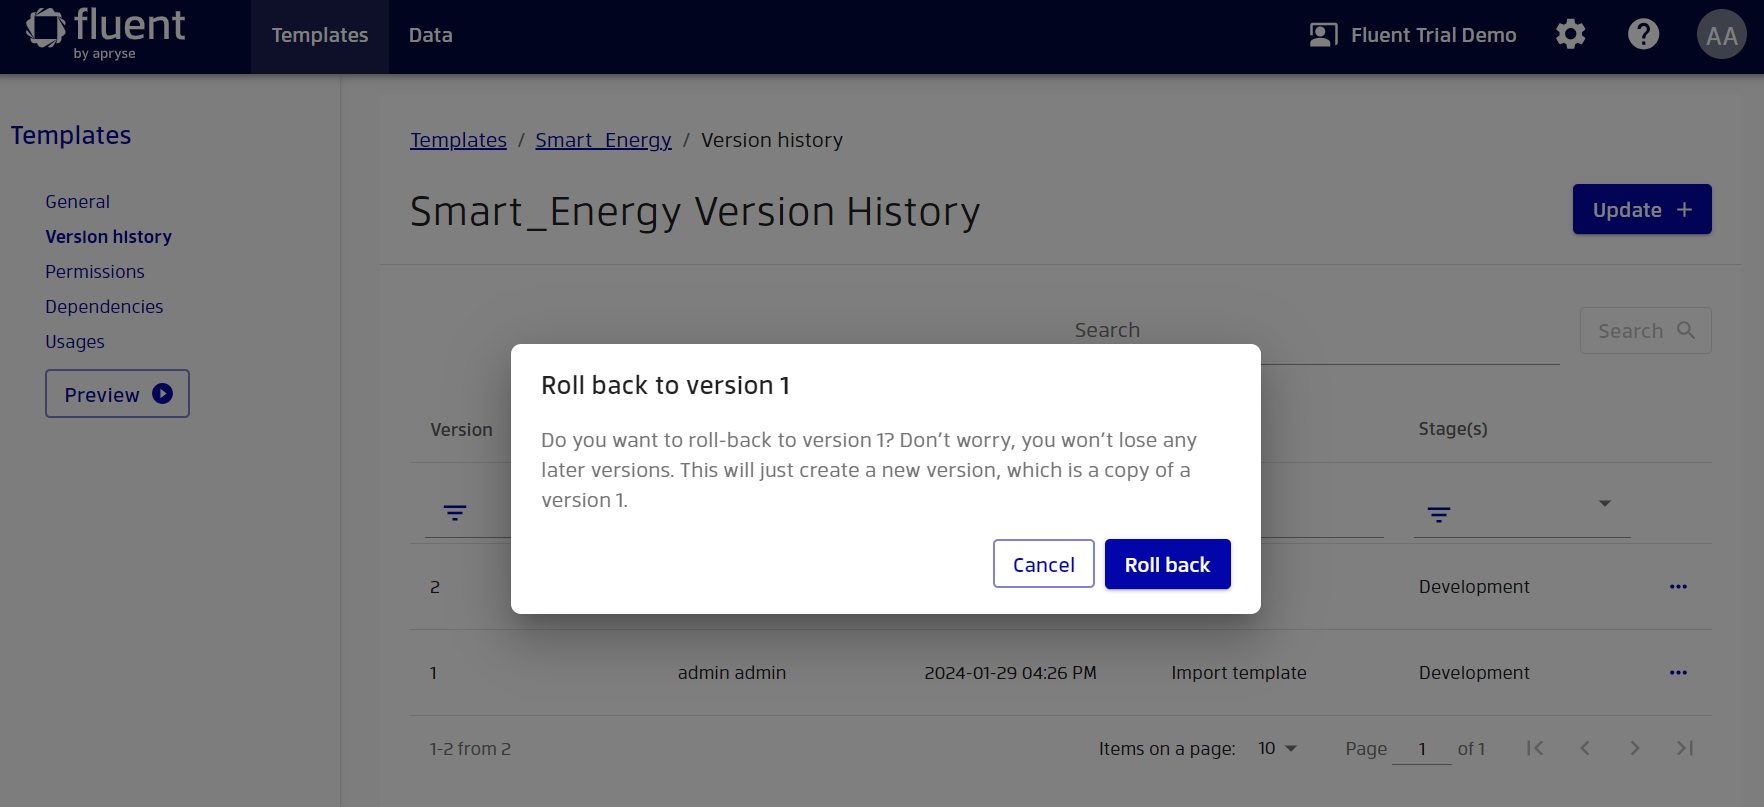
To perform a rollback, click on the three dots next to the desired version, and then select the "Roll back to version" option. This will create a new version of the template which will have the contents of the selected version.
Template preview
You can test your templates with various data, which is pulled from the specified connection strings. Each data source has a set of connection strings that describe where the actual data can be found.
After clicking on the “Preview” button, you will be prompted to select stage, version and connection strings (plus input parameters if present) for your template. You can read more about using stages in the "Stages Configuration" documentation. You can select the version for which you want to generate a preview. This will allow you to see not only what the current report looks like, but also what it looked like before. By default, the preview uses the connection strings that are in the template and predefined values of input parameters.

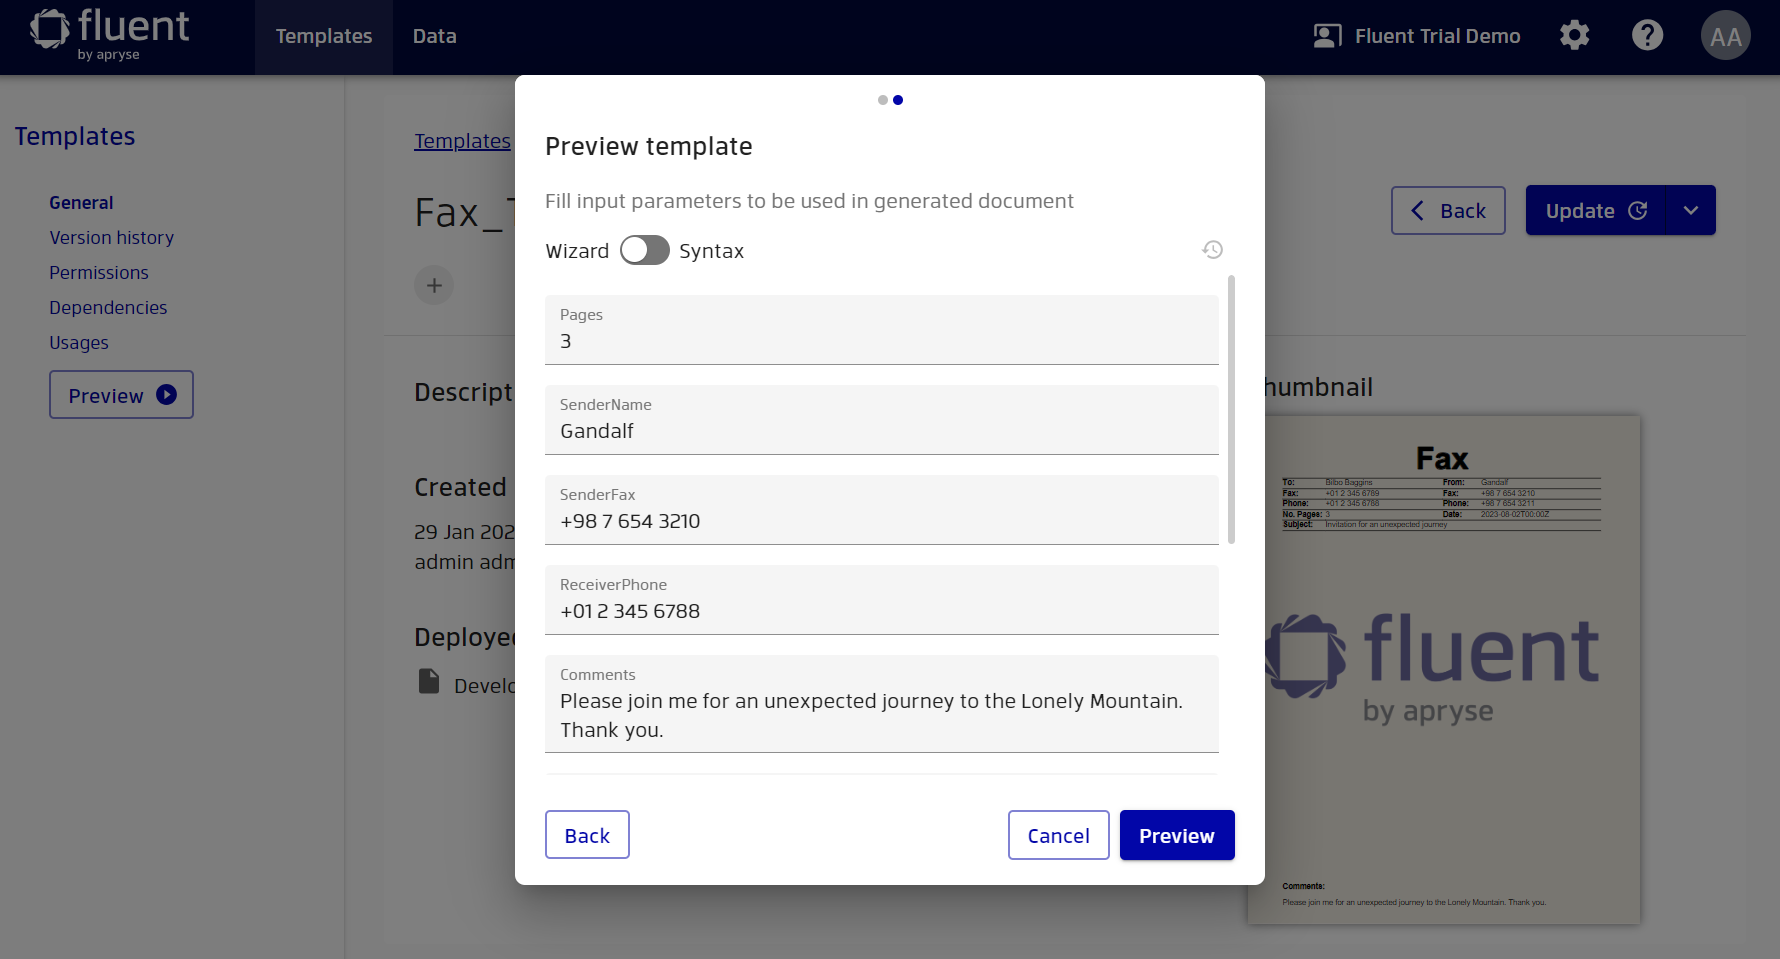
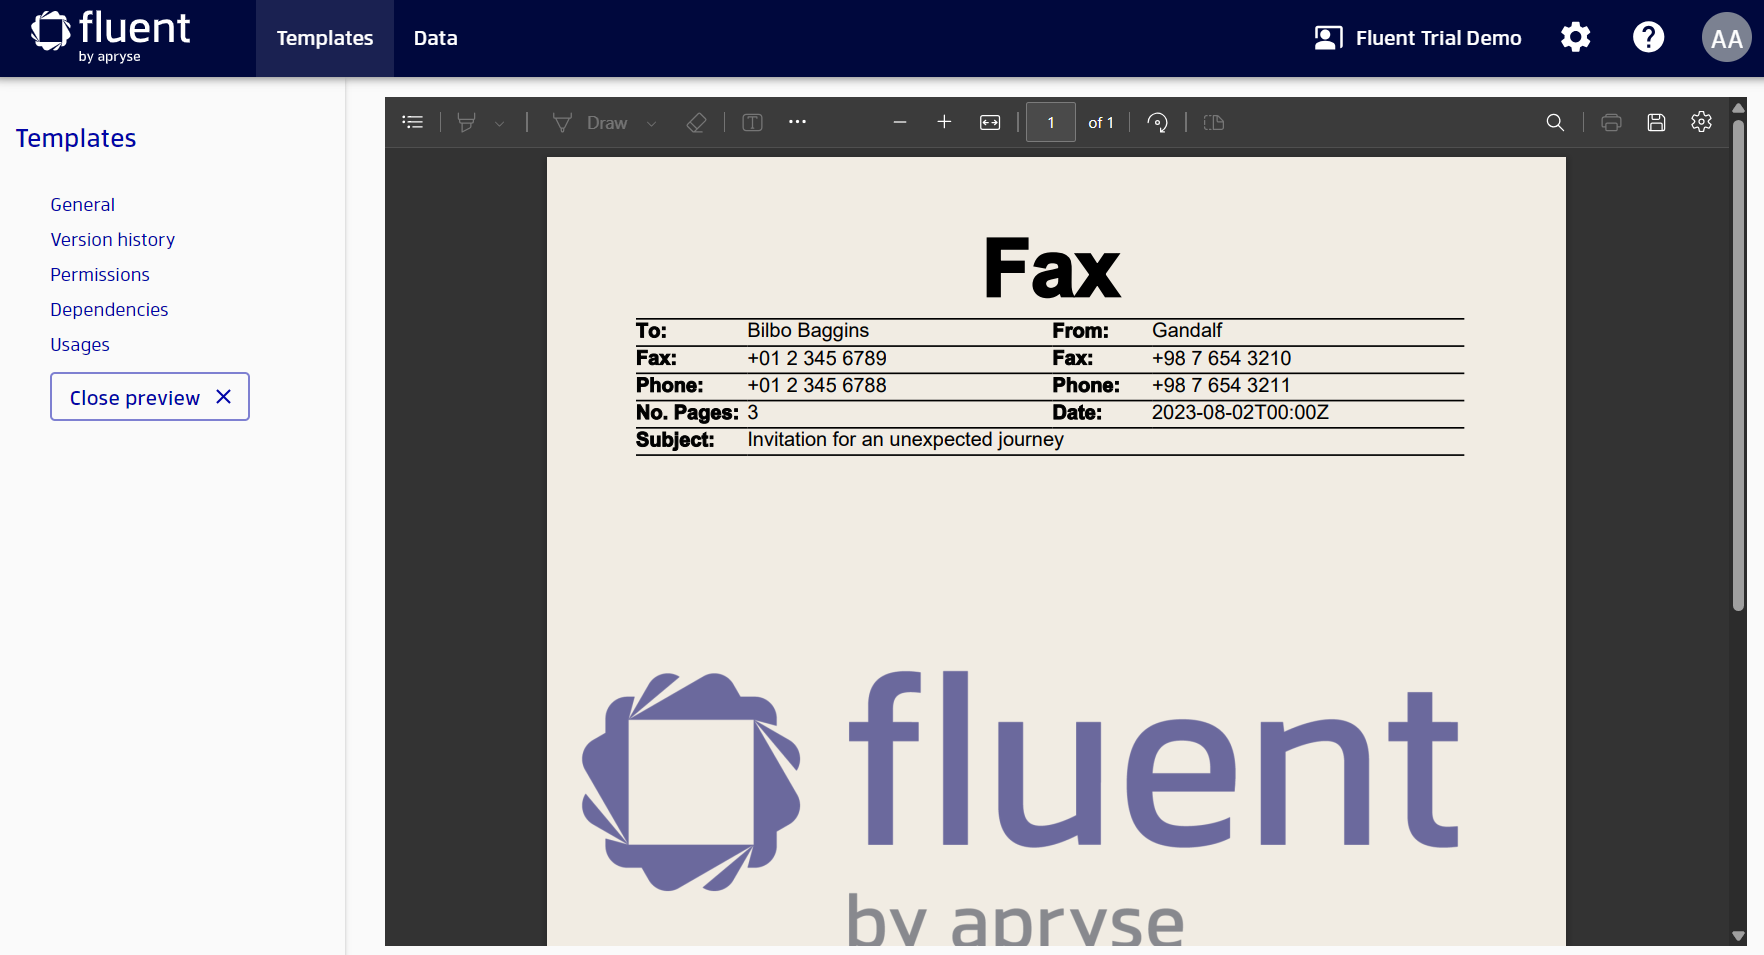
After choosing all connection strings, filling input parameters and clicking on the “Preview” button, you will get a template report in PDF format.
Template permissions
In addition to global application permissions, each template can have its own set of permissions. This allows you to control who can access and edit each template.
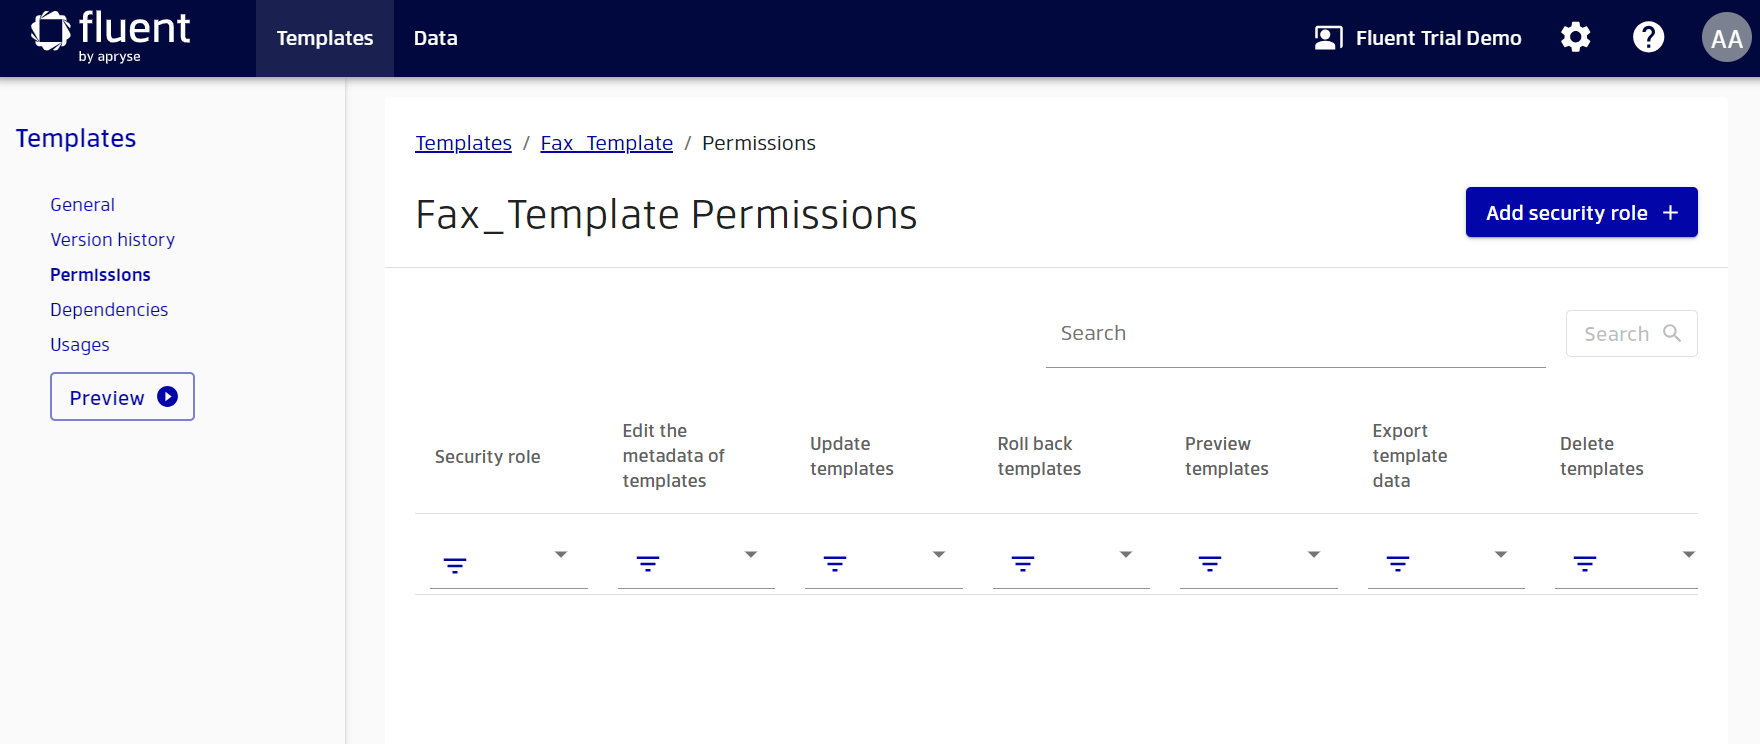
You can set limitations for any existing roles. For example, a user with a custom role is able to update all templates according to their role restrictions, but some templates can prevent them from doing that by setting their own permissions.
Template dependencies and usages
You can see the data sources that are used in your template in template dependencies.
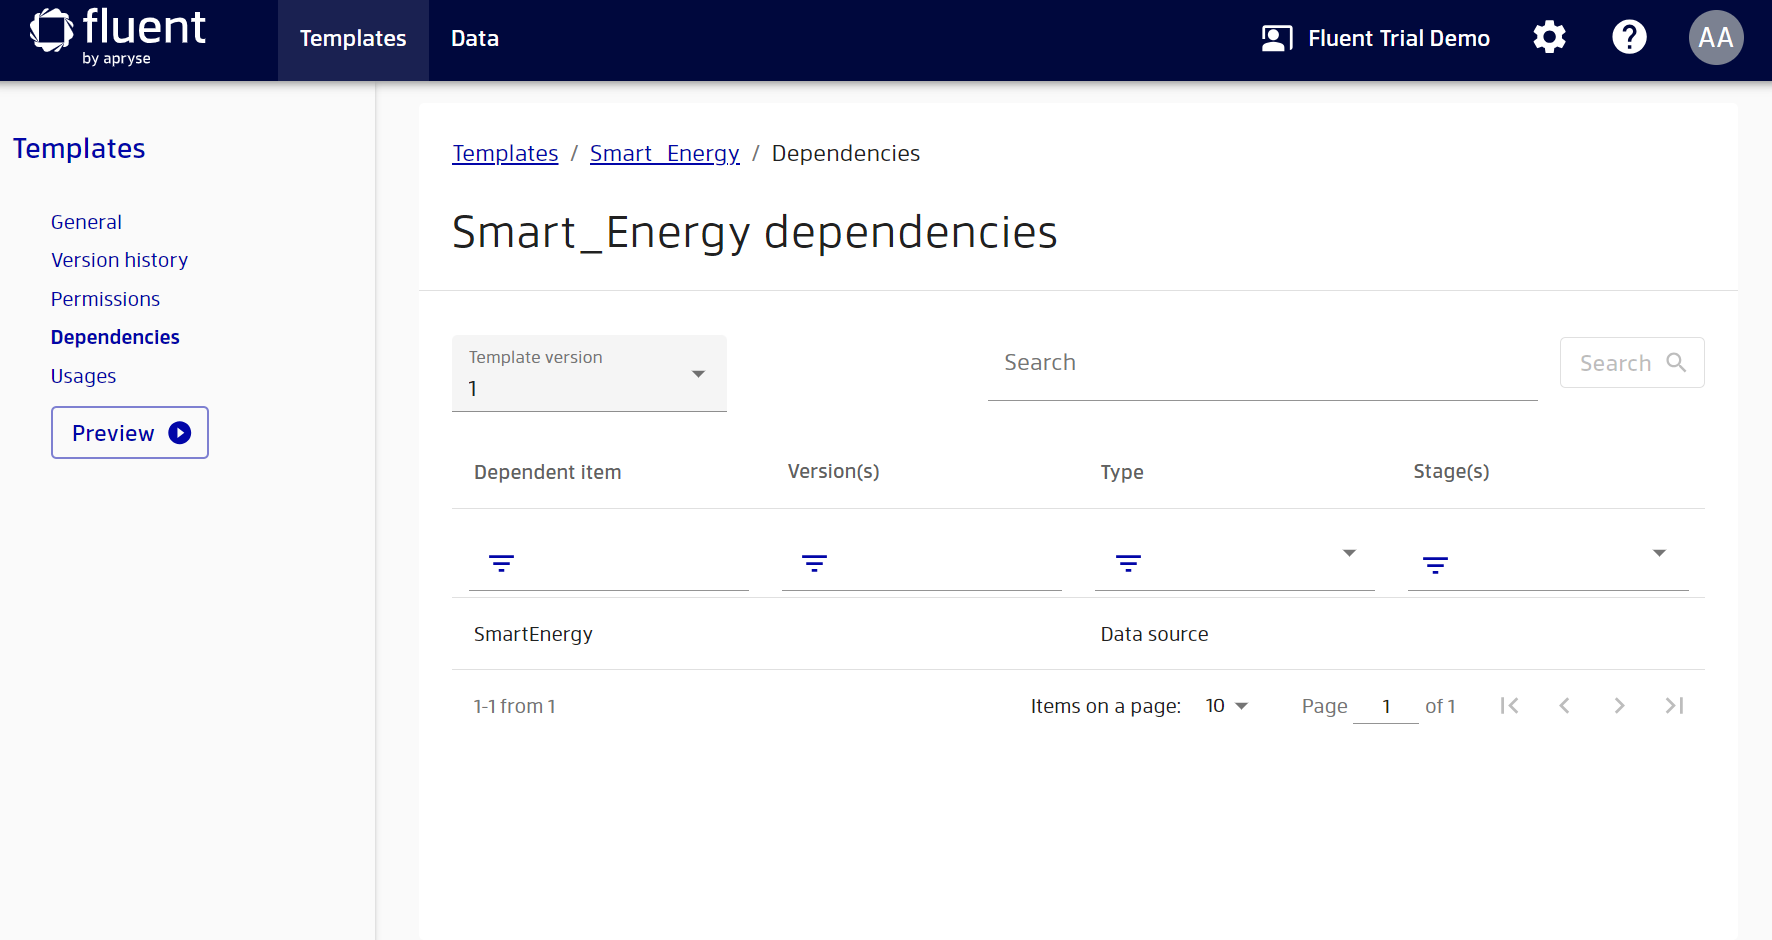
In addition to data sources, templates can depend on other templates or resources, and can be used in other templates. You can find more detailed information on such dependencies in the "Template Dependencies" documentation.