Deploy Fluent Manager with Kubernetes
This documentation describes another way to deploy a Fluent Manager application. Note that this method is only recommended if you have experience with Kubernetes or don't mind exploring this technology. Otherwise, we recommend using deployment using docker-compose as a simpler method that does not require Kubernetes knowledge.
This document describes how to deploy the Fluent Manager application to a Kubernetes (k8s) environment.
Fluent Manager consists of 3 main technical components: frontend, backend, and database. All these components, as well as the RESTful Engine, will be deployed using a ready-made Helm Chart.
Handy Links
| Helm Chart | JFrog |
|---|
Requirements
Minimum System Requirements | Download Application Requirements |
|---|---|
|
The disk space required will adjust in proportion to the number and size of the templates you are using.
Step 1: Create Kubernetes cluster
Before deploying your application using Kubernetes, you will need to create a Kubernetes cluster. Please note that cluster creation differs for different cloud providers, as well as when running locally. To run a cluster locally you can use minikube. To run a cluster on a cloud provider, please refer to the appropriate documentation for your preferred cloud provider (AWS, Azure, Google Cloud). If you already have a cluster, you can of course reuse it instead of creating a new one.
We also provide an example terraform script that sets up a cluster on AWS for you.
To use Terraform infrastructure files, download and install Terraform CLI from the official website. Using this script is completely optional, and rather serves as an example.
Step 2: Configure Kubernetes context
Minikube
After the cluster is up and running, the kubectl context is automatically set to "minikube". This implies that kubectl will interact with your Minikube cluster by default for all subsequent commands.
AWS
To configure Amazon EKS, follow the steps described below:
- Install AWS CLI tool from the official website
- Configure the used AWS credentials with
aws configurecommand. When prompted, provide the following information:- Access key ID
- Secret access key
- AWS default region
- Output format
- Get the list of connected clusters using the command:
aws eks list-clusters - Create a kubectl config entry with the following command, replacing (Region) and (Cluster-Name) with valid values:
aws eks --region (Region) update-kubeconfig --name (Cluster-Name)
Azure
To configure AKS, follow the steps described below:
- Install the Azure CLI tool from the official website
- Get the list of connected clusters using the command:
az aks list -o table - Create a kubectl config entry with the following command, replacing (ResourceGroup) and (Name) with your chosen values:
az aks get-credentials --resource-group (ResourceGroup) --name (Name)
Google Cloud
To configure GKE, follow the steps described below:
- Install the Google Cloud SDK took from the official website
- To initialize and authenticate in Google Cloud, execute the following command:
gcloud init - List configured clusters with the following command:
gcloud container clusters list - Create a kubectl config entry with the following command, replacing (Location) and (Name) with your chosen values:
gcloud container clusters get-credentials (Name) --region (Location)
Step 3: How to Use the Helm Chart to deploy the application
Step 3a: Prerequisites
Manager is deployed using a ready-made Helm Chart. Therefore, you need to install the Helm CLI tool. Installation instructions can be obtained from the official website. You can verify your Helm installation with the helm version command which will print the installed version of the Helm CLI.
Step 3b: How to use Helm Chart
The Chart is available at the following link https://repo.itextsupport.com/artifactory/fluent-deployment-scripts/x.y.z/fluent-helm-chart-x.y.z.tgz. You can either download the Helm Chart with the version you want, or you can specify the URL when running a command to start the application. In the commands below, we will use fluent-helm-chart-x.y.z.tgz, make sure to replace this with the URL or location of your file and also replace x.y.z with the desired version.
When deploying or updating your application, ensure that you use the deployment script version that corresponds to the desired application version. For example, if you want to deploy Fluent with version x.y.z, use the script for version x.y.z. Similarly, when updating your application from version a.b.c to version x.y.z, make sure to use the deployment script for version x.y.z.
To view Chart information you can use the following command:
helm show chart fluent-helm-chart-x.y.z.tgz
The chart also contains values that can be configured at startup. These values include environment variables, ports for containers, volumes settings, and much more. To view the values available for the configuration, use the following command:
helm show values fluent-helm-chart-x.y.z.tgz
This will give you the opportunity to see all the values available for the configuration. We'll show below how to configure these values when the application starts.
Step 3c: Deploy the Application
After creating the cluster and setting up the Kubernetes context, all you have to do to deploy the application is run the install command. When running the install command, we recommend overriding the email and password for the global administrator. These are the credentials with which you can log into the application after successful deployment. You can also override other variables if you want something else.
The database, as well as the RESTful Engine, require persistent volumes to ensure that your data remains intact during redeployment, updates, and other operations. The main idea is that these components can be run on new pods, picking up data from volumes. The Helm Chart creates persistent volume claims and relies on dynamic provisioning.
If you created a cluster in AWS and your cluster version is 1.23 or higher, you will also need to configure the Amazon EBS CSI driver. Please refer to the official documentation.
::: tip Make sure to replace (chart), (global-admin-email) and (global-admin-password) in the command below to the name of the chart (e.g., fluent-manager), as well as the desired email and password of the global administrator. :::
The install command looks like this:
helm install (chart) fluent-helm-chart-x.y.z.tgz --set manager.envConfigMap.FLUENT_MANAGER_DEFAULT_ADMIN_EMAIL=(global-admin-email) --set manager.envConfigMap.FLUENT_MANAGER_DEFAULT_ADMIN_PASSWORD=(global-admin-password)
After the command is executed successfully, you will see the following message Fluent Manager 24.0.1 is up and running....
::: tip
Fluent Manager 24.0.1 is up and running... doesn't mean your application has launched completely. It will take some time for Kubernetes to pull the necessary Docker images for the Manager's front-end, back-end and database, and also launch all the necessary Kubernetes objects. To make sure your application is working, you can simply open the application as described further in "Open the Manager Application". We also include basic tests in the Chart, which check whether the Manager is ready to work and whether all the necessary Kubernetes objects have been created. To run the tests you can use helm test (chart). :::Here are some more examples of running commands with customization of various parameters. In the following commands we do not customize email and password class for brevity. However, keep in mind that it is also recommended to specify them when running the install command:
- Customizing namespace name
helm install (chart) fluent-helm-chart-x.y.z.tgz --set manager.envConfigMap.FLUENT_MANAGER_DEFAULT_ADMIN_EMAIL=(global-admin-email) --set manager.envConfigMap.FLUENT_MANAGER_DEFAULT_ADMIN_PASSWORD=(global-admin-password) --set namespace=fluent-manager
- Customizing port for FE container
helm install (chart) fluent-helm-chart-x.y.z.tgz --set manager.envConfigMap.FLUENT_MANAGER_DEFAULT_ADMIN_EMAIL=(global-admin-email) --set manager.envConfigMap.FLUENT_MANAGER_DEFAULT_ADMIN_PASSWORD=(global-admin-password) --set manager.frontend.port=8090
- Customizing lifetime for access and refresh tokens
helm install (chart) fluent-helm-chart-x.y.z.tgz --set manager.envConfigMap.FLUENT_MANAGER_DEFAULT_ADMIN_EMAIL=(global-admin-email) --set manager.envConfigMap.FLUENT_MANAGER_DEFAULT_ADMIN_PASSWORD=(global-admin-password) --set manager.envConfigMap.FLUENT_MANAGER_ACCESS_TOKEN_TIME_TO_LIVE=43200 --set manager.envConfigMap.FLUENT_MANAGER_REFRESH_TOKEN_TIME_TO_LIVE=604800
For more details about available environment variables, see Customizing Fluent Manager Application.
::: tip If you want to specify a lot of changes to variables, this may not be convenient because the command becomes long and also the command needs to be remembered/written down for reuse. However, in addition to the method of specifying all the necessary values, you can also pass a file with values. To do this, follow the steps described:
- Copy the value configuration contents to the config.yaml file with the following command:
helm show values fluent-helm-chart-x.y.z.tgz > config.yaml
- Adjust the contents of config.yaml according to your preferences. For example, specify the value of the environment variables for the email and password of the global administrator, as well as the storage class.
- Execute the install command by passing the configuration file as input using the following command:
helm install -f config.yaml (chart) fluent-helm-chart-x.y.z.tgz
:::
Step 4: Open the Manager Application
4a: Find the frontend service external address and open up the application at http://(external-ip)
- Default port is 80, but it's possible to override it as shown earlier. You can get the external IP by executing the following command:
kubectl get -l app=frontend --all-namespaces service
4b: Log in to Fluent Manager
- Use the global administrator credentials you specified when executing the install command.
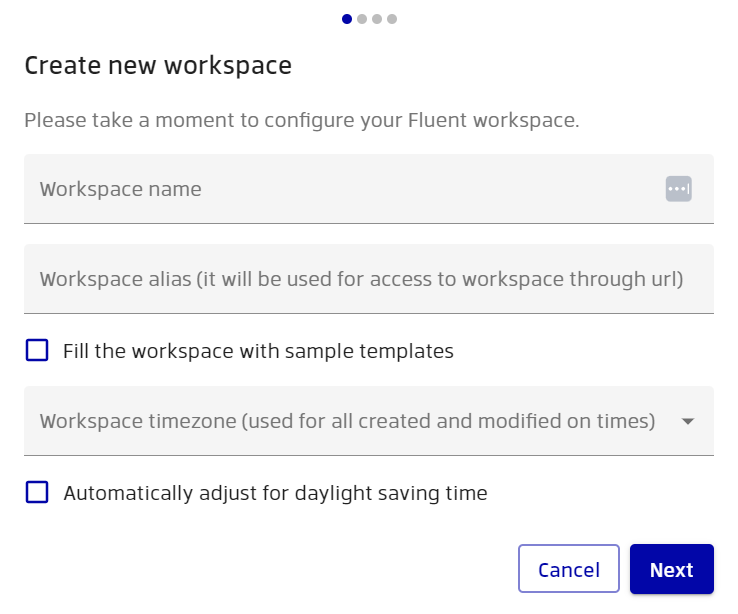
- After you have logged in, the workspace initialization will guide you through the process of setting up your workspace.
4c: Choose a Name, Alias, and Timezone for your Workspace.
This time zone you choose will be used for all creation and modification dates in the user interface. You can change these settings at any time in the settings.
- The workspace can be additionally populated with sample templates and related data to help you explore the application. To fill the workspace with samples, simply select the "Fill the workspace with sample templates" option.
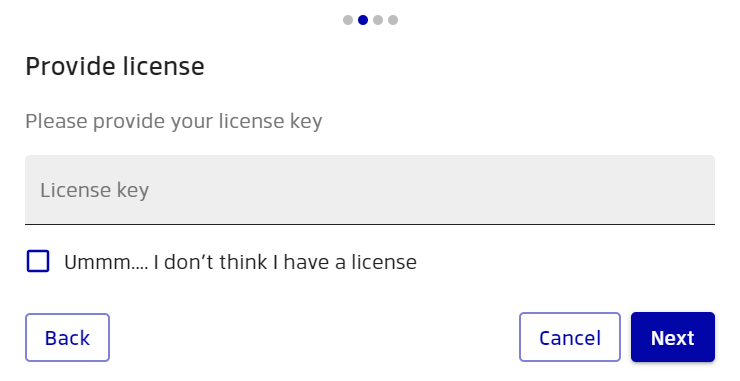
4d: Licensing
- Enter your license key in the text box. You should always copy/paste the key.
- Licenses can have different formats and may represent online keys or offline uue-format strings. All the formats are supported by the Manager application.
- When initializing the Manager without an Internet connection, make sure you are using the offline license type in uue format.
If you do not have a license, you can fill out the form and get a trial license valid for 30 days
4e: Specify an Instance Name, and the URL of the RESTful Engine
We recommend using the same major and minor versions for RESTful Engine and Manager. In this case, they will definitely be compatible. Thus, if you are using Manager version a.b.x, then it is better to use RESTful Engine with the version a.b.c.d.
Which URL to use is dependent on your unique situation. Please fully read through the options PRIOR to completing this step.

Option 1:
If your Engine instance is hosted outside of your Kubernetes environment, or has another namespace:
- Use the domain name/IP address and (optional) port number where the Engine is exposed, such as
http://engine.domain.com:8080orhttp://10.20.30.40
If your domain is hosted on a secure HTTPS protocol, you must use the https:// schema accordingly.
Option 2:
If your Engine instance is hosted in the same Kubernetes environment and namespace as Fluent Manager:
- Use
http://(SDK_service):(port)where (port) is the port of your RESTful Engine which is 8080 by default, otherwise the one you chose during customization.
Fluent Manager Application Maintenance
Updating the application:
To update your fluent manager application use the following command:
Warning!
Please make sure to back up your data (as well as data of the RESTful Engine instances that you set up) before performing an update.
During the update you need to download the chart with the new version and use it in the upgrade command
The application will be stopped and restarted during the update process. The data that is not stored to Persistent Volumes will be lost.
Make sure to specify the same value customizations as with the install command. If you are using a yaml file as an input file, make sure that there are no new customization parameters in the new release, otherwise the chart will not work. You can verify this by using the show values command shown earlier, and checking the keys of the output and your file.
helm upgrade (chart) fluent-helm-chart-x.y.z.tgz --set manager.envConfigMap.FLUENT_MANAGER_DEFAULT_ADMIN_EMAIL=(global-admin-email) --set manager.envConfigMap.FLUENT_MANAGER_DEFAULT_ADMIN_PASSWORD=(global-admin-password)
Removing the application
IRREVERSIBLE Operation!
This operation is irreversible and will cause major data loss! Even the data persisted by volumes will be lost.
Removes the application, including all volumes, and all data.
helm uninstall (chart)