Fluent Template Manager Offline Deployment
Template Manager Offline Deployment
When you deploy the Manager in an environment where there is no internet connection, there are a few things that need to be done in addition to those already described in the deployment documentation. In short, you must first upload all the dependencies for the deployment script, as well as the necessary Docker images to the offline environment's location. But let's go through everything step by step.
NOTE: In this documentation, you can find screenshots for deployment on Windows. However, the steps will be similar for other operating systems.
NOTE: Steps 1, 2 and 3 must be done on any computer that has internet connection.
Step 1. Prepare Deployment Script
1.1) Prepare an empty directory for the deployment files:
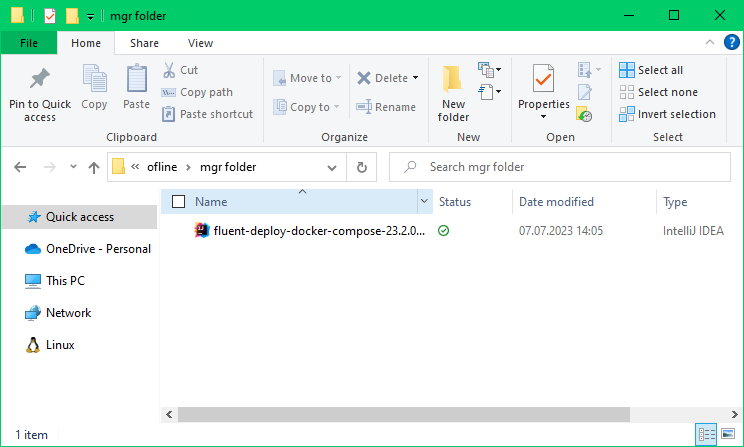
1.2) Download the deployment Kotlin script of the desired x.y.z version and place it into the previously created directory:
Step 2. Prepare deployment script dependencies
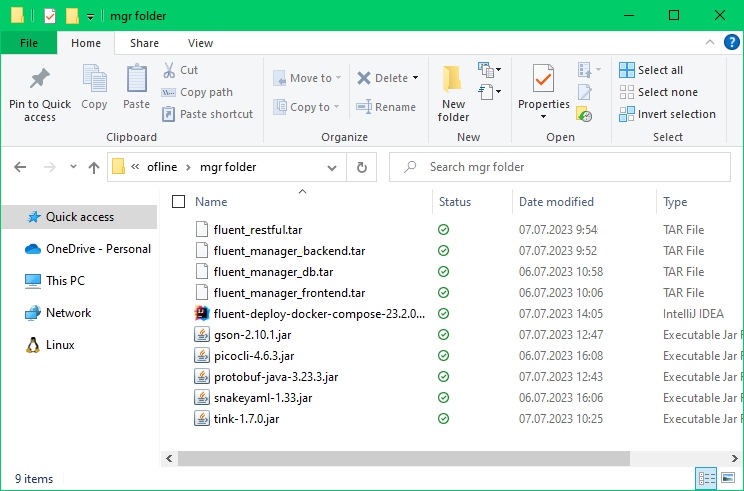
2.1) Download the dependencies for the script with the appropriate version and save them in the same directory:
| Version range | List of Dependencies |
|---|---|
| >= 0.1.0 | picocli-4.6.3.jar, snakeyaml-1.33.jar, tink-1.7.0.jar, protobuf-java-3.23.3.jar, gson-2.10.1.jar |

2.2) Open fluent-deploy-docker-compose-x.y.z.main.kts in your preferred text editor:
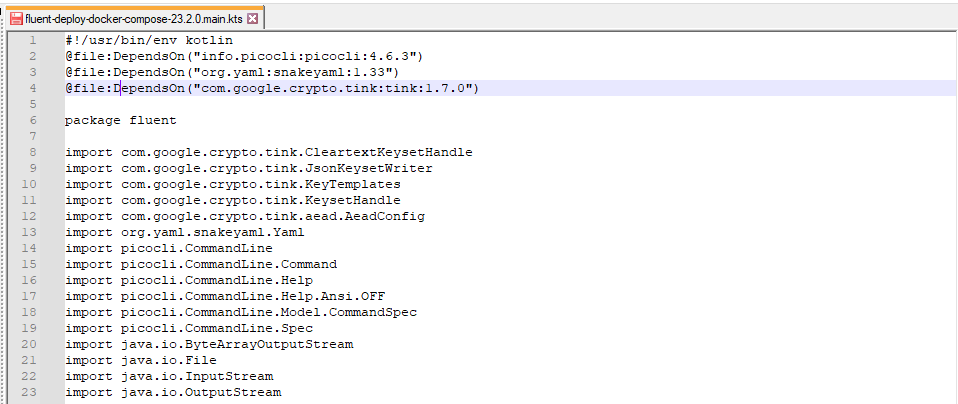
2.3) Change script dependencies to local jars as shown in the example below:
Original:
@file:DependsOn("info.picocli:picocli:4.6.3")
@file:DependsOn("org.yaml:snakeyaml:1.33")
@file:DependsOn("com.google.crypto.tink:tink:1.7.0")
Changed:
@file:DependsOn("picocli-4.6.3.jar")
@file:DependsOn("snakeyaml-1.33.jar")
@file:DependsOn("tink-1.7.0.jar")
@file:DependsOn("protobuf-java-3.23.3.jar")
@file:DependsOn("gson-2.10.1.jar")
2.4) Save the changes to the file and close the text editor.
Step 3. Prepare Docker Images
Save the Docker images as tar files by running the following commands in the directory with the deployment script.
Remember to replace x.y.z with the Manager’s version number.
3.1) Backend:
docker pull public.ecr.aws/apryse/fluent-manager-backend:x.y.z
docker save public.ecr.aws/apryse/fluent-manager-backend:x.y.z -o fluent-manager-backend.tar
3.2) Frontend:
docker pull public.ecr.aws/apryse/fluent-manager-frontend:x.y.z
docker save public.ecr.aws/apryse/fluent-manager-frontend:x.y.z -o fluent-manager-frontend.tar
3.3) DB:
docker pull public.ecr.aws/apryse/fluent-manager-db:x.y.z
docker save public.ecr.aws/apryse/fluent-manager-db:x.y.z -o fluent-manager-db.tar
3.4) RESTful Engine:
docker pull public.ecr.aws/apryse/fluent-restful:x.y.z.a
docker save public.ecr.aws/apryse/fluent-restful:x.y.z.a -o fluent-restful.tar
Step 4. Transfer data to the offline environment:
4.1) Upload the previously created directory to the target location.
4.2) Navigate to the directory on the offline enviroment and run the following commands to load the Docker images:
docker load -i fluent-manager-backend.tar
docker load -i fluent-manager-frontend.tar
docker load -i fluent-manager-db.tar
docker load -i fluent-restful.tar
The Kotlin script will now be able to deploy Fluent Manager to the offline environment. To continue the setup, follow the instructions starting from Step 2 in the Fluent Manager Deployment guide.
When initializing the Manager, make sure you are using the offline license type in uue format.