Deploy Fluent Manager with Docker
This document describes how to deploy the Fluent Manager application to any local environment.
Handy Links
| Helper Script | JFrog |
|---|
About Fluent Manager
The application is run using Docker Compose.
The Docker Compose configuration is specified in the docker-compose.yml file.
The environment variables for configuring the application are specified in an environment configuration (.env) file. This is consumed by Docker Compose.
The Fluent Manager consists of 3 Docker containers:
- Frontend
- Backend
- Database
Requirements
Minimum System Requirements | Download Application Requirements |
|---|---|
|
|
- Docker requires WSL or HyperV to be installed.
- The disk space required will adjust in proportion to the number and size of the templates you are using.
- If you encounter a problem with the absence of docker-compose during script execution, then replace all occurrences of docker-compose with docker compose in any text editor. We will fix this in the upcoming release.
Steps
Step 1: Prepare the Helper Script
1a: Confirm correct version of Kotlin.
Use command: kotlin -version to display the version of Kotlin that is installed:

1b: Download helper script.
- JFrog
- You need to download the script version that matches your Fluent Manager version.
- IE: Fluent Manager x.y.z requires deployment script x.y.z.
1c: Create the Application Directory.
- Save the script in a DEDICATED (initially empty) folder.
During execution of some operations, the script will create necessary files in that directory (such as application files, config files, backup files, temp files etc.). The directory needs to be writable and it's an irreplaceable part of the application deployment.
1d: List the available commands, and their parameters.
- Use this command to view the available commands provided by the script and their parameters.
- You must replace x.y.z with the script’s version number.
kotlin fluent-deploy-docker-compose-x.y.z.main.kts help
Step 2: Create an Environment Configuration File
In this step you will use a command that will create your environment configuration file (.env).
You will pass parameters to set up a unique username and password for the global administrator of the Manager application.
Change our example username and password (admin@email.com and long_pa$$word) to one of your own choosing.
2a: From the command line, navigate to the Application Directory you created in Step 1.
2b: Run the following command, changing the example username and password to unique credentials of your choosing.
- Remember to replace x.y.z with the script’s version number.
kotlin fluent-deploy-docker-compose-x.y.z.main.kts create-config-file --admin-email=admin@email.com --admin-password=long_pa$$word
Once the environment configuration file has been created, you can update parameters in the file or rerun the create-config-file command. For more details see Customizing Fluent Manager Application.
SENSITIVE INFORMATION
The connection strings of your application are usually highly sensitive information. By default, Manager stores connection strings in the database in encrypted form. The encryption key is unique for each Fluent Manager instance and is generated once when creating the .env file. We strongly recommend maintaining a backup of this .env file.
Environment variable FLUENT_MANAGER_KEYSET_HANDLE stores this key.
Do not change the value of FLUENT_MANAGER_KEYSET_HANDLE without reason.
Securely back up this keyset handle. If the encryption key is lost, the connection strings values stored in the database cannot be decrypted.
Step 3: Create Docker Compose File
Prerequisite
3a: From the command line, Run the following command to create a Docker compose file (docker-compose.yml).**
- Remember to replace x.y.z with the script’s version number.
kotlin fluent-deploy-docker-compose-x.y.z.main.kts create-app-file
3b: (Optional) Set Values for parameters in the script.
- These parameters include the host and port numbers where the application will run.
- By default the application will be deployed on localhost port 80.
- Use the command below to see available parameters. (Remember to replace x.y.z with the script’s version number.)
kotlin fluent-deploy-docker-compose-x.y.z.main.kts create-app-file --help
Step 4: Deploy the Application
Prerequisite
- Create Environmental Config file (
.env) - Create Docker Compose file (docker-compose.yml)
4a: Confirm both .env and docker-compose.yml files have been created.
- Perform the
lscommand to print contents of the Application Directory

4b: Run deploy command below to deploy the application.
- Remember to replace x.y.z with the script’s version number.
kotlin fluent-deploy-docker-compose-x.y.z.main.kts deploy
The execution of the deploy command may take a while. The script is pulling the necessary Docker images for the Manager's front-end, back-end and database.
If you encounter the error dial unix /var/run/docker.sock: connect: permission denied while running the deployment command on linux. You can run this command to fix the issue:
sudo setfacl --modify user:<user name or ID>:rw /var/run/docker.sock
Replace <user name or ID> with your username or user ID. [I.e. ec2-user for a AWS Linux VM.]
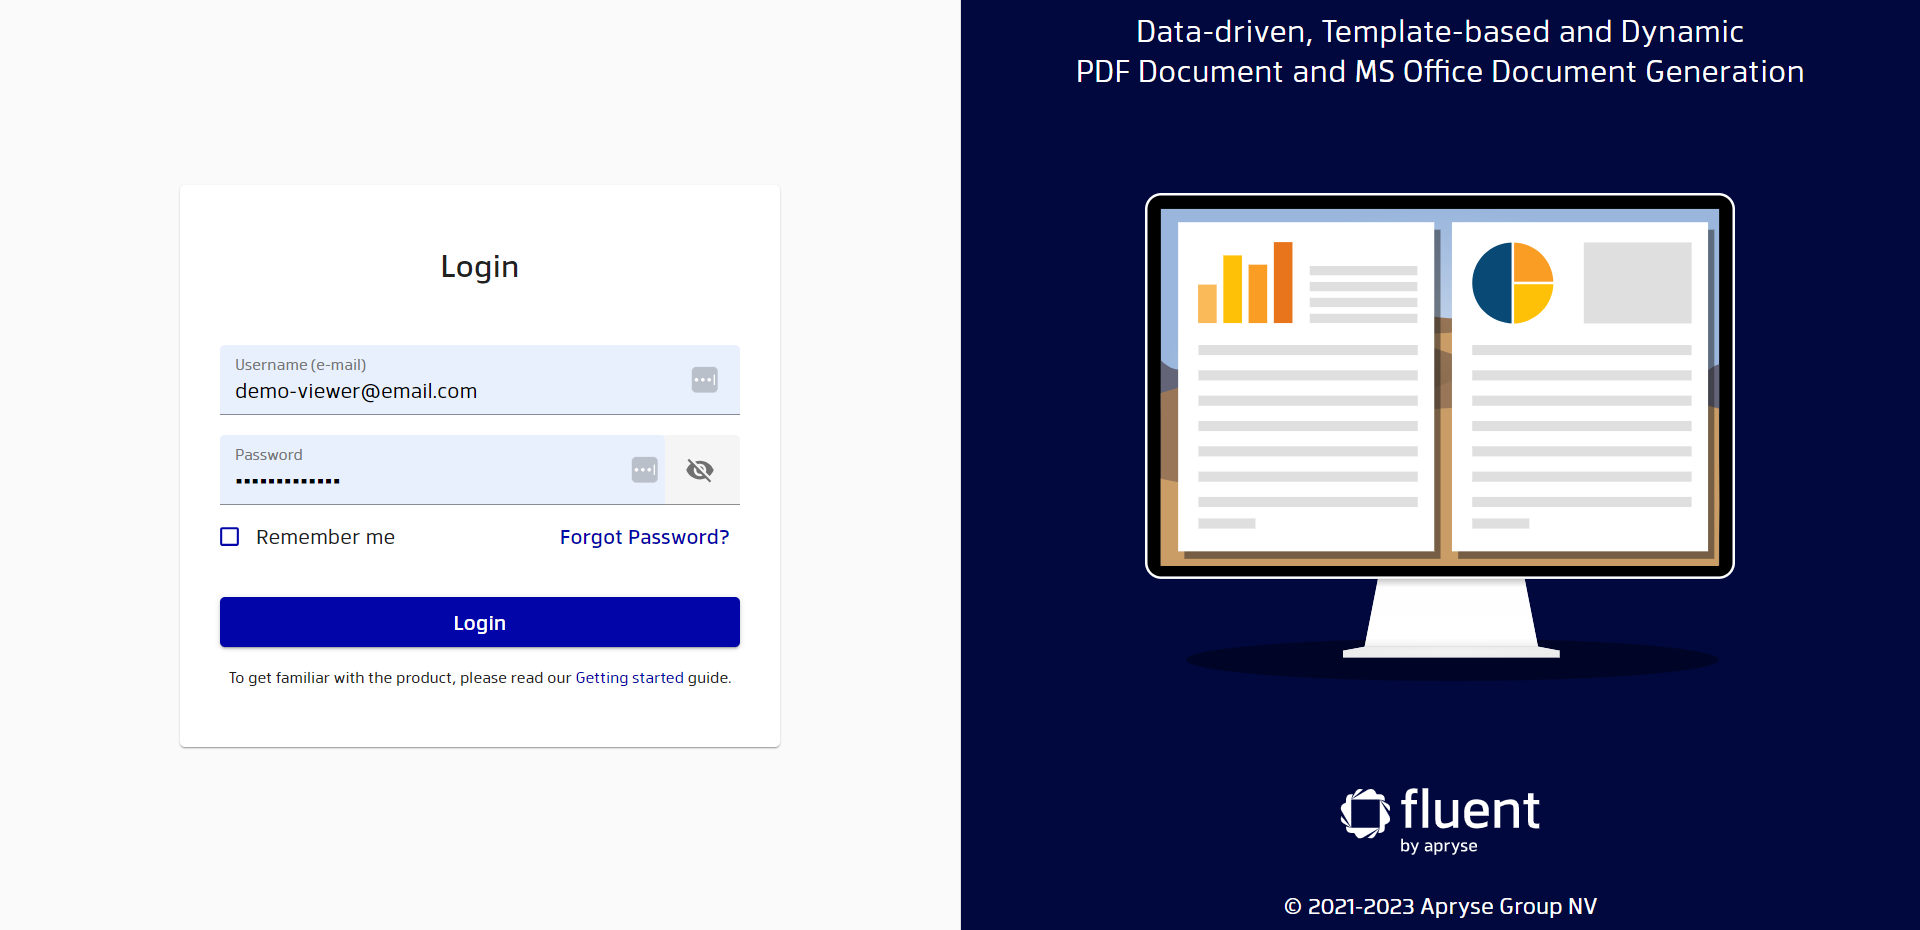
Step 5: Open the Manager Application
5a: In your browser, navigate to: http://localhost or at the host/port where the application is deployed
The default port is 80, but it's possible to override it with the --host-port option while creating Docker Compose file.
5b: Log in to Fluent Manager
- Use the global administrator credentials you set up while creating the environment configuration file (
.env) in Step 2. - After you have logged in, the workspace initialization will guide you through the process of setting up your workspace.
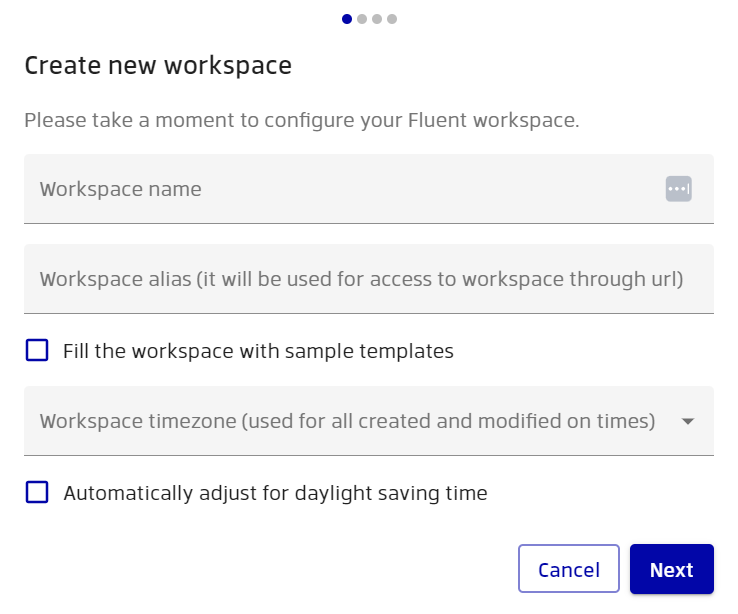
5c: Choose a Name, Alias, and Timezone for your Workspace.
This time zone you choose will be used for all creation and modification dates in the user interface. You can change these settings at any time in the settings.
- The workspace can be additionally populated with sample templates and related data to help you explore the application. To fill the workspace with samples, simply select the "Fill the workspace with sample templates" option.
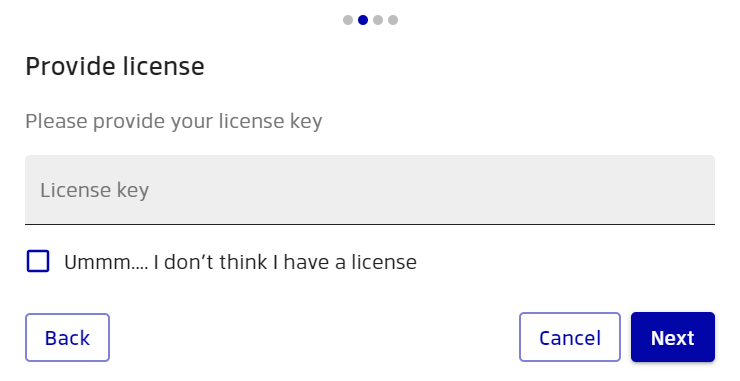
5d: Licensing
- Enter your license key in the text box. You should always copy/paste the key.
- Licenses can have different formats and may represent online keys or offline uue-format strings. All the formats are supported by the Manager application.
- When initializing the Manager without an Internet connection, make sure you are using the offline license type in uue format.
If you do not have a license, you can fill out the form and get a trial license valid for 30 days
Step 6: Set up Fluent RESTful Engine
6a: If you already have a RESTful Engine running, you may use it, otherwise you can set one up in one of the following ways:
- Using a Tomcat Server
- Using Docker
- Using a ready built image to run the container, by using the commands below.
Do a Docker pull command first:
docker pull public.ecr.aws/apryse/fluent-restful:a.b.c.d
Remember to replace a.b.c.d with the RESTful Engine version you want to use.
We recommend using the same major and minor versions for RESTful Engine and Manager. In this case, they will definitely be compatible. Thus, if you are using Manager version a.b.x, then it is better to use RESTful Engine with the version a.b.c.d
Then do a Docker run command:
docker run -dit --name fluent-restful-engine -p {port}:8080 public.ecr.aws/apryse/fluent-restful:a.b.c.d
The default port for the front-end container is port 80, you must choose a DIFFERENT PORT for the {port} variable in the above command. For ease, we suggest port 81.
Step 7: Specify an Instance Name, and the URL of the RESTful Engine
Which URL to use is dependent on your unique situation. Please fully read through the options PRIOR to completing this step.

Option 1:
If your Engine instance is hosted outside your local host environment:
- Use the domain name/IP address and (optional) port number where the Engine is exposed, such as
http://engine.domain.com:8080orhttp://10.20.30.40
If your domain is hosted on a secure HTTPS protocol, you must use the https:// schema accordingly.
Option 2:
If your Engine instance is hosted in the same local host environment as Fluent Manager, on Windows or Mac, with Docker 18.03+:
- Use
http://host.docker.internal:{port}where {port} is the port number you specified when starting the RESTful Engine.
Option 3:
If the above does not apply:
- Modify your application file (
docker-compose.yml) to include the following definition for your Fluent Manager Backend container:
  - backend:
      container_name: fluent-manager-backend
      restart: always
      image: apryse/fluent-manager-backend:23.4.0
      env_file: .env
      depends_on: [db]
      logging:
        driver: json-file
        options: {max-size: 50m, max-file: '3'}
      ##
      #Add the below line to the backend object in your docker-compose.yml
      #
      extra_hosts: "host.docker.internal:host-gateway"
- Then you may use
http://host.docker.internal:{port}
Where {port} is the port number you specified when starting the RESTful Engine.
Option 4:
If NONE of the above scenarios apply, and your Fluent Engine instance is on the same host as other Fluent Containers
(For example: if you are using a Windows Server Environment)
You can attach your Engine Instance to the same network that the other Fluent containers share.
- The name of that network is typically fluent-manager-network and can be looked up in the
docker-compose.ymlfile. - You may attach your Engine instance to the same network; please consult the Docker documentation.
These parameters can be included during container creation with the docker run command, for example:
docker run ... --network="fluent-manager-network" --network-alias="engine" engine-image:{version}
This example would enable you to use http://engine:8080 for the connection URL
Fluent Manager Application Maintenance
Stopping the application:
To temporarily stop the application
kotlin fluent-deploy-docker-compose-x.y.z.main.kts stop
Starting the application:
To start the application after it has been stopped
kotlin fluent-deploy-docker-compose-x.y.z.main.kts start
Updating the application:
To update your fluent manager application
kotlin fluent-deploy-docker-compose-x.y.z.main.kts update
The application will be stopped and restarted during the update process.
Undeploying the application
IRREVERSIBLE Operation!
All data not persisted to Docker volumes will be lost.
Stops the application, and removes the created Docker containers and networks
kotlin fluent-deploy-docker-compose-x.y.z.main.kts undeploy
Removing the application
IRREVERSIBLE Operation!
This operation is irreversible and will cause major data loss! Even the data persisted by Docker volumes will be lost.
Removes the application, including all Docker volumes, and all data. After running this command, remove your application directory.
kotlin fluent-deploy-docker-compose-x.y.z.main.kts remove