Fluent Manager Labels
Labels are a way to group Fluent Manager’s resources by any criteria, making it easier to manage your resources at scale. They can be assigned to any application assets such as templates or data sources. Labels are used to organize resources in a way that makes sense for your organization and can help you find resources more easily. You can use labels to group resources by environment, project, or any other criteria that makes sense for your organization. You can also use labels to filter resources in the Fluent Manager UI so that you can quickly find the resources you need. Labels can be customized by editing their name and color.
Labels creation
A user must have Modify label settings permission to create and modify labels.
To create labels for the app, you can go to Settings → Connections → Labels.

To add a label, click on the “Add label” button and provide a custom name and color for the item in the next popup window.

Labels that you have created can also be removed on the same page. To remove a label, simply select the label(s) you want to remove and click on the Remove selected button. You can also click on Delete all to remove all labels at once. This feature allows you to easily manage your resources in Fluent Manager by grouping them according to your own criteria and removing labels that are no longer needed. Once a label is removed, it is also removed from all resources that have been labeled with it.

Label assigning
A user must have Attach/detach labels permissions to be able to attach/detach labels to/from asset.
On every general asset’s page, you can find a + button under its title. By clicking on this button and selecting from the dropdown list in the appeared popup, you can assign any existing labels to your assets.
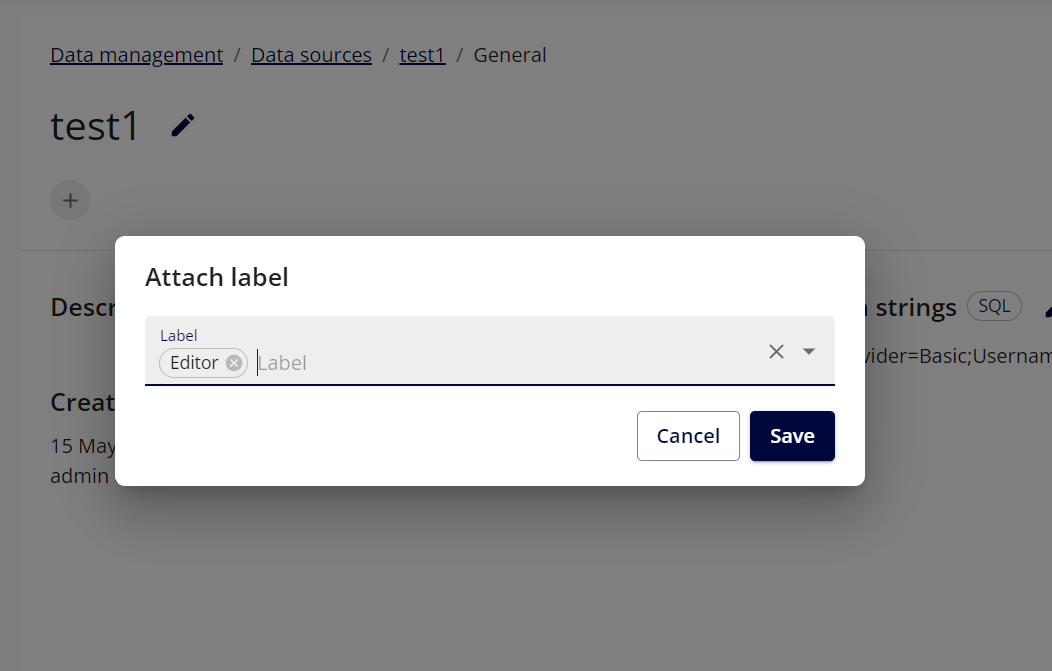
After assigning a label, you can easily unassign it by clicking on the x icon next to it

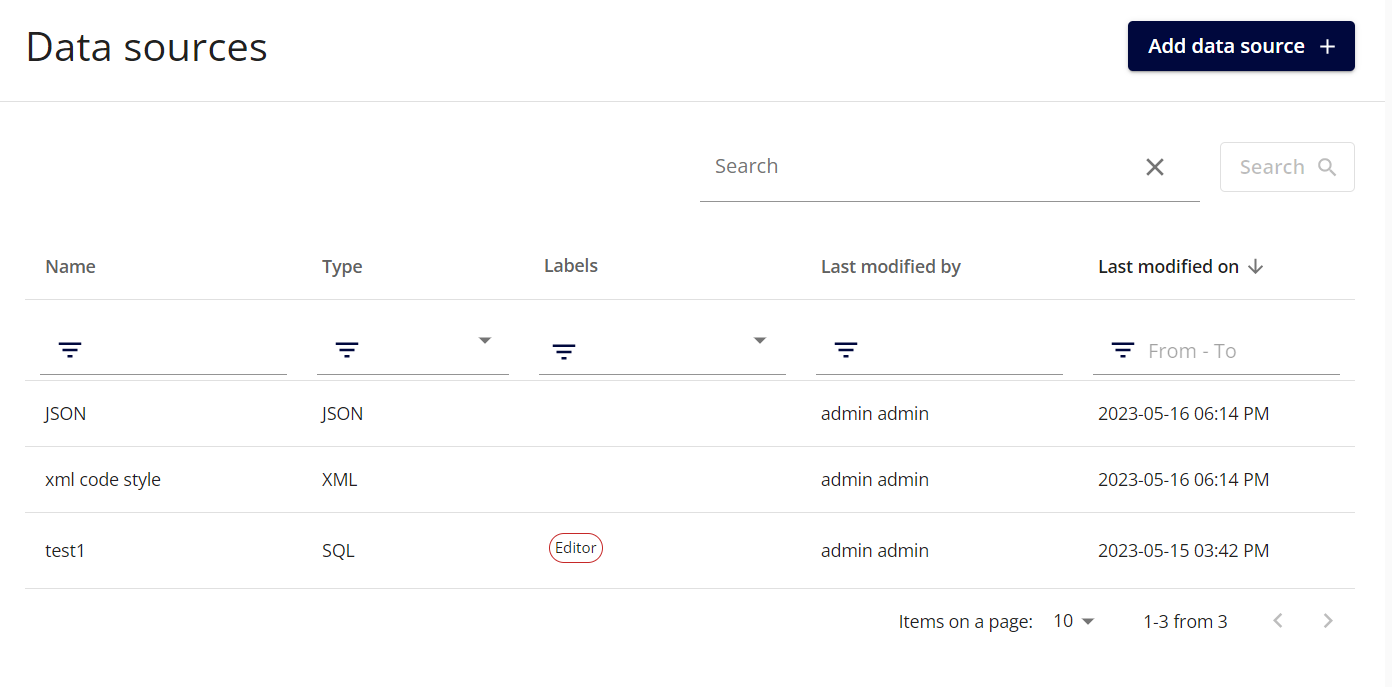
All assigned labels can be checked or viewed on assets lists. You can also use labels to filter and search for records in a table.