Fluent Manager Stages configuration
Staging is a feature that enables users to organize their templates and instances according to their own criteria and preferences. It is possible for users to create custom stages and assign templates to each stage. This way, users can easily group and manage their templates based on different factors, such as production readiness, geographic location, target audience, etc.
Let’s say we’re working on a set of templates: some of them are still in the development process, and others are ready for production. To distinguish between these templates, we can add the first set to the Development stage, and the rest to the Production stage respectively. Each stage has its own set of instances, which are isolated from each other. This means that users can perform different tasks and experiments on different stages without affecting the performance or functionality of the other stages. Stages configuration also facilitates the transfer of templates from one stage to another, as well as the synchronization of instances across stages. Thus, instances located on the same stage have the same templates in the cache, which allows you to generate reports by making requests to any RESTful Engine located on the stage where the desired template is cached. Also, since instances from the same stage have the same cached templates, you can balance the load between them by placing a load balancer in front of them. Manager doesn't help with setting up the load balancer, but you can do it yourself. An example of setting up a balancer on AWS can be found in the following documentation. By using stages configuration, users can manage their templates and instances more flexibly and conveniently.
Stages configuration
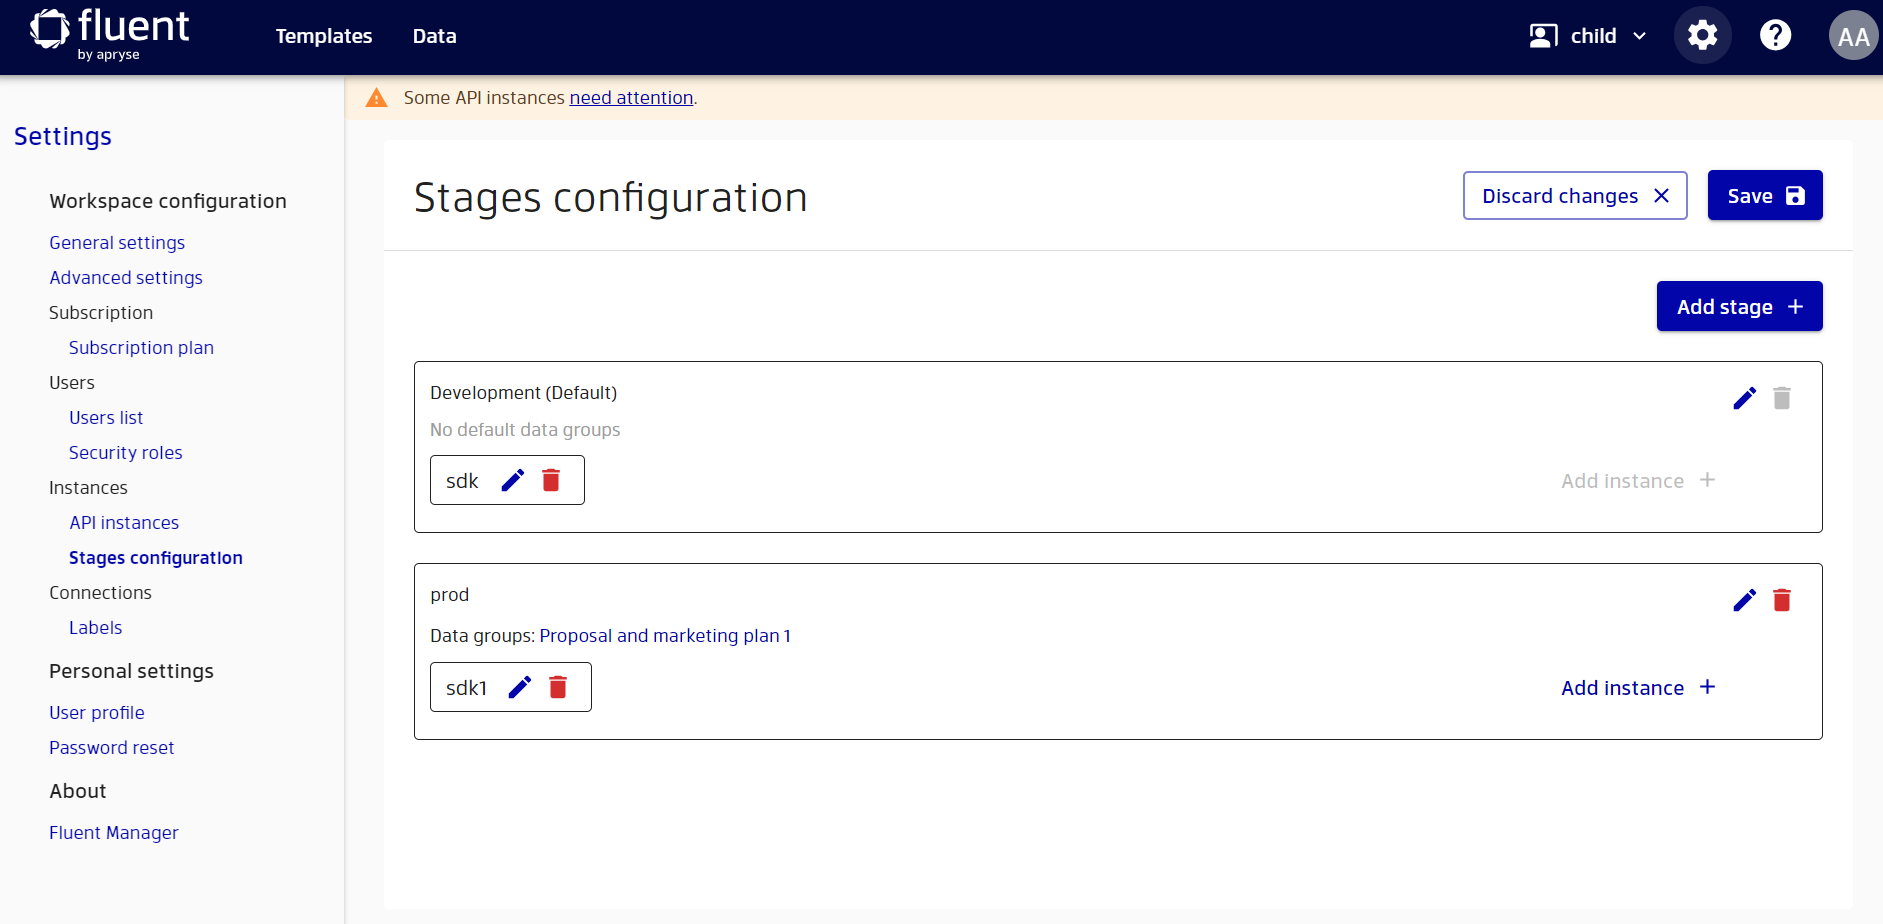
Settings for stages configuration can be found under Settings → Instances → Stages configuration
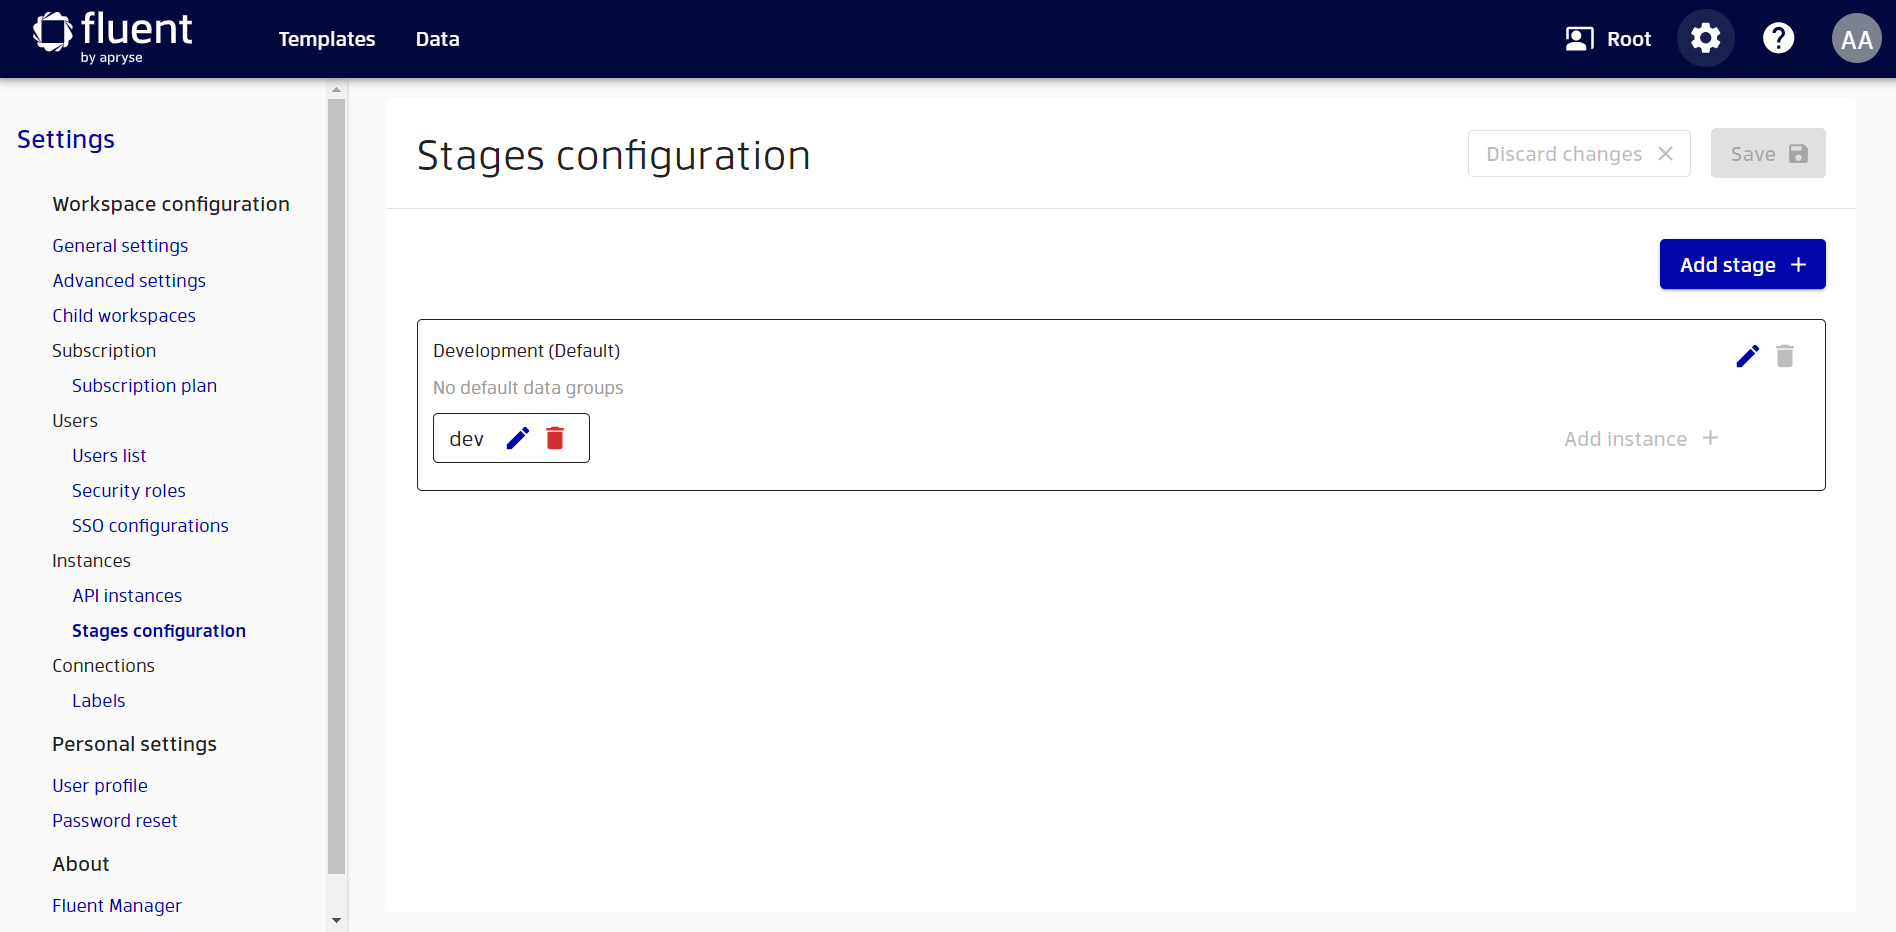
Each workspace must have at least one stage, so a default stage is created automatically for each workspace. And the instance we connected during workspace creation is added to this default stage. We can also see, that Add instances + option is disabled on this stage, because the default stage can have only one instance.
We can create as many stages as we want, but first we need to check if we have enough instances and add new ones if necessary. This can be done from Settings → Instances → API instances
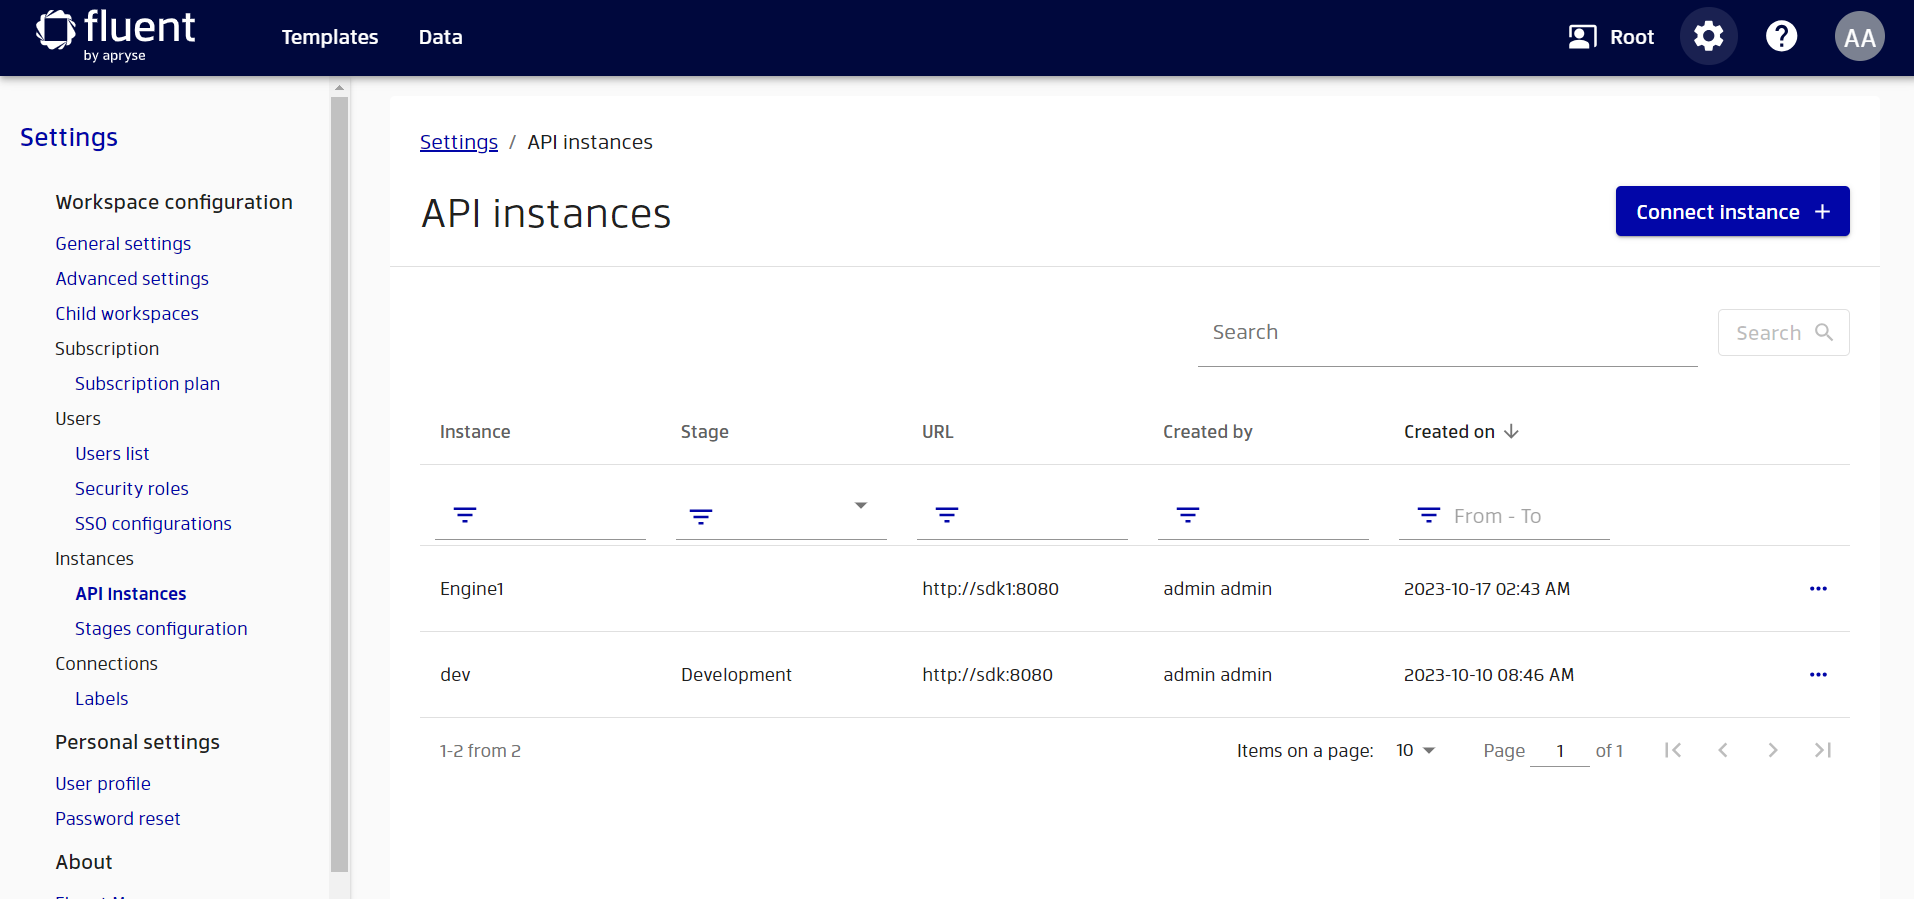
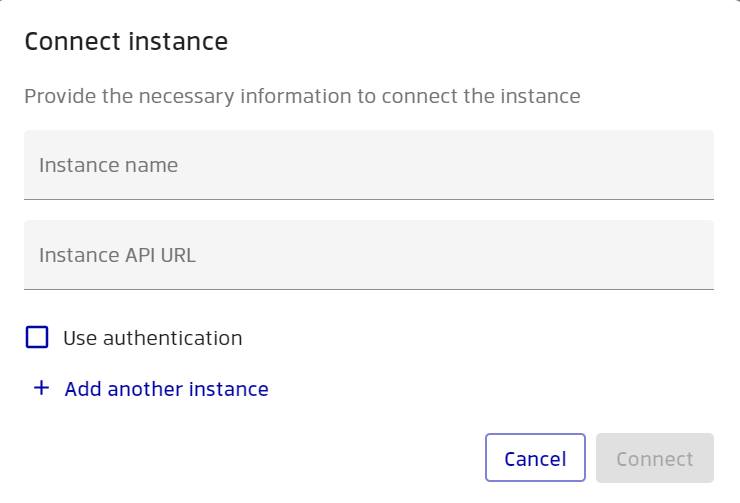
We can see the instances that we have connected to our workspace in the table. Each instance has a Stage column that shows which stage it belongs to. If the Stage column is empty, then the instance doesn’t belong to any stage. We can connect as many instances as we want by clicking Connect instance +. Then we need to enter the instance name and API URL.
Once we have connected the instances that we need, we can create new stages to organize them. To do this, we can go to the Stages configuration page and click Add stage +. This will open a dialog where we can name our new stage and choose which instances to include in it.

We only need to enter the name of our new stage and click Create. This will create a new stage with no instances in it.
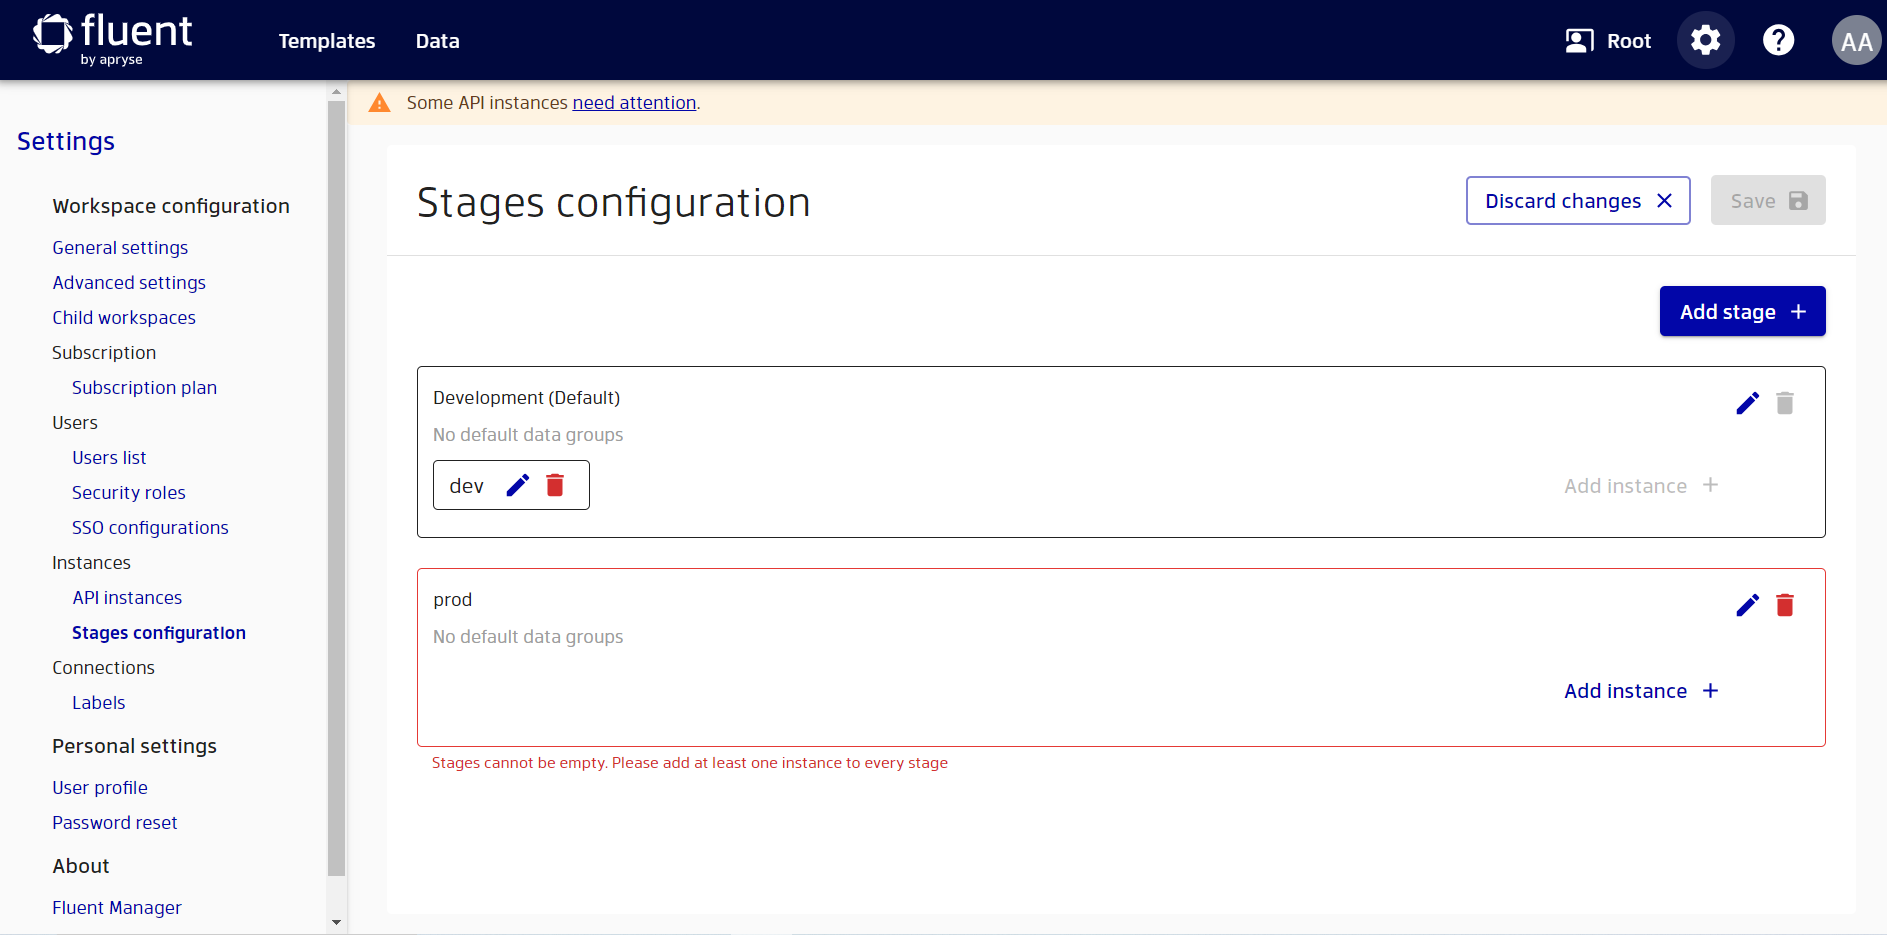
As stages cannot be empty we must add at least one instance to our new stage. We can do this by clicking the Add instance + button.
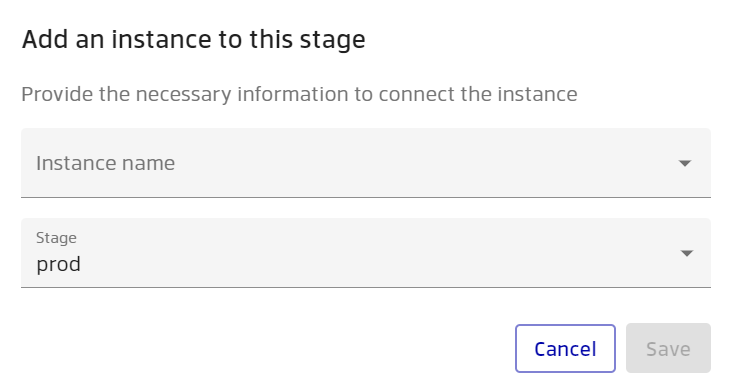
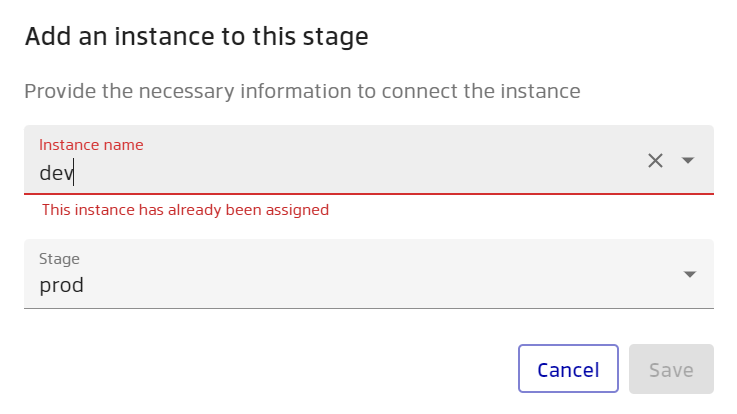
Here we can choose from our connected instances, but note that we can’t select an instance that has already been added to another stage.

Unlike the default stage, we can add multiple instances to our new stage. This can help us distribute the workload if we want.

Deploying templates to stages
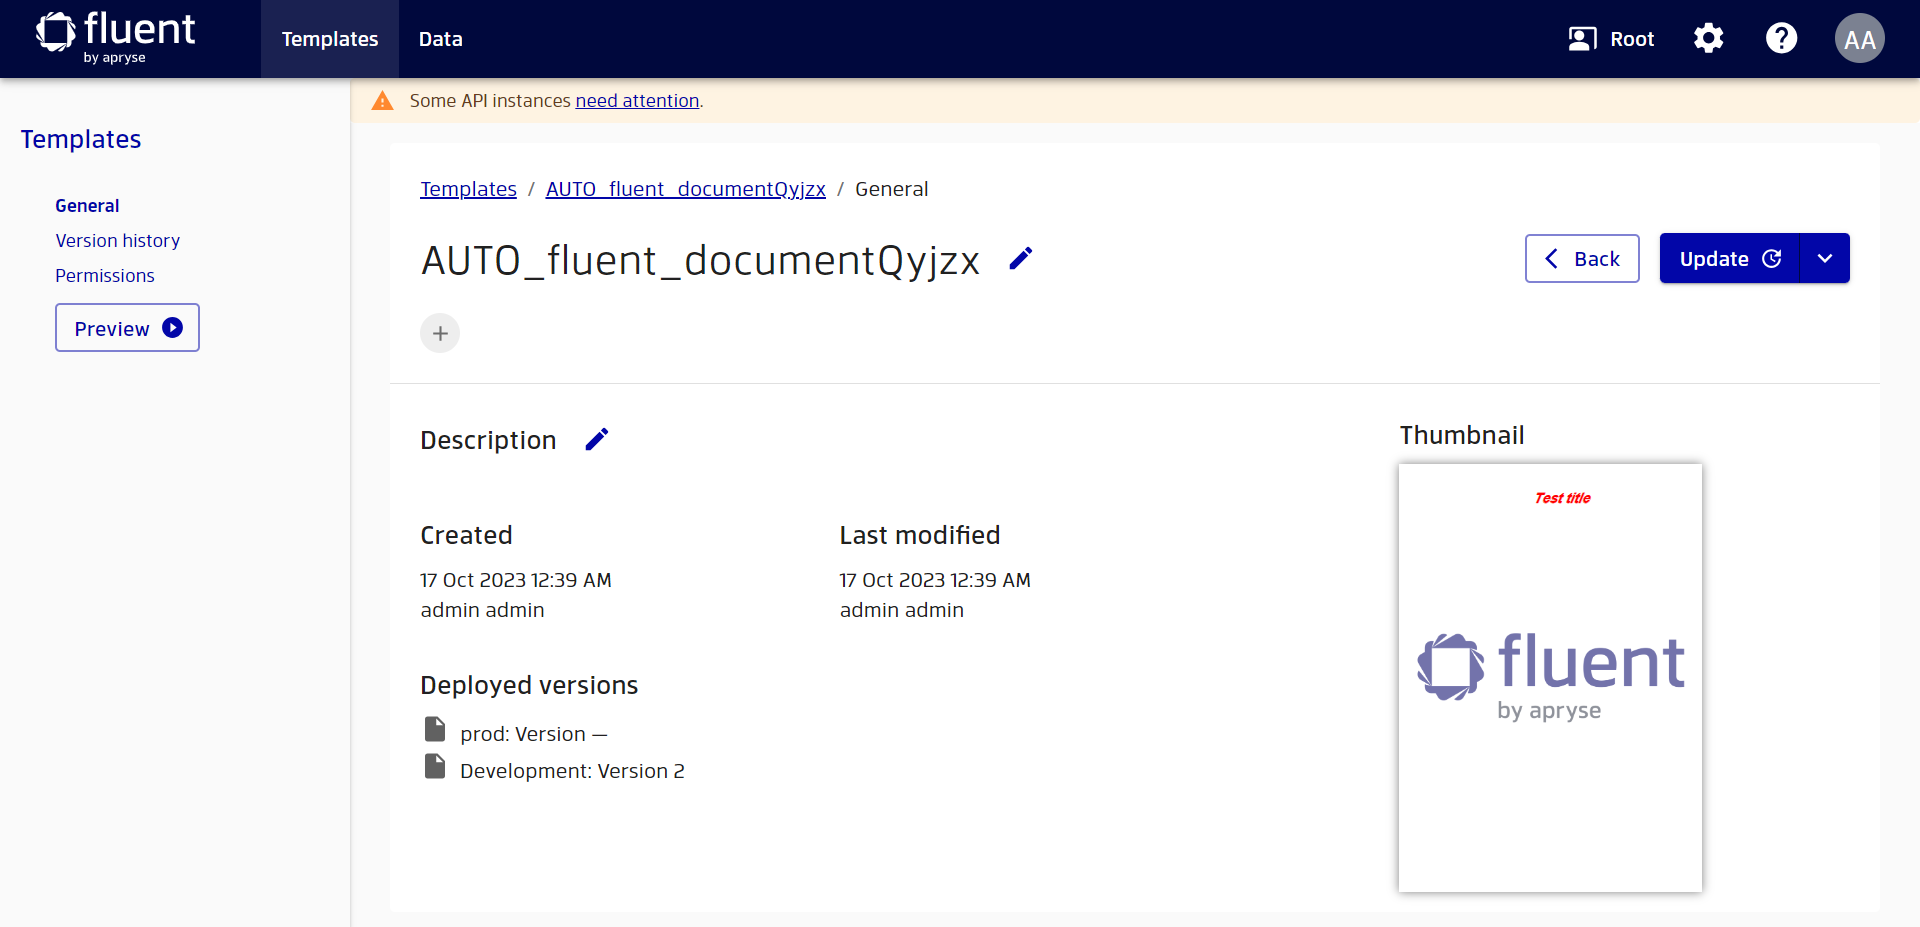
Each template is added to the default development stage after being imported. We can see that on the template page under the title Deployed versions
To see the detailed history of template versions we can go to the Version history in the left sidebar.
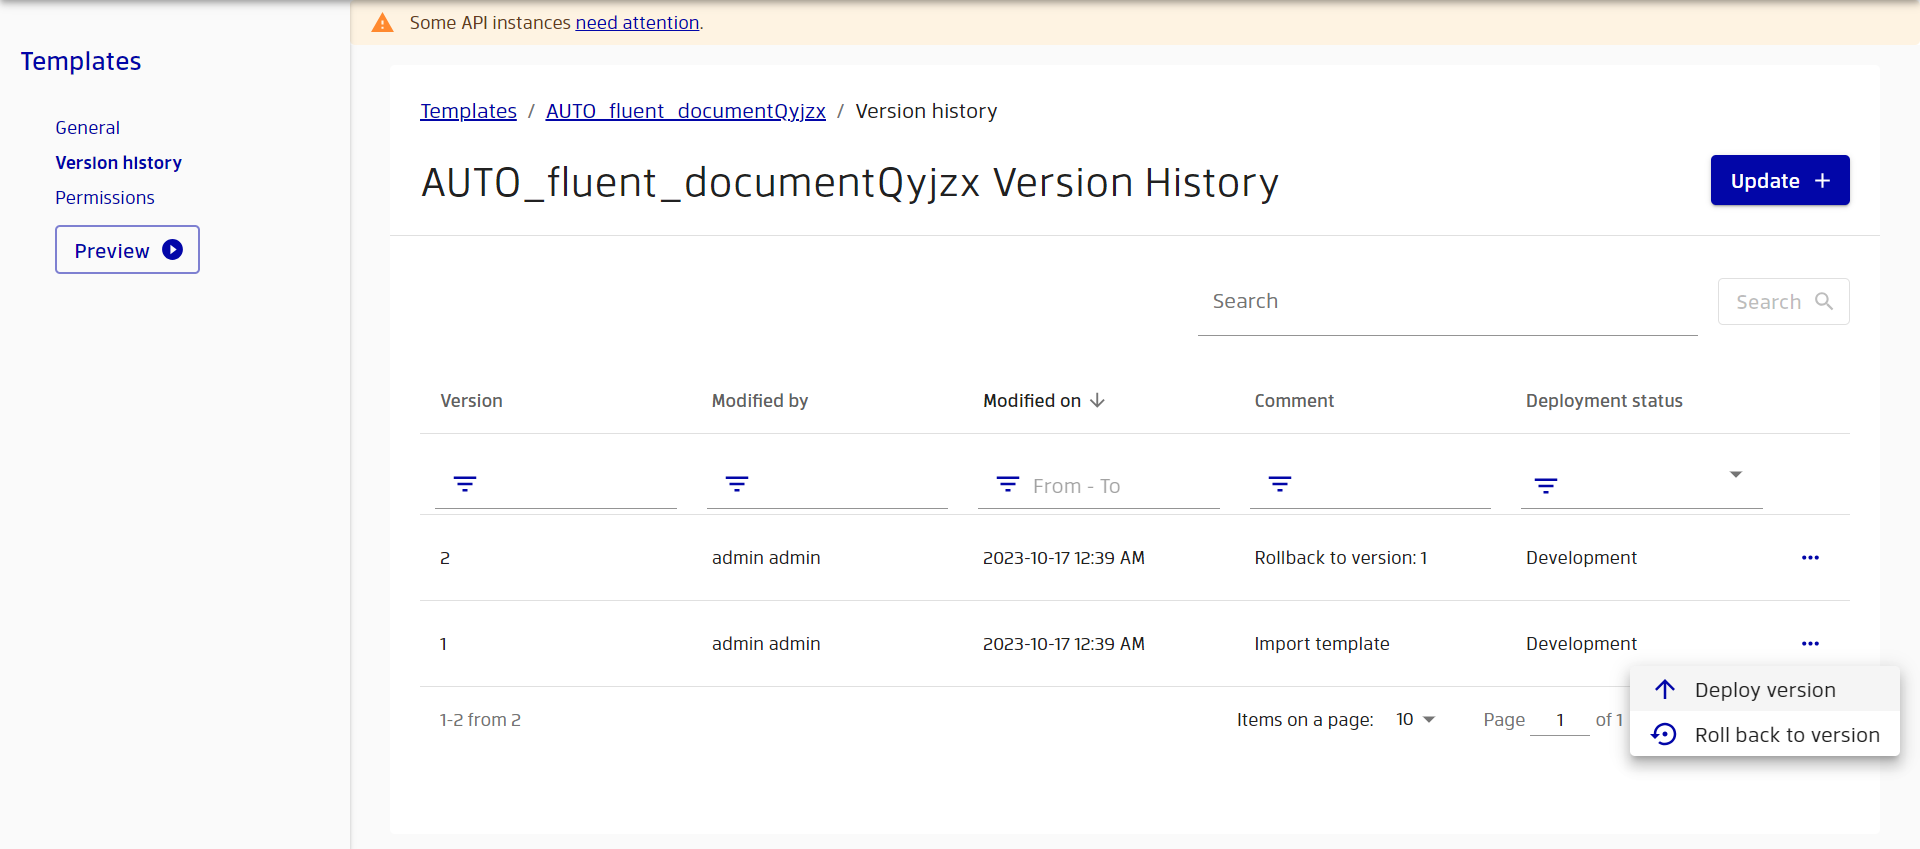
If we want to change stages for a template version, we can click the three dots on the right side of the row and choose the Configure stages option.
Then we will be asked to select the stages where this version should be deployed.

After we choose a stage we can see that the Deployment status of the template changed accordingly.
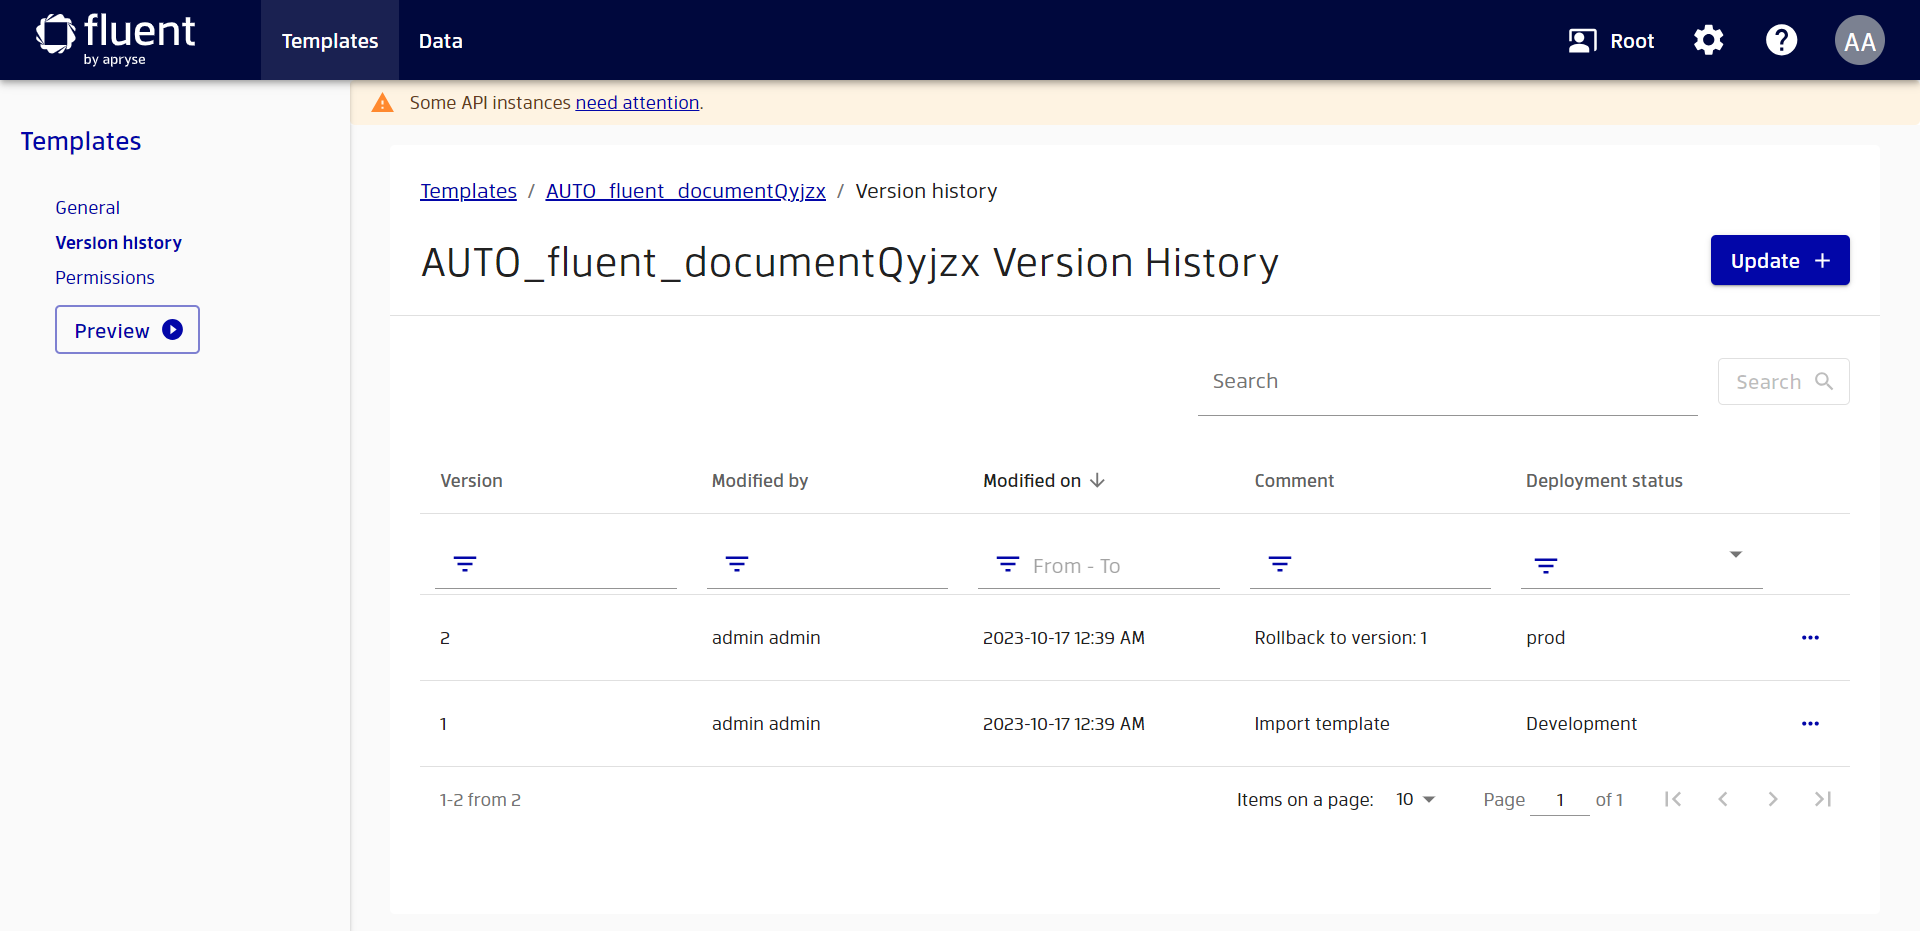
When we deploy a template to a stage, it will be deployed to all instances on this particular stage. And our template is now available for generating a preview on these engines. To return our template back to the default stage, we can simply demote it back to the Development stage.
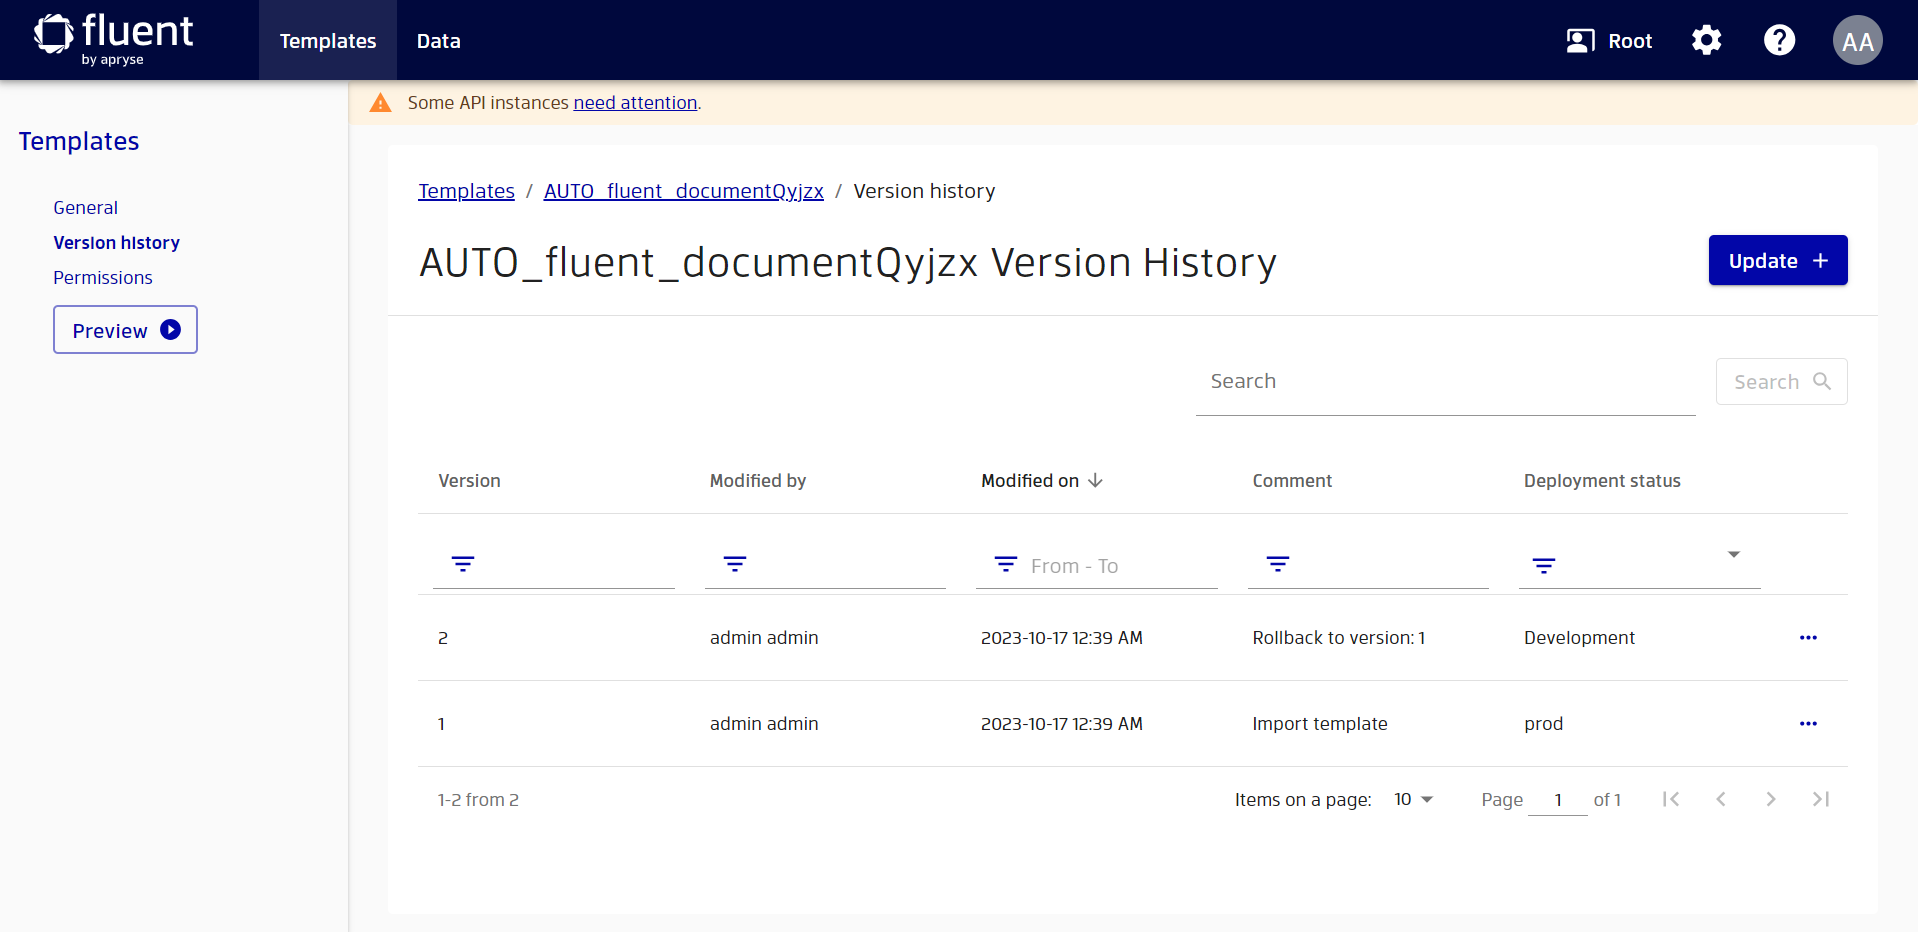
When you deploy a template version from one stage to another, the template version that was already on the target stage is moved to the default stage. Let's assume we have the first version of a template on the default stage and the second version on another stage, for example let's call it Production stage.
If we to deploy the first template version from the Development to the Production stage, we will see that the second version of a template that was already on the Production stage has moved to the Development stage.
Adding data groups to stages
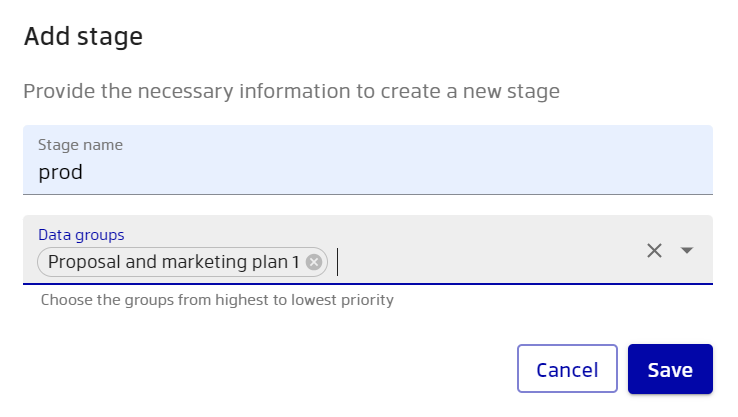
To improve the user experience when managing templates and stages, we allow data groups to be added to a stage. To do this, we should have data groups in our workspace. We can then click the edit button on one of our stages and attach multiple data groups to it.
After this we will be able to see the added groups on the stages configuration page.
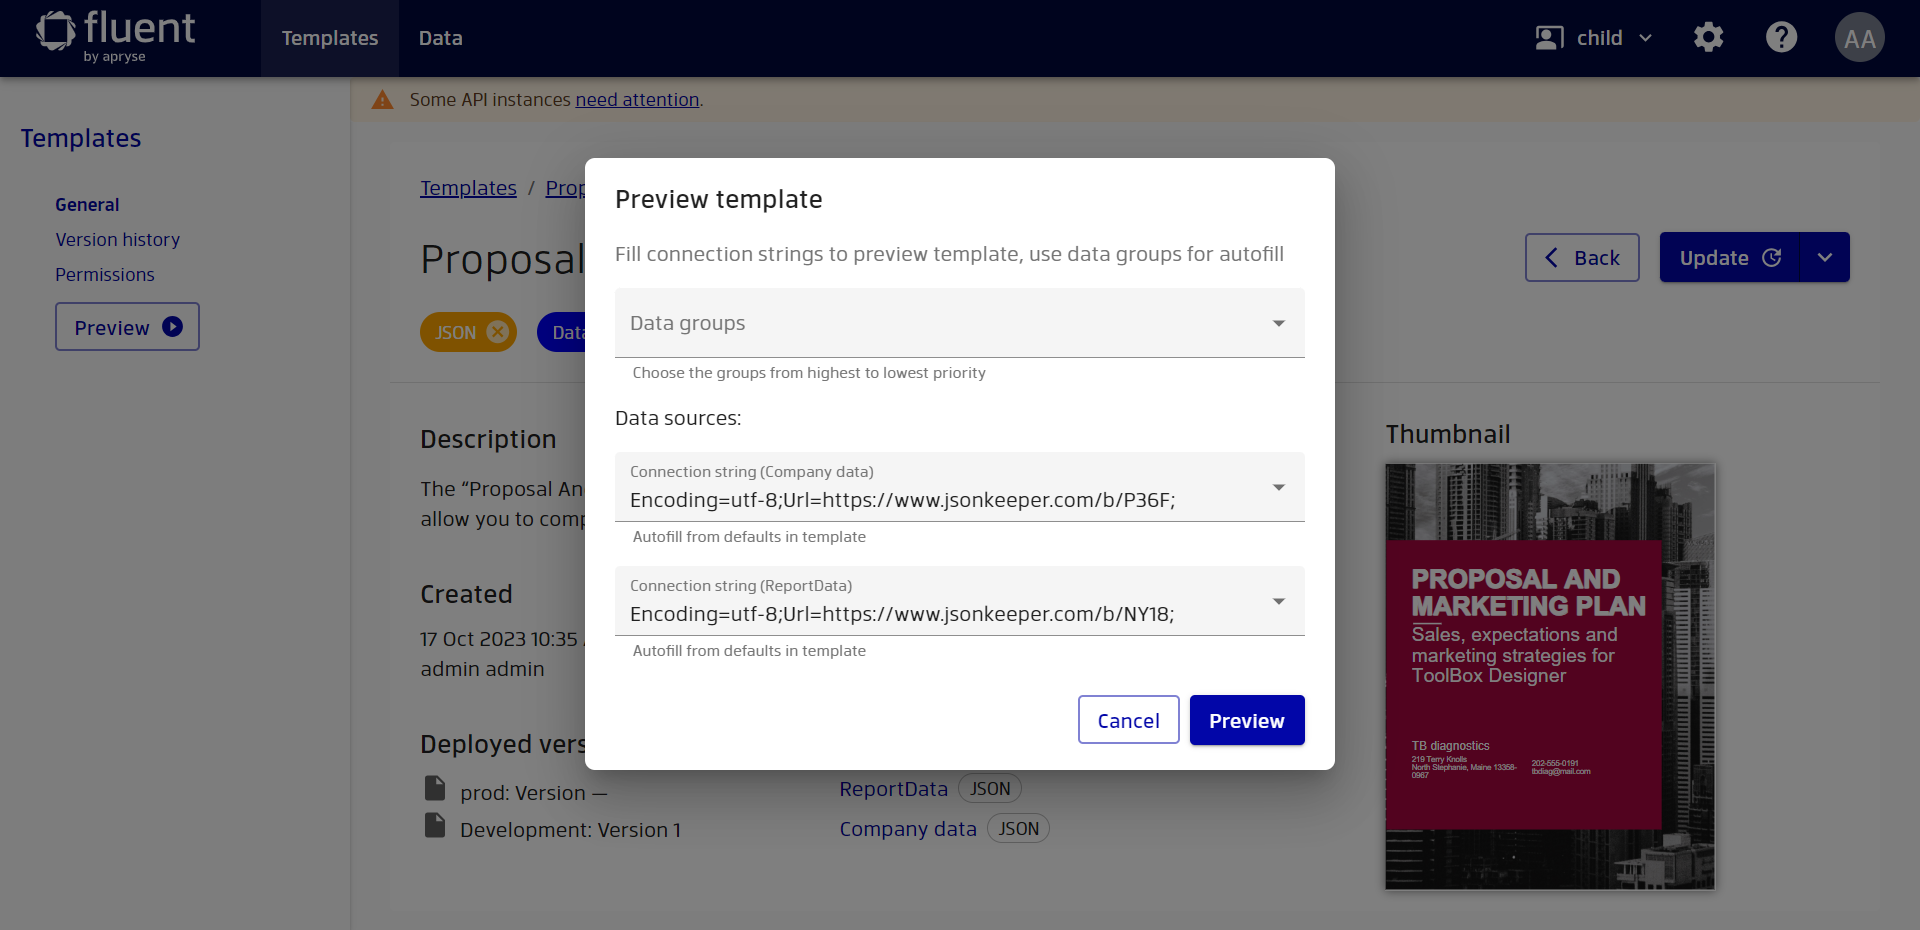
Let's assume our template is deployed on Development stage that doesn't have attached data groups. In this case, Manager will suggest to select you one of the existing groups during preview generation.
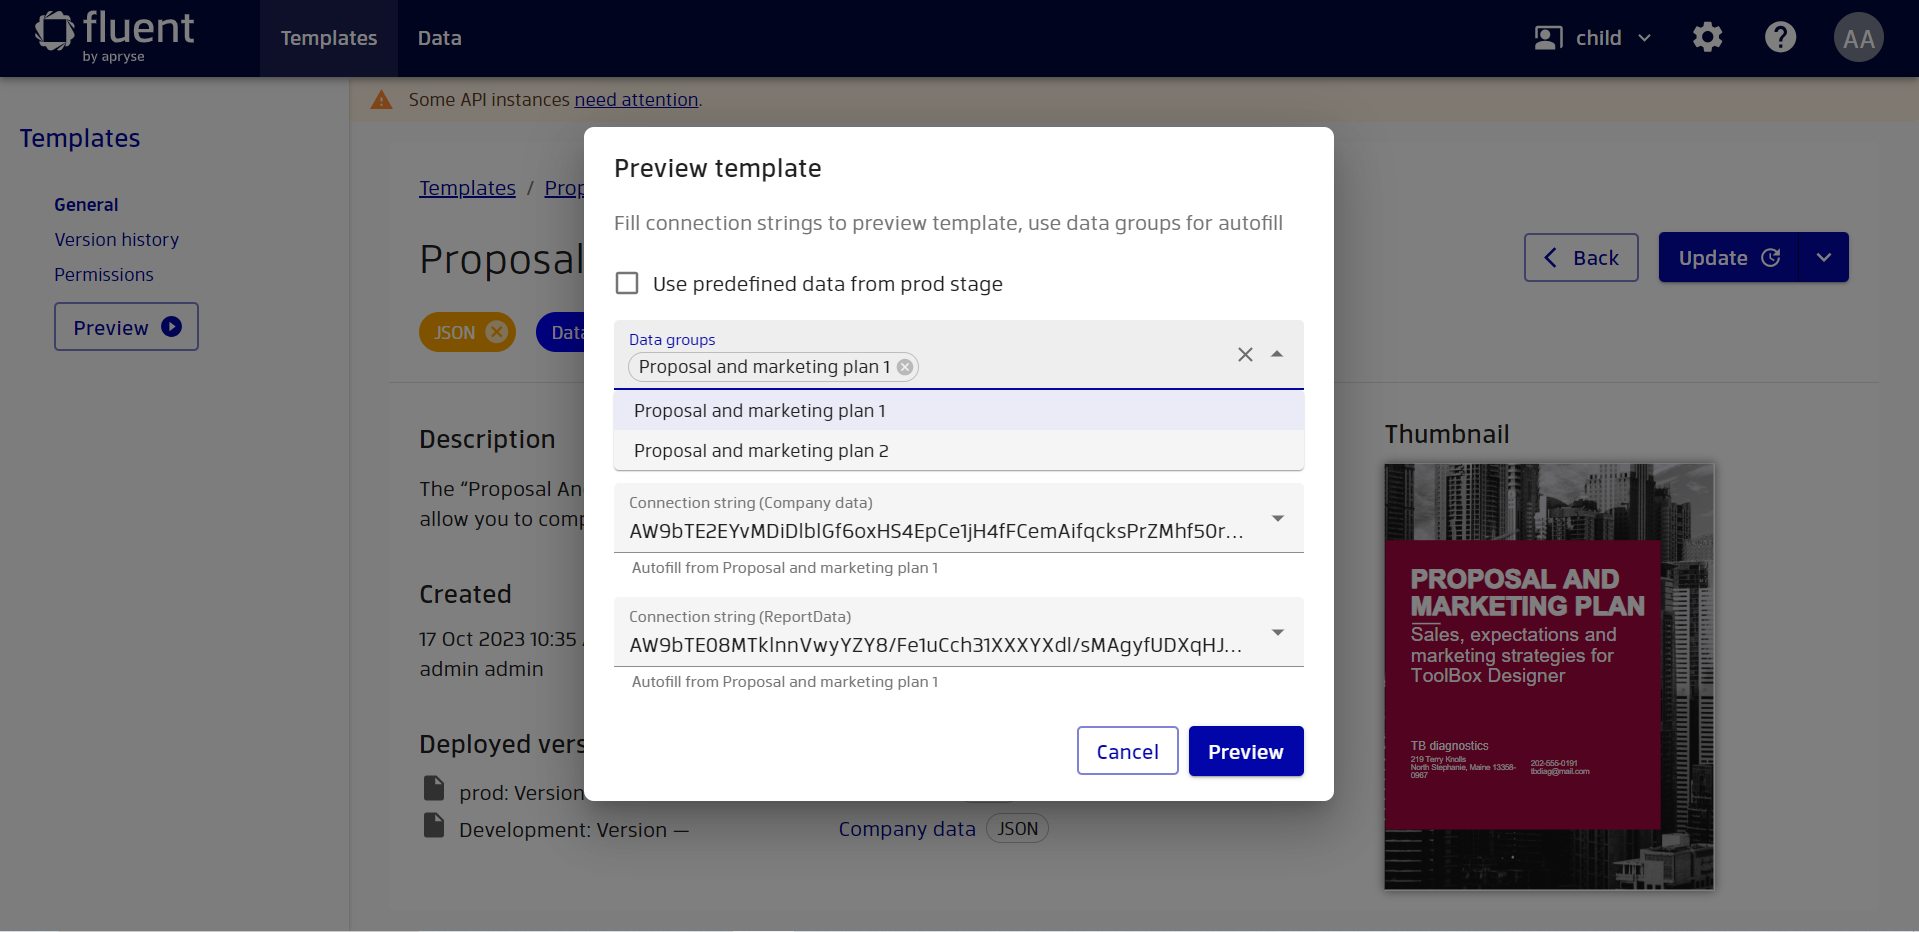
Now let's deploy our template to the Prod stage (with attached data group) and try to see the preview once again.


In this case, the predefined data group will be selected in the preview dialog. This is convenient for users, as they can now associate individual groups with individual stages. Of course, if you want to use any existing data groups instead of the predefined ones, you should unselect the "Use predefined data from prod stage" option and select whatever data you want.
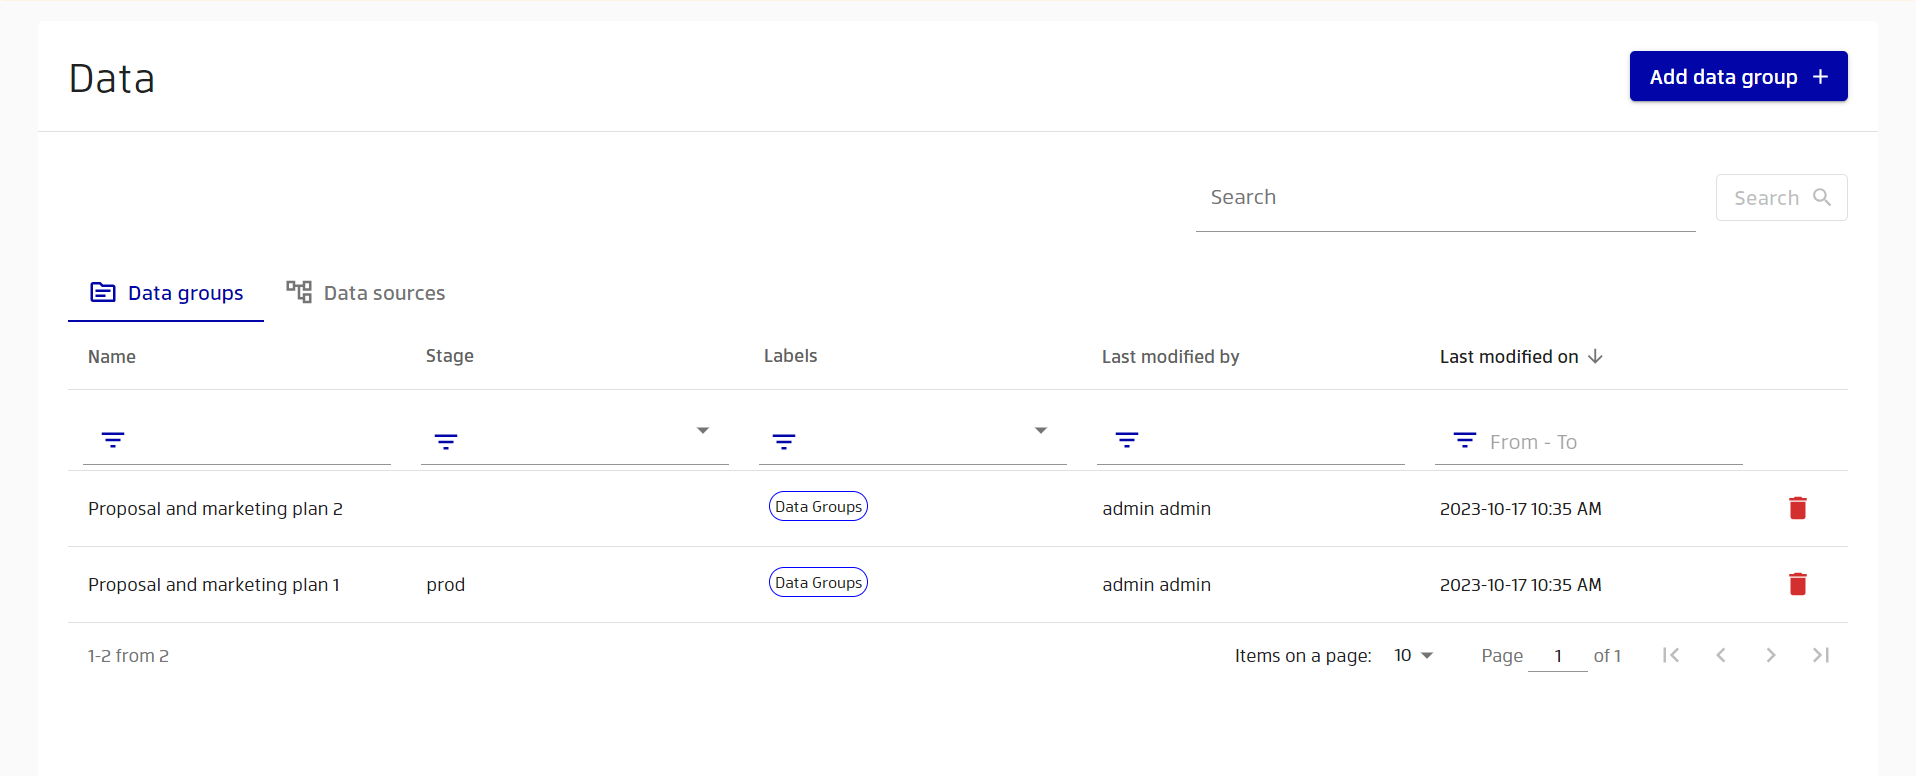
You can view the stages of groups in the corresponding table on the "Data groups" page.