Fluent Manager Users, Roles and Permissions
Fluent Manager provides a system of roles and permissions to limit access to different aspects of functionality. This system allows administrators to control which users have access to specific features and data within the application.
- Roles are used to define a set of permissions that can be assigned to users.
- Permissions determine what actions a user can perform within the application.
For example, an administrator might create a role called “Manager” that has permission to view and edit all data within the application. They could then assign this role to specific users who need access to this level of functionality. By using roles and permissions, administrators can ensure that users only have access to the features and data that they need to perform their job functions. This helps to prevent unauthorized access and ensures that sensitive data is protected.
Additionally, Fluent Manager provides a number of built-in roles that can be used as templates for creating new roles. These roles can be customized as needed to meet the specific needs of your organization.
Fluent Manager built-in roles
By default, there are 3 predefined roles:
- Administrator
- Global administrator
- Template Designer
Administrators have access to almost all Fluent Manager features. In additional to Administrator’s rights, a Global Administrator has some permissions to manage test mails and initialize workspaces. On the other hand, Template Designers don’t have rights to manage users and roles, manage licenses, configure API instances and manipulate promotion path.
Fluent Manager custom roles
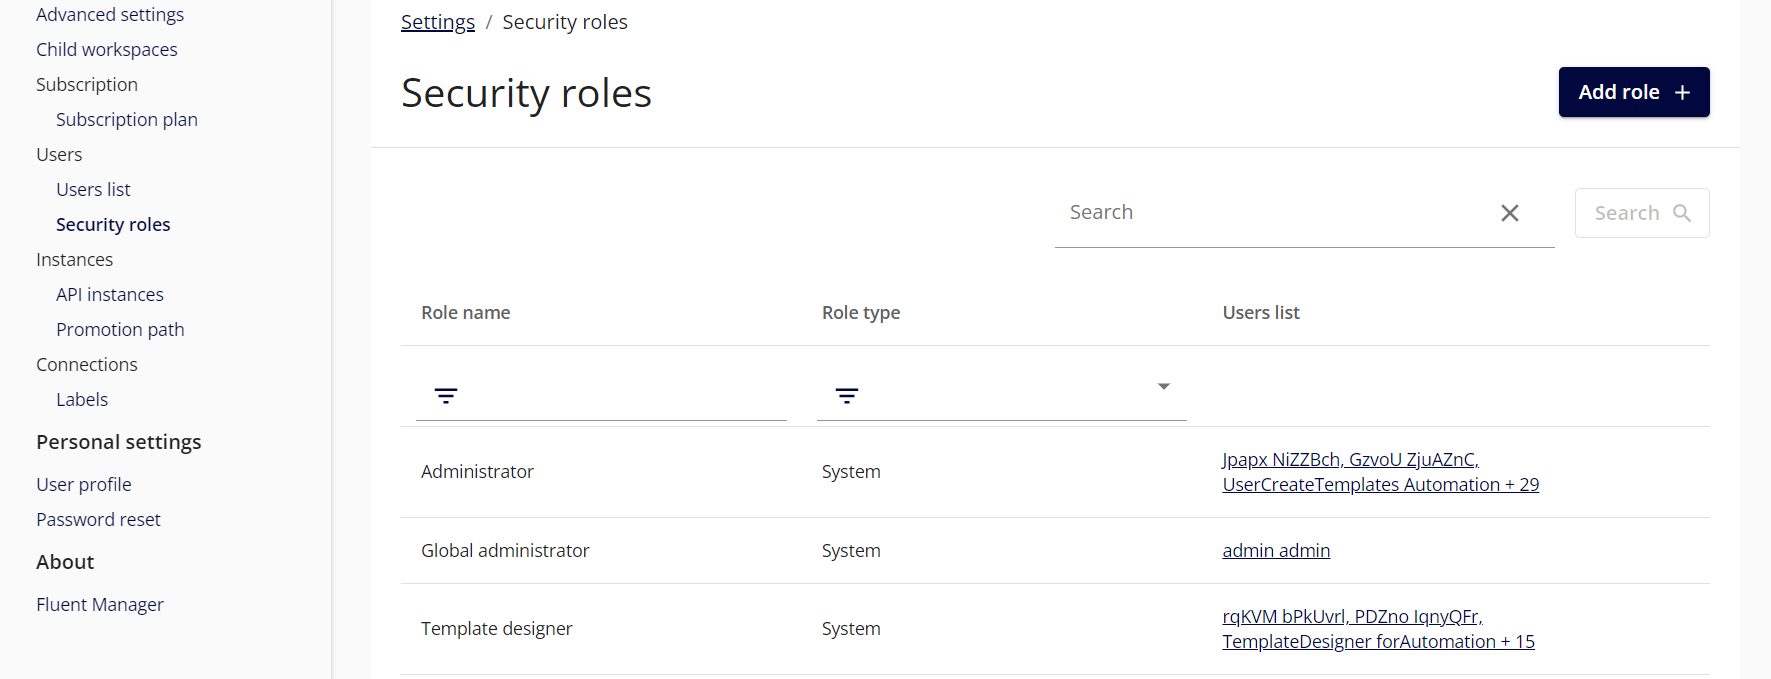
The default role set can be extended with any custom roles. The list of all existing roles is placed under Users → Security roles section in the application settings. The Add role + button on this page can be used to add new roles.
Access to the role list is permission-based. Built-in Administrator and Global Administrator roles include these permissions by default, and custom roles can also be granted them.
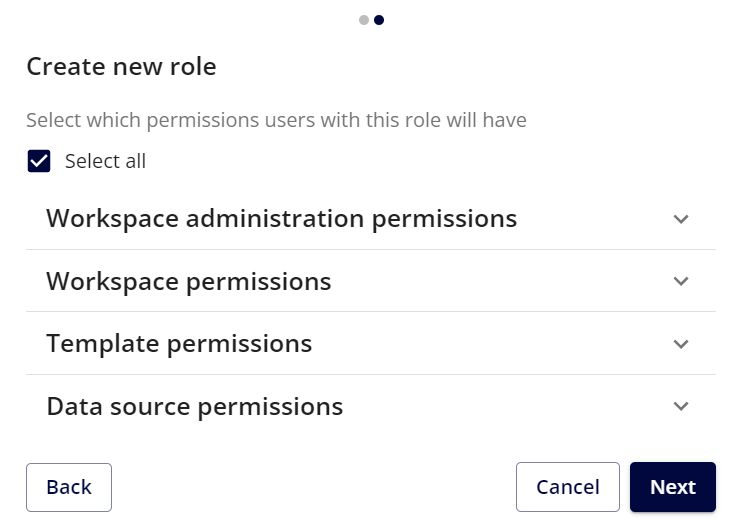
During the role creation, you will be prompted to enter a role name and select a set of permissions. All permissions grouped according to different aspects of the application and are selected by default. If you want to create a role with limited functionality, you can unselect the appropriate permissions. Custom roles can be changed/removed/duplicated after creation, but predefined system roles cannot be changed.
Fluent Manager users
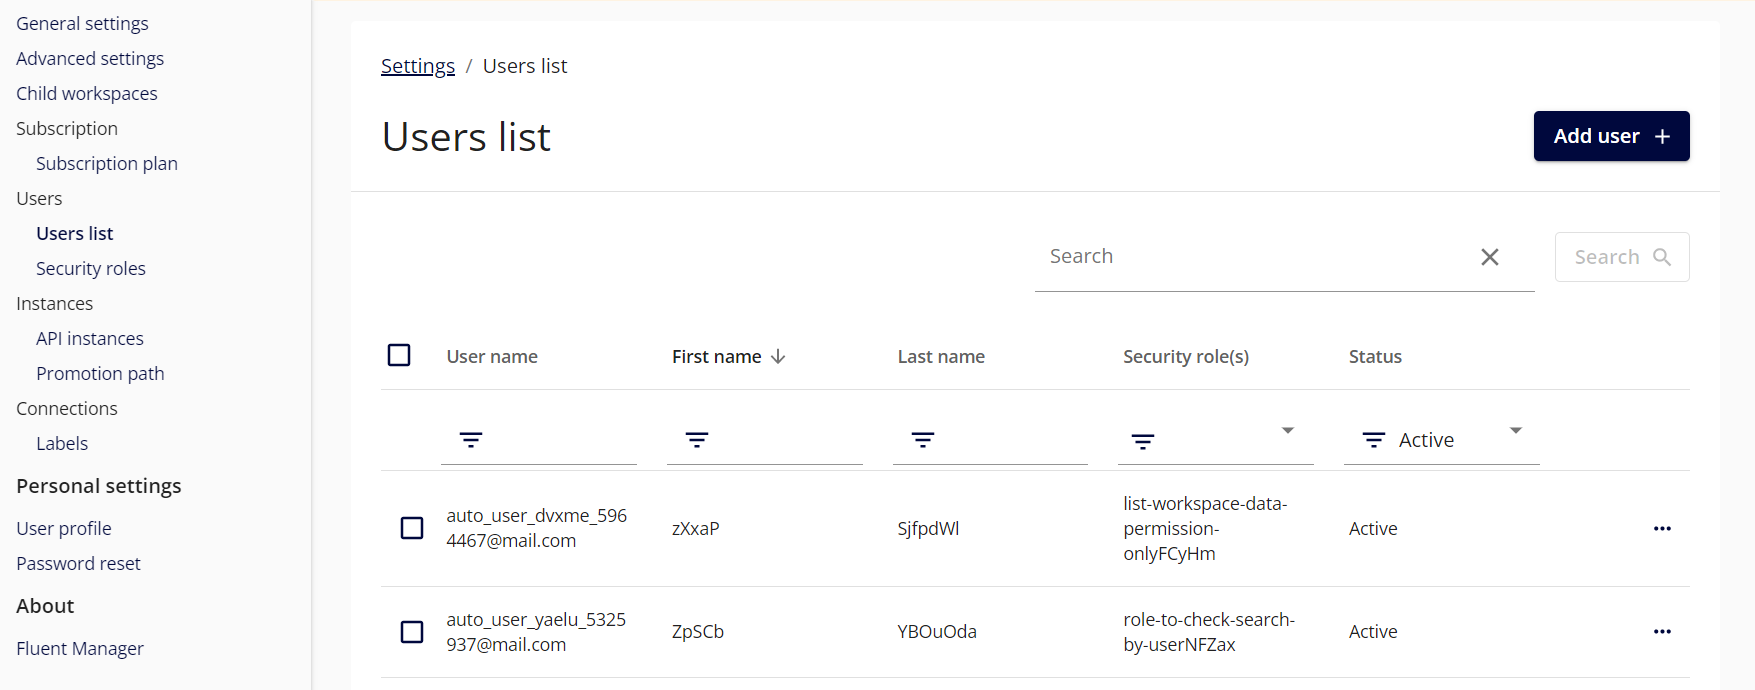
Once a role has been created, a site administrator can assign it to any of the existing users by editing their accounts or adding a new one. To manage user accounts, go to Settings->Users->Users list pane where you can add a new user by clicking on the Add user + button or select a user from the table for editing.
Access to the user list is permission-based. Built-in Administrator and Global Administrator roles include these permissions by default, and custom roles can also be granted them.
When a user is created, Fluent Manager generates an initial password for the account. If SMTP is configured, the user receives a registration email with a link to set their password and access the application. If SMTP is not configured, invitation emails are not sent, and the generated password can be copied and provided to the user manually.
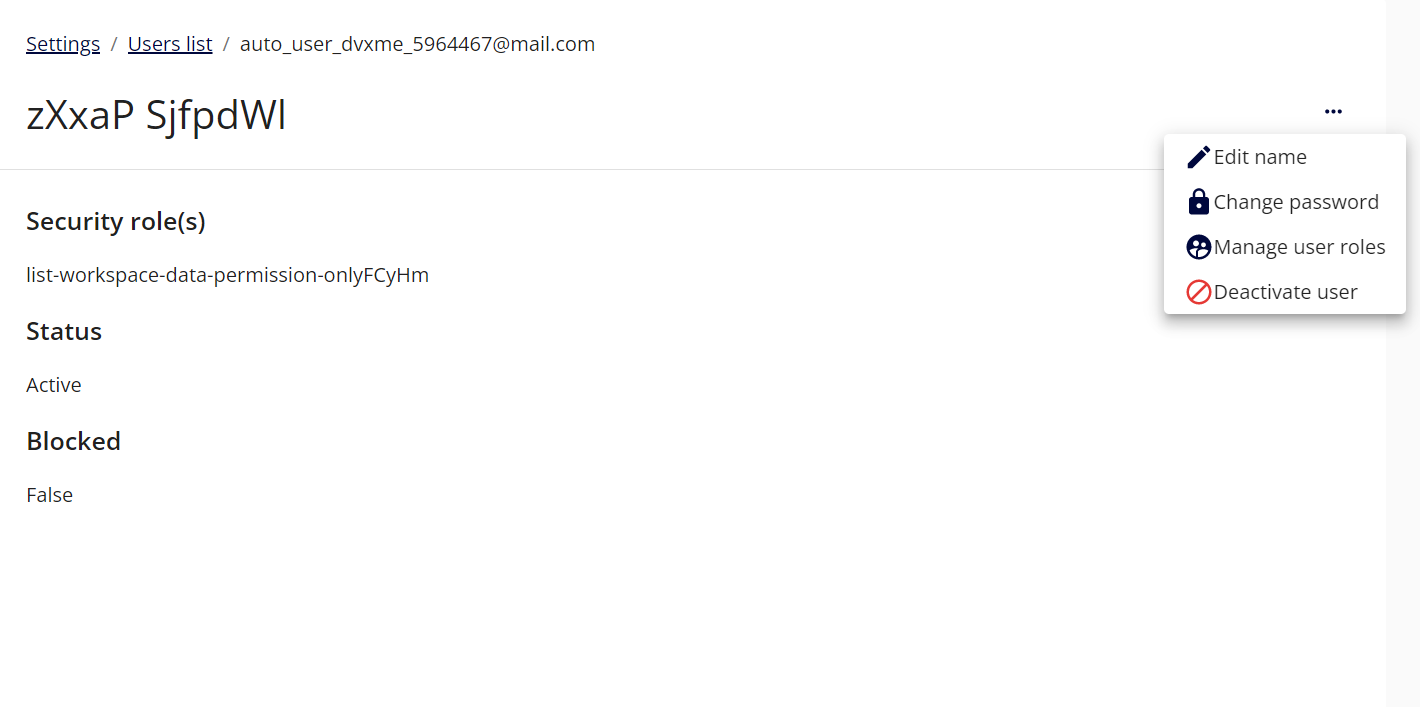
Administrators can deactivate the user at any time, which will prevent them from accessing the application. In addition to deactivating users, administrators can also change the user’s permission set, account name and password. To do this, administrators can simply navigate to the user details page and click on the corresponding row in the user table. This allows administrators to easily manage user accounts and ensure that users have the appropriate level of access to the application.