How Do I Use Check Boxes In My Template?
Find the Symbols for Checkboxes
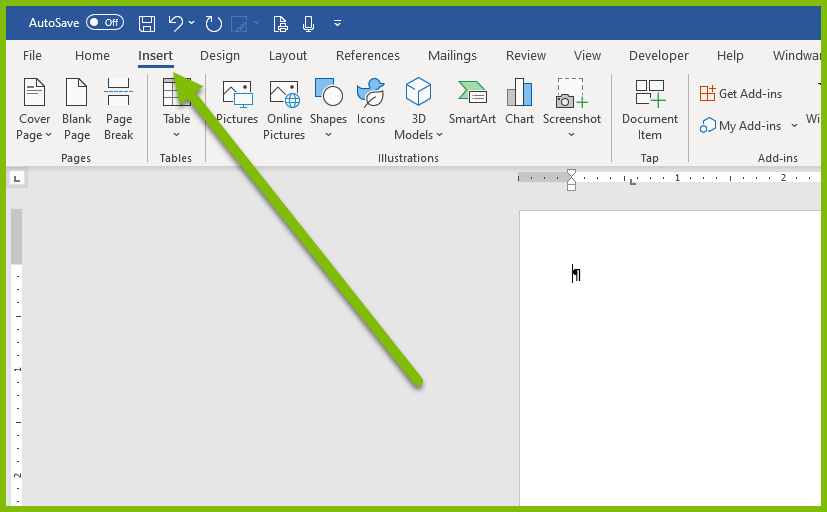
The best way to place markers of any kind into your template and then turn them on or off is to simply surround your checkboxes with an If .. Else...EndIf tags. You can find all sorts of symbols by going to the Insert ribbon in Word and then click on the Symbols icon to open the Symbols dialog.
The Insert ribbon is right next to the Home ribbon in Word
Then you'll find the Symbols icon at the end of that ribbon all the way to the far right.
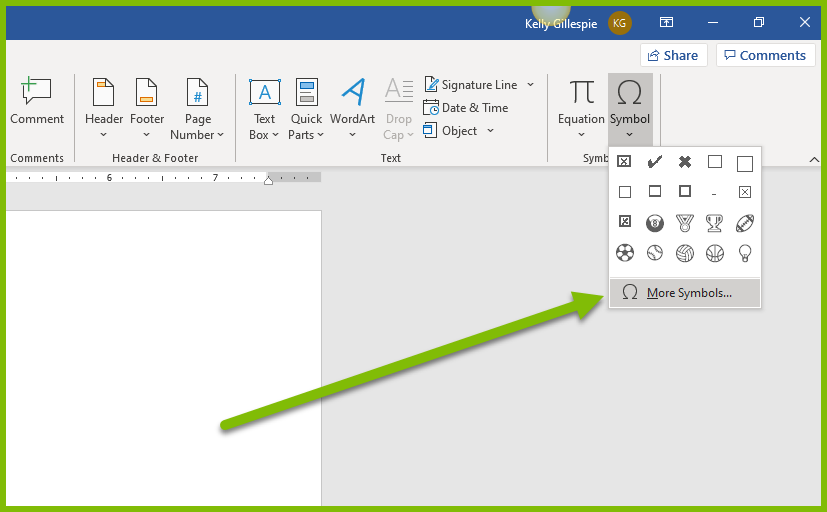
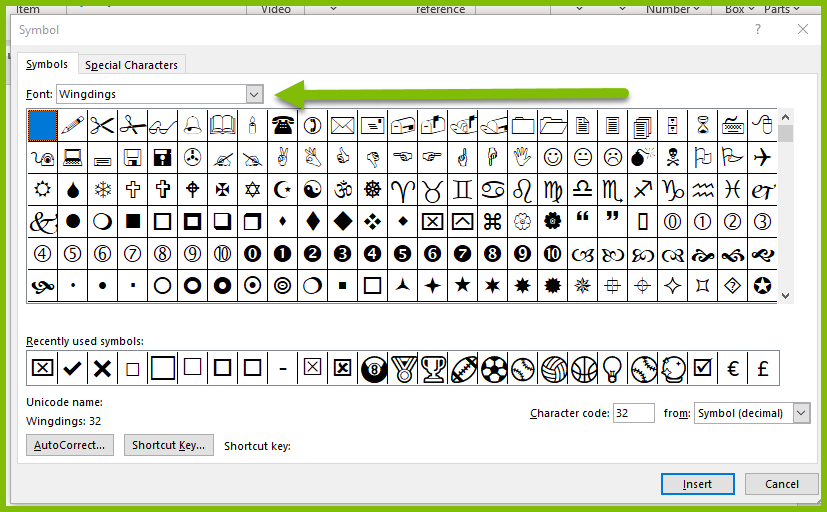
Now click the More Symbols button to open the Symbols dialog window. You can find even more Symbols by changing the Font in the dropdown near the top of that window.
Add If Else and EndIf tags
Once you have found the symbols you would like to use surround them with our If .. Else...EndIf tags.
You can download our sample template along with its datafile by clicking here.
The image below is our sample template and you can see an If tag followed by our first symbol then and an Else tag followed by our next symbol and finally an EndIf tag. Now when our If tag evaluates true the checked checkbox symbol will be displayed otherwise the empty checkbox will be displayed.

The sample template datafile is XML and the nodes being evaluated are already using the boolean values true and false.
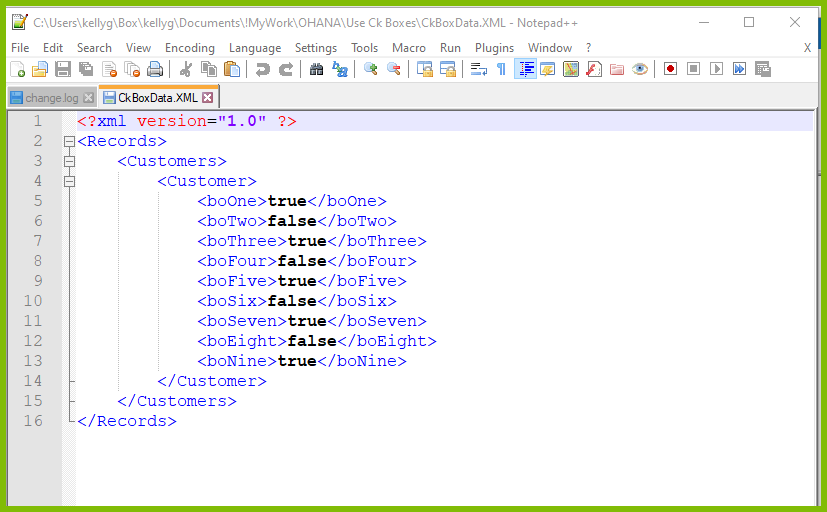
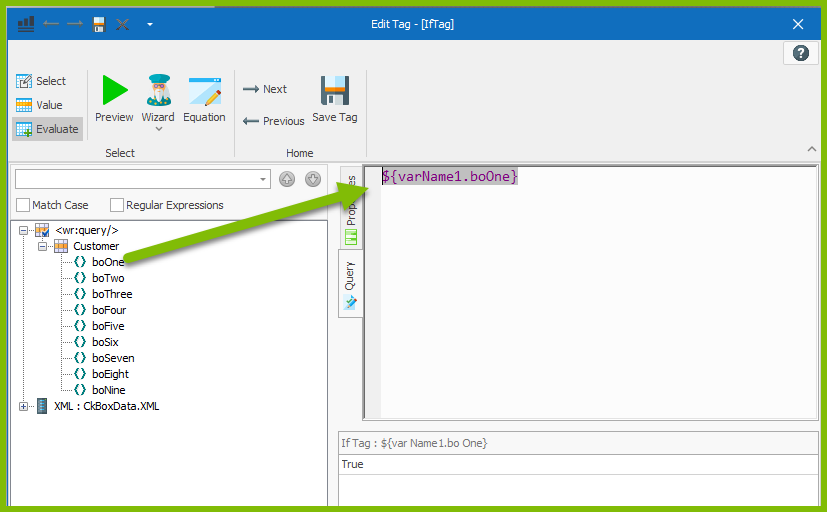
Boolean data types are very easy to use with our If tags as you will not have to write any test conditions you simply drag and drop the field from the data tree window on the left into the query window on the right.
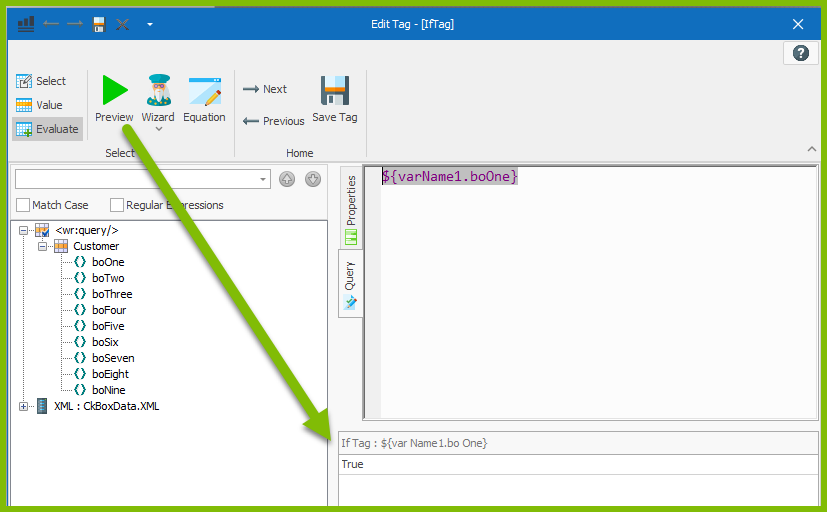
You can see that the If tag evaluates "True" by clicking on the green Preview button at the top of the window
Generate Output
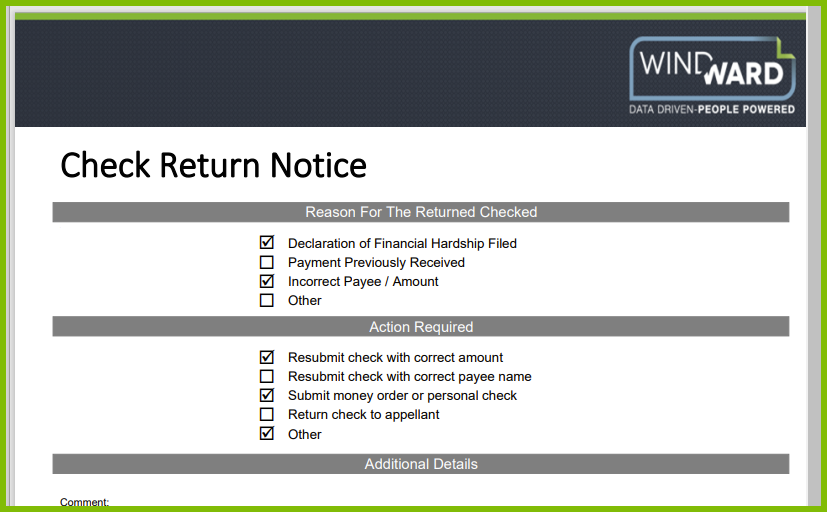
The generated output will have checked checkboxes next to some items and unchecked checkboxes next to other items. The desired output is achieved as shown below.
