How Do I Use a Bookmark Tag?
The Bookmark Tag is used in conjunction with Link and EndLink Tags to create a link to another location in your Report Template's generated output. Use Link Tags where you want a link to appear, then place your Bookmark Tag in the location to which the link should point.
In this article we'll step through an example of using the Bookmark Tag.
For more details about Bookmark Tags, see the Bookmark Tag Reference.
For more details about the Link and EndLink Tags, see the Link and EndLink Tag Reference.
Open a new Word document, then connect to our public LinksDemo database in our mssql.windward.net data source. If you're unfamiliar with connecting to a SQL Server data source, see How Do I Connect to a Microsoft SQL Server Data Source.
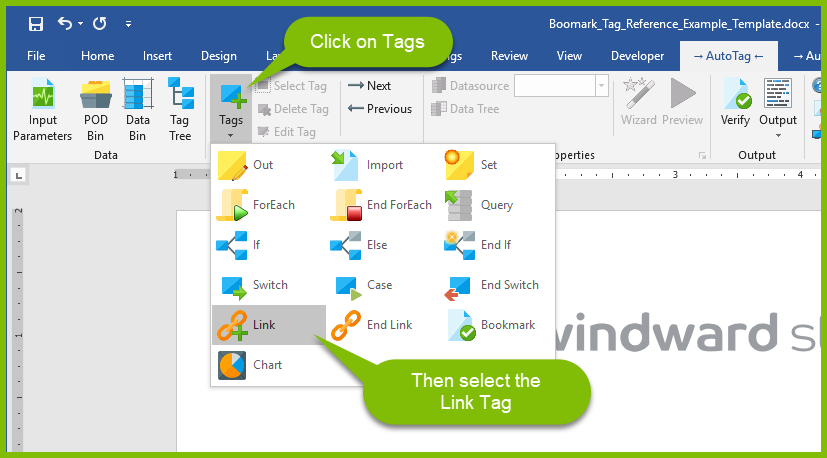
First we have to set up the Link and EndLink Tags that will create the link that points to our Bookmark Tag.
Click on the Tags button in the AutoTag ribbon, then select the Link Tag:
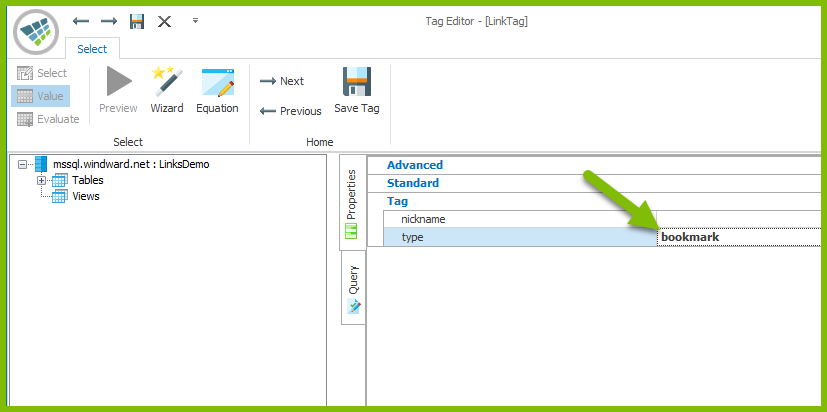
Double-click on the Link Tag to bring up the Tag Editor. In the Query Pane, enter a name for the Bookmark Tag to which the Link Tag will point. Remember the Bookmark Tag name you chose; you will enter it into the Bookmark Tag Query Pane later.

Then, set the Link Tag type property to bookmark, and save the Tag.
Next to the Link Tag, enter the text (optionally with some distinctive formatting) that should appear for the link in the Report Template's output. Then click on the Tags button in the AutoTag ribbon, and select the EndLink Tag:
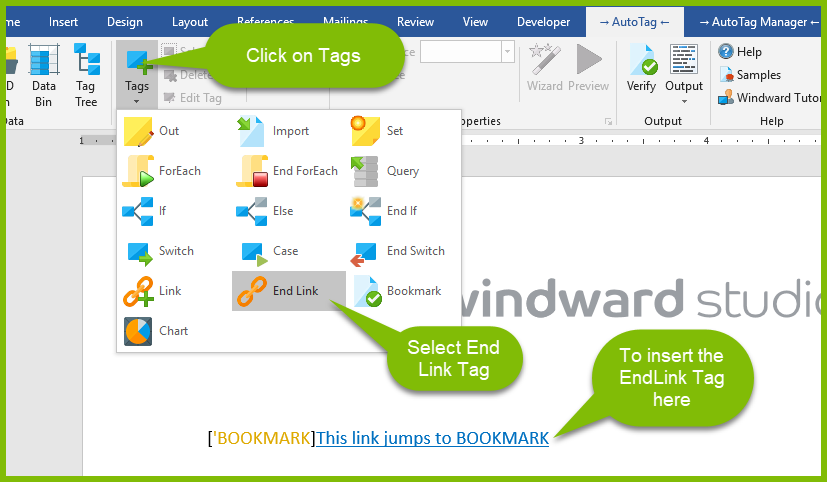
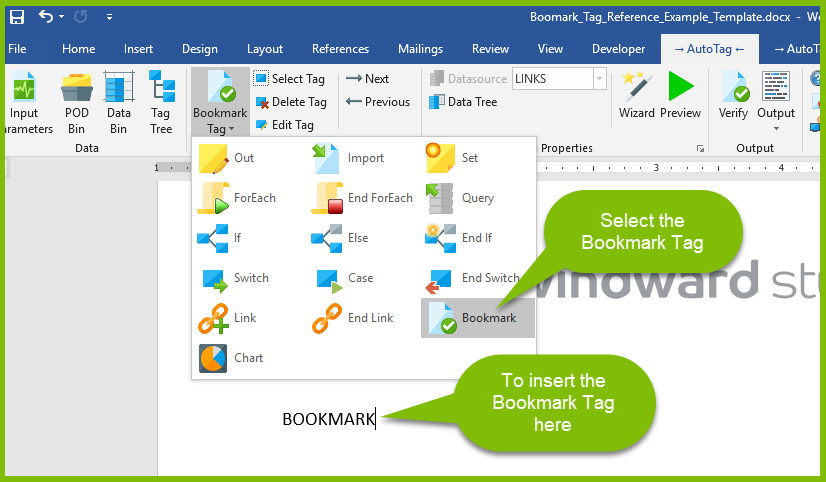
Now that we've created the link that jumps to the bookmark, we create the bookmark. On the second page of our example template we enter the text "BOOKMARK", then insert a Bookmark Tag next to it:
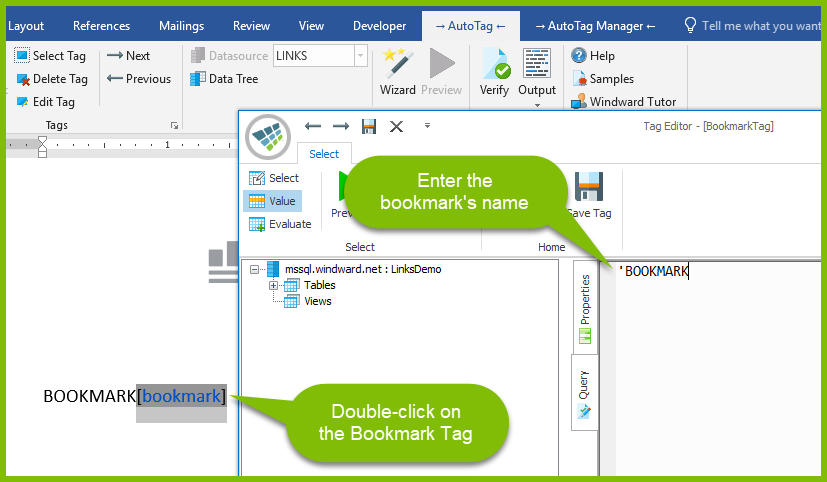
Now double-click on the Bookmark Tag to bring up the Tag Editor, and put the text "BOOKMARK" in the Query Pane with a leading single quote. Save the Tag:
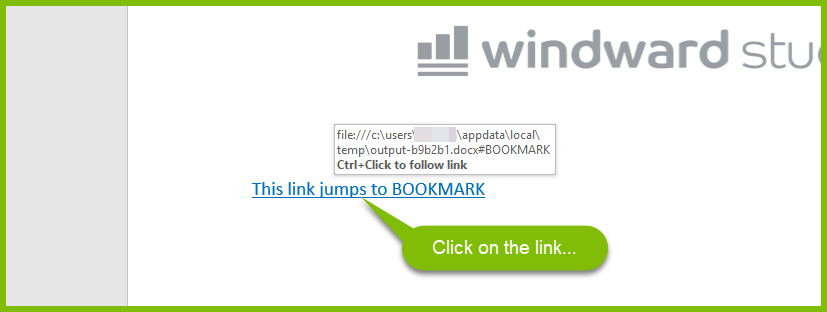
Finally, generate output, control-click on the link, and jump to the bookmark:
